

A DIY face toner is one of those essential parts of your skincare regime. They are usually comprised of various hydrosols, but can also include other ingredients such as essential oils.
Essentially, they are the liquid part of your regime that you use before face creams and after your cleanser. Their main job is to remove the last bits of makeup, dirt, and bacteria from your skin.
While your cleansers are there to remove the bulk of this, some is always left behind trapped within your pores. DIY face toners tackle this hidden grime.

Introduction
If you formulate your DIY toners with high-performance ingredients, your homemade toner can become multi-purpose. If your skin tends to be quite oily, you can choose ingredients to help balance this out.
But let’s get something straight, the word ‘toner’ is a bit confusing and probably poorly chosen. In no way can a toner actually tone your skin or your pours. Toners do not change the size or your pours, nor do they train them to be smaller.
They do, however, make pours look less apparent by removing the stuff that likes to sit in them. So when it comes to this product, it’s important to keep your expectations realistic.
Why Would You Use A DIY Toner?

Many think of DIY face toners as an optional step in skincare, but in reality, it is essential. No matter how good your cleanser is, you’re never going to be able to rid your skin completely of grim and dirt.
Make up, for instance, always has a way of clinging to your pores. When pores become blocked in this way, your skin just never looks its best.
Furthermore, if you have problem or acne-prone skin, using a homemade toner is an absolute must. While a bit of makeup stuck in your pours may not sound like a big deal, but bacteria is inevitably going to be in there as well.
Your pours are a great breeding ground for bacteria, which can quickly change from just a blocked, congested pour to a nasty, painful pimple! A homemade face toner should help prevent this. This is especially important if you use something like a facial oil, which will essentially feed the bacteria that already exist on your skin.
It’s also worth noting that of all your skincare products, this is probably the least expensive for you to make at home. They’re also unbelievably easy to make. It really makes no sense going out and buying one, because, in my opinion, they’re always ridiculously overpriced.
And so, whipping one of these up is definitely worth it when looking at it from an effort and cost to benefit ratio.
How Do You Use A Toner?

- Before using a toner, it’s important to use your homemade cleanser and a bar of facial soap. Use your cleanser as you usually would, then wash it off a good, mild facial soap that works well for your skin. Only then can we break out our toner!
- To use your DIY toner, you’ll need something like a cotton circle/pad. Add a bit of the toner to the pad and then wipe the pad across your face and neck. Be sure to only apply gentle pressure so as not to damage your fragile facial muscle. Also, be sure to avoid mucous membranes in the eyes. Pay special attention to the areas around the nose, as well as your t zone.
- Allow your skin to dry naturally. I never use a towel to dry my face and neck after using a homemade toner. While your skin can feel a little dry and tight after this, but if you follow up your toner with your diy moisturizing products, including serums and facial creams, you shouldn’t have a problem.
- It’s good to use a DIY toner twice a day. Once in the morning when you get ready for the day and then again at night when you take your make up off. I’ve already mentioned it, but it’s important so I’ll say it again. Toners can be quite drying for your skin, so be sure to follow up with a moisturizer. This is especially important for anyone who has dry skin.
What Are The Key Ingredients?
The key ingredient, you say? Well, that’s definitely hydrosols! As I said before, toners are the liquid part of your skincare regime, so you’ll naturally find that hydrosols make up the bulk of these recipes.
Hydrosols (also sometimes known as floral waters) are a by-product of the essential oil manufacturing process. Essentially, they’re just water, but they have been infused with many of the properties of the flowers, spices, plants, vegetables, and fruits that have been used to make essential oils.
While you could use just distilled water, hydrosols add a lovely fragrance and some good skincare benefits to your DIY face toner. There are many different hydrosols out there, but the most commonly used are rose, orange blossom, chamomile, lavender, and geranium. But there are many many more and I encourage you to do some research.
Other ingredients used for homemade toners include essential oils and active botanicals. These are high-performance ingredients that will take your toner to the next level! More on this later.
How To Formulate A Basic Toner
Now we come onto the practicals. I won’t be listing specific ingredients here, although I will talk about ingredient types and the proportions necessary to craft your own recipe. If you’d rather just follow a recipe, scroll down to the bottom of this page for links to all my toner recipes.
Ingredients Needed
- 99% Hydrosol
- 1% Preservative
- 0-5% Humectant (Glycerine)
As you can see, the most basic of toners contain very few ingredients. If you purchase a hydrosol that already contains a preservative, you could even use it out of the bottle!
However, to make your DIY toner a little less drying on the skin, you can add up to 5% humectant. I strongly recommend using glycerine, however, you can use something like honey if you prefer.
Keep in mind that many manufacturers add preservatives to their hydrosols before they’re shipped off to suppliers for retail. Check the ingredients of your hydrosols, as this could affect how much, if any, preservative is necessary to ensure a good shelf life for your toners.
Method
Step 1: Combine your hydrosols in a beaker.

Step 2: Add the humectant (if using) and the preservative, then stir well
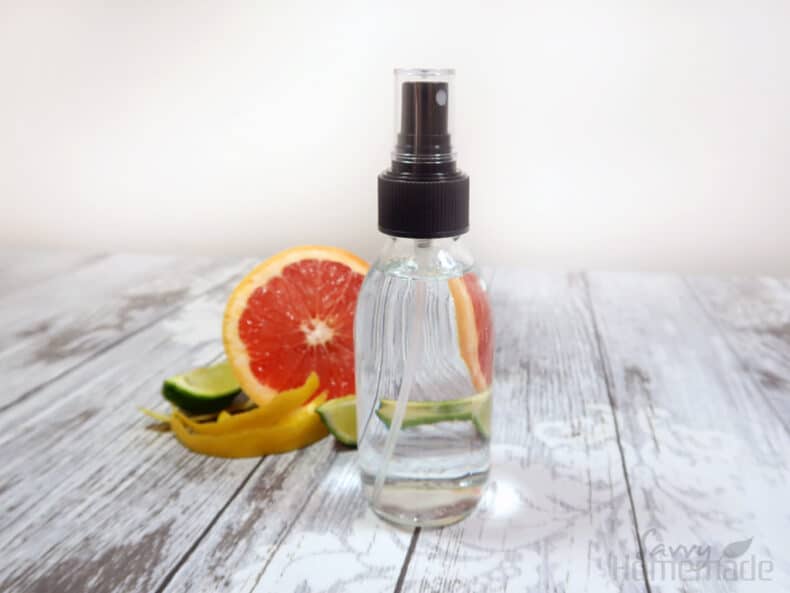
Step 3: Pour the liquid toner to a container, a bottle with a spray top is a good choice

More information and a great example of how to make this kind of toner can be found here, on my DIY hydrosol toners post.
Toners With Essential Oils & Botanicals
When you feel you’re ready to take your homemade toner to the next level, you can start playing around with essential oils and added botanicals.
While hydrosols are great on their own, your toner can become imbued with powerful properties when you use these high-performance ingredients. It’s also your chance to fully customize a toner for just you, a friend, a loved one or even a client.
Ingredients needed
- 80-90% Hydrosol
- 0-10% Botanical Extracts
- 1-2% Essential Oil
- 0-5% Humectant (Glycerine)
- 1% Preservative
- Solubilizer (Optional) in a ratio with essential oil-based on supplier/manufacturer guidelines.
First, let me discuss the solubilizer. This is the ingredient that will bind your oils with your liquid. It makes a homogeneous product that can be applied directly to the skin.
I like to use a natural solubilizer when I can, but if you would prefer not to, that’s totally fine. You just have to shake the bottle prior to using the product. Follow manufacturer guidelines as to how much to use, and adjust the formula appropriately.
The real fun here is choosing the essential oils and the added botanicals. For a good guide on essential oils, their different properties and where to buy them, take a look at our essential oil use chart. That should offer you everything you need to know about the different benefits of each essential oil.
As for the added botanicals, aloe vera is a fantastic choice. I use this quite a lot in my homemade face toners and gels as they lend such a wonderful soothing benefit to these products. Other nice ingredients to use are cucumber and nettle glycerite, both of which are very soothing and help with sensitive or acne-prone skin.
If you want to use a botanical, I strongly recommend using a glycerite. These botanicals are technically a humectant as well as an active botanical, and so should easily mix in without having to play around with the solubilizer ratio. There are many many glycerites on the market today, with a little research you could find the perfect one for you!
Method
Step 1: Mix the hydrosols and your botanical glycerites in a beaker

Step 2: Mix the essential oils and solubilizer together, and stir until homogeneous

Step 3: Add the essential oil/solubilizer mixture to the hydrosols and botanical glycerites.

Step 4: Add the preservative and blend well

Step 5: Transfer to your chosen container, a bottle with a spray top is good. Be sure to use PET plastic or glass.

While my DIY hydrosol toners post will teach you how to use a solubilizer, if you want to see it in action I recommend taking a look at my natural toner post for clear, glowing skin!
How To Formulate Facial Gels
While technically not a toner, gels can perform many of the functions of a toner for targeted areas, as well as offering cooling and soothing benefits.
A great example of a toning gel is an under-eye gel. Depending on your extra ingredients, an under-eye gel can be used to help tighten up saggy skin or soothe tired eyes.
However, the process and the ingredients differ a little bit. So let’s talk about how you would go about making one of these.
Ingredients needed
- 70-80% Hydrosol
- 10-15% Humectant (Glycerine)
- 0.5-2% Xanthan Gum (thickening agents)
- 0-5% Botanical Extracts (must be a glycerite)
- 1% Preservative
Much of what I have already said about the ingredients sing true for gels as well. I strongly recommend sticking with glycerine for the humectant, more so than for homemade face toners.
As for the gum, xanthan gum is a good choice as its readily available. However, I have found that it does make a slightly cloudy gel. You may wish to make use of another for this reason.
Botanical extracts absolutely must be water/glycerine based, as a solubilizer is not used for gels. As the areas you usually use a gel for are quite sensitive (e.g. under the eye) I prefer not to use essential oils. The formula also doesn’t work when oil is added, so best to leave them out of this one.
Keep in mind that gels tend to be very small batch sizes, as you probably won’t need more than 30g at a time. This is because we use gels in targeted areas, as opposed to the whole face.
Method
Step 1: Mix glycerine and the gum together, stir until smooth.

Step 2: In another beaker, combine the hydrosols and any of your botanical glycerites.

Step 3: Trickle the hydrosol into the glycerine-gum mix and stir thoroughly.
Step 4: Add the preservative

Step 5: Transfer to your chosen container. A small pot is good for this.

My green tea and cucumber eye gel is a great example of this product, so good I used some of the images here. Take a look at the post for a more in-depth guide on how to make this.
Final Thoughts
So, let’s sum up what we’ve discussed today. We’ve talked about what a homemade toner is, and what it doesn’t do, as well as how to relates to your other skincare products and how you go about using it. This is a very important aspect to get right. If you sell or gift your product, it’s important to be able to explain to them what it is and how you use it. Without this knowledge, I think I’d feel quite lost.
But we’ve also talked about some of the different ingredients that go into the toners, as well as 3 different methods to help you come up with your very own recipes! You still can follow a recipe, many of mine will be listed below for that very reason. Nevertheless, I feel devising your own can be fun as well. One piece of advice for you before you get on and come up with your recipes is to keep things simple and do as much research as you can. Get to know your ingredients and learn how they can change your product.
I hope this has helped you learn more about homemade toners and that you now understand the importance of them in your skincare regime. I also hope this inspires you to make one yourself. Don’t forget to check out my own recipes below, they’re tried and tested!

Thank you so much Angela for sharing! I’ve learned so much today! ❤️
You’re welcome Karin! 😀