

If you’re anything like me, you’re probably tired of paying top prices for makeup products. This year, I decided to take control of my beauty routine and start making my own DIY makeup at home.
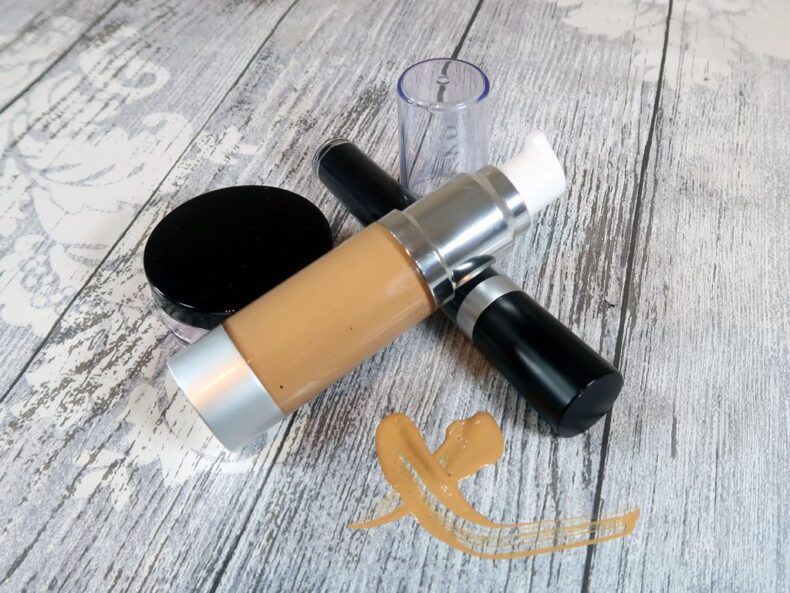
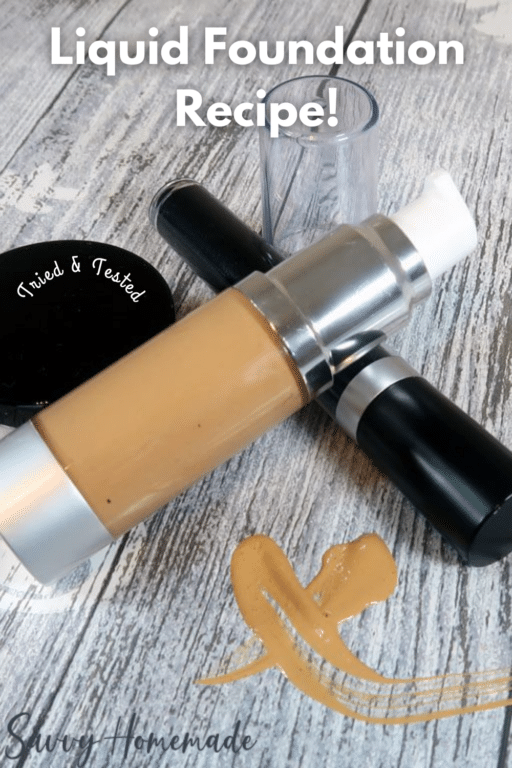
Last week I shared how to make a powdered foundation, and many of you asked for a DIY liquid foundation version. So, I got to work testing and perfecting several formulas until I created a full-coverage homemade liquid foundation that feels and looks just like a store-bought one.
The best part? You can completely customize it to match your exact skin tone, so you’ll never struggle to find the perfect shade again.
Watch It Being Made

Creating a custom foundation at home is easier than you might think, and once you’ve tried it, you might never go back to commercial makeup.
I’ll talk you through how to choose the right color match a little later, but first, let’s go through exactly how to make liquid foundation and what ingredients you’ll need.

As an Amazon Associate, I earn from qualifying purchases. If you buy via the links here I may earn a small affiliate commission at no cost to you, please read my affiliate disclosure.
Ingredients
Equipment
Method
- 4.5 grams Titanium Dioxide, 1.4 grams Yellow Oxide, 0.2 grams Red OxideWeigh all the pigment colors and pop them into the coffee grinder. Give the grinder a 30-second blast to fully combine the colors. Then set aside for later.

- 2 grams Glycerine, 0.2 grams Xanthan GumPlace the glycerine and xanthan gum into one of the heatproof containers. Stir well until the gum has dissolved.
- 33 grams Rose HydrosolStir the hydrosol into the glycerine/ xanthan, then put it to one side.
- 2.5 grams Argan Oil, 1.5 grams Emulsifying Wax NF, 1 grams Magnesium Stearate, 2.5 grams Evening Primrose OilIn the second heatproof container add the NF emulsifying wax, Magnesium stearate, Argon and Evening primrose oil.
- Set up a water bath and place both the water and oil containers into a pan of simmering water. You want to melt and heat them through but do not allow them to boil.
- Once the oil has melted and heated, remove both the oil and water containers from the heat.
- Pour the colored pigments into the warm oils, then stir until well combined. You will need to be quick with this as you don’t want the waxes to start to harden.
- Once the colors have been mixed with the oils it’s time to add the warmed water blend to it. When you first start to mix them they may try to separate. I find it best to whisk briskly with a mini whisk. As the foundation cools it will start to thicken so that it’s a similar texture to a lotion.
- 0.5 grams Vitamin E Oil, 0.5 grams PreservativeOnce the foundation has cooled below 40c we can mix in the vitamin E and the preservative.
- Transfer the foundation into a serum or suitable squeezy container using a spatula or syringe.


New to DIY skincare?
If you’re enjoying making your own products, you might like Radiance, my free email course where I teach the foundations of DIY skincare step by step!Spotlight On Ingredients
The Pigments

Pigments are super important. Perhaps the most important part, because without them we don’t have a foundation! We have a thin face cream.
The pigments I’ve chosen, red and yellow oxides, as well as titanium dioxide, all come together to make a medium skin tone shade. While the concentrations we’re using will not suit everyone, it is a good starting point to work from.
More colors can be used, such as blues and greens to tone down the yellow and red. It’s all about experimentation. But don’t let this put you off. It’s just about trial and error.
Xanthan Gum & Glycerine

In order for our cream not to separate into its different ingredients, we need a stabilizer. If you’ve made one of my DIY face moisturizers in the past, you’ll have probably used these ingredients before.
Without a stabilizer, not only will the cream base not remain emulsified, but your pigments will also likely separate from each other as well.
This is where xanthan gum comes in. It keeps everything in place, and it’s an ingredient you just cannot easily substitute.
Glycerine is important because, without it, our xanthan gum will not properly disperse into our other ingredients. This leads to a very lumpy, snotty-looking product. So glycerine has to stay.
The Oils

Unlike many of our recipes, the oils I have chosen for this recipe have been selected for their skin-loving benefits.
Don’t get me wrong, both argan oil and evening primrose oil are amazingly moisturizing, and are packed full of benefits for your skin. But the main reason I have chosen them is because they absorb into your skin very quickly.
We can all forgive a face cream for being a little oily sometimes. I mean, that’s its job. But the last thing we want is for our makeup to feel heavy or greasy. It wouldn’t look good either.
That’s where the oils I’ve chosen come into play. If you wish to substitute these oils, it is very important you make sure to sub them for something with very quick absorption.
Magnesium Stearate
You may not have come across this ingredient before. Its job in this formula is to give our liquid foundation some staying power. Otherwise, it could rub off easily.
I would not recommend attempting to substitute or omit this ingredient.
How To Find Your Right Shade
Finding the right shade can be difficult, but definitely rewarding when you do. As I’ve already said, the shade I’ve prepared in this post is a medium. It’s definitely not light enough for me (I am very fair-skinned), and might not be for you.
So use the measurements of our pigments on this page as a guide. Start there, and then make adjustments so it matches your own skin.
If you have a fairer complexion, you will need to add a lot less yellow and red. This is pretty simple stuff, and you just play around with less and less pigment until you whip up a foundation that’s perfect.
If your complexion is darker, you will need more pigment. If it’s significantly darker, try to add some ultramarine blue and green pigments to tone down some of the yellow and blue. Otherwise, it will not only be darker but also very very orange.
While you’re finding the right shade for your skin, it’s a good idea to use ingredients that won’t break the bank. This is because you might need to make this foundation 3 or 4 times before you get it just right.
So, swap your oils for something cheap like vegetable oil, and use regular water instead of hydrosol. You can also omit the vitamin e and preservative, as these are only test batches and we do not intend to keep them longer than a few days.
How To Apply
You can apply this DIY liquid foundation like you would any other. You can use your fingers, brush or sponge – whatever works best for you.
This product can also be applied to the neck for a flawless finish. No need to worry about having foundation lines along your jaw!
Final Thoughts
I’m very happy with this foundation formula, and it’s so easy to do. If you’ve made a few emulsions before, you won’t have any problems whipping this liquid foundation up at home.
Lots of DIY makeup recipes are very difficult. Take my recent long lasting mascara recipe, that one is a doozy! But if you can handle that then this will be a breeze!
I also love how customizable it is. In fact, you gotta customize it! Otherwise, you won’t have a homemade foundation that matches your own unique skin tone!
That’s all I have for now, but I hope you have as much fun making this as I did. If you like this foundation recipe, consider signing up for our newsletter. You’ll be one of the first to get your hands on my new recipes.


Love this! It took me several attempts to get the shade right but I finally did! If anyone else out there has a fair neutral complexion here is what I used for the pigment part: 4.5g titanium dioxide, 0.35g yellow oxide, 0.05g red oxide, 0.05g brown oxide, 0.025g violet oxide. Maybe this will help someone? Anyway, awesome recipe I’m so glad I found this site.
Hi, this is a lovely place to find amazing recipes.
I was hoping to ask if the emulsifying wax can be replaced by beeswax? I am just starting out and in the very beginning stages of this diy makeup creation processs.
Hi Bianca,
Unfortunately this won’t work, as emulsifying wax is a specific ingredient that differs a lot from beeswax. So I wouldn’t swap it out here. Hope this helps and good luck with your crafting!
Great job Angela! I love your formulas. I have to make my own skincare/makeup as I’m allergic to everything so this is great!!
Thank you so much!❤️
Hey creator I love everything you make and am so excited to try this foundation ❤️ The question is where to get magnesium stearate from🌸❤️
Can I ask which preservative you specifically used for this formulation?
Hi Ari,
I used Plantaserve P (saliguard pcg), although you can use Preservative ECO for a natural alternative. Germaben is another good alternative but isn’t natural. It is, however, very easy to get hold of. Any broadspectrum preservative should do the trick, though.
Hi thanks so much for this formula as it worked so well for me and was amazing
Hi! This recipe is very interesting to me. I am interested in making my own airbrush makeup. I haven’t made this recipe but I am assuming it isn’t thin enough to go through the airbrush (generally the consistency of milk is needed) Would/could I add water or increase the amount of hydrosol to thin it?
Also could I make eyeshadows the same way or would the formula need to be different? I have oily lids and my shadow doesn’t tend to stay put.
Thanks.
HI Melissa,
Unfortunately I don’t think I can be much help here. I have no experience with airbrush make up. You may need to do some experimentation.
As for eyeshadows, some of the base is similar. I would take a look at my eyeshadow palette blog post for more information.
Thanks so much!
Can I use citric acid as the preservative?
Hi Regina,
No, unfortunately you can’t as it is not a broad-spectrum preservative. Try taking a look at our page on Synthetic & Natural Preservative For Cosmetics & Lotion.