
As skin matures, cleansing needs to change a bit. What once felt refreshing can suddenly feel drying. Foaming washes can drag, and harsh cleansers can leave your skin feeling tight & uncomfortable.
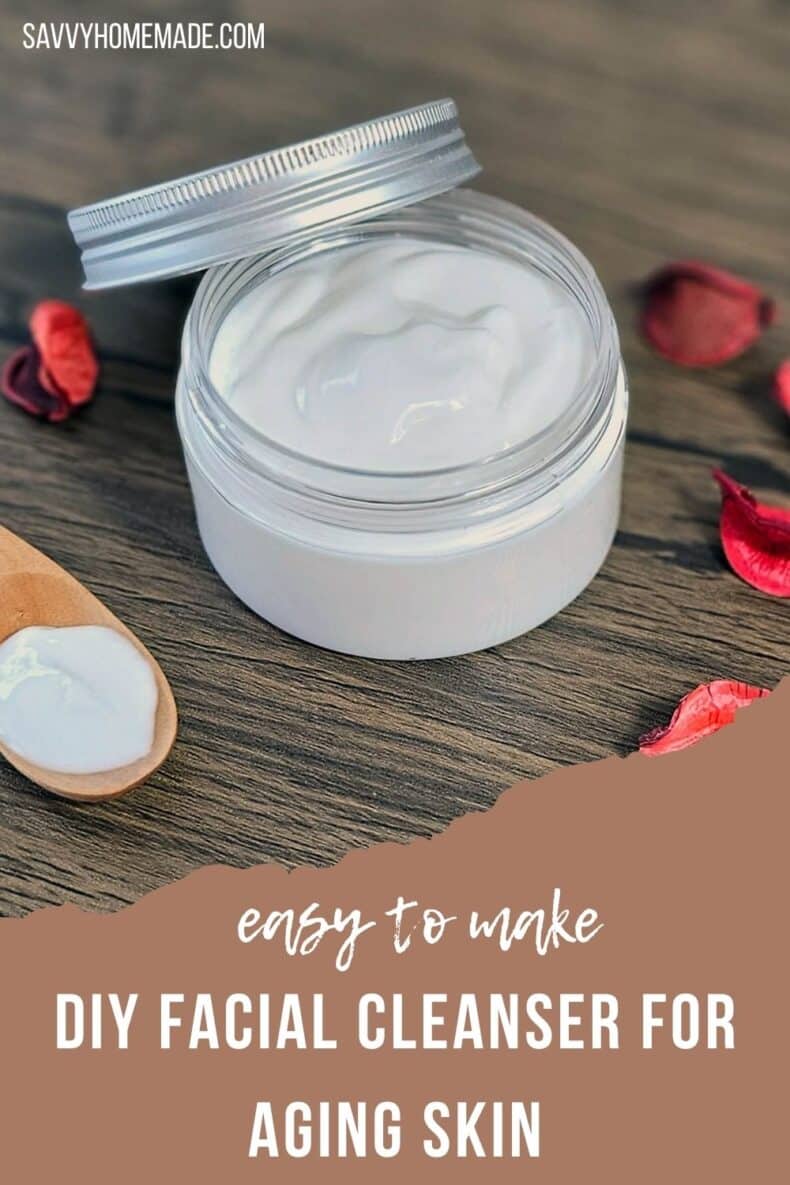
When I formulated this DIY facial cleanser for aging skin, I wanted something moisturising, creamy and gentle, a cleanser that glides over the skin without dragging or pulling, lifts away makeup and daily build-up, and rinses clean without stripping.
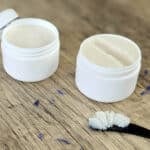
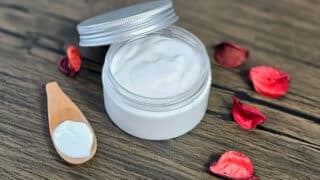
The result is this soft, conditioning cream cleanser that feels elegant but simple. It’s suitable for a pump bottle or jar, gentle enough for morning and evening use, and balanced to support mature skin that can often be a little thinner, drier, & more delicate than it once was.
Benefits Of This DIY Facial Cleanser for Aging Skin
- Creamy, moisturising texture that doesn’t drag on delicate, or thinning skin.
- Gently removes makeup, SPF, and daily build-up without leaving skin tight.
- Formulated specifically with mature skin in mind.
- Rinses clean while still leaving the skin feeling soft and comfortable.
- Light botanical scent from rose ingredients.
- Balanced with a small amount of gentle natural surfactant for mild cleansing.
- Suitable for use in a pump bottle or jar.
- Designed to keep for up to 12 months when stored correctly.
Key Ingredients & Why We’ve Used Them

Rose Hydrosol
Rose hydrosol has a beautiful natural aroma that gently carries through to the finished cleanser. It’s also a wonderful addition to any mature skin recipe, as its soothing properties help support sensitive, thinning skin.
Camellia Seed Oil
Camellia seed oil is a beautiful choice for mature skin because it feels light but still nourishing. It helps keep the skin soft and supple without heaviness, and it’s naturally quite stable, so it copes well with gentle heating and has a good shelf life.
Castor oil
Castor oil adds that lovely bit of richness and really helps the cleanser do its job by lifting away makeup and daily build-up. It leaves the skin feeling smooth and comfortable, and it’s also a stable oil, which helps the overall formula last well.
Olivem 1000 (Cetearyl Olivate (and) Sorbitan Olivate)
Olivem 1000 is a naturally derived emulsifier made from olive oil, and it’s what brings everything together into a smooth, creamy cleanser. I love using it because it feels gentle and conditioning on the skin, making it a great fit for mature formulas without feeling heavy.
Cetyl alcohol
Cetyl alcohol is a plant-based ingredient that helps give the cleanser its lovely creamy texture. Despite the name, it isn’t drying at all, in fact it actually helps the formula feel softer and more comfortable on delicate, mature skin.
Vitamin E
Vitamin E is added mainly to help protect the oils and support the overall stability of the cleanser. It also gives a little extra skin-conditioning benefit, which is always appreciated.
Coco Glucoside
Coco Glucoside is a gentle soaping agent, it’s a plant-derived surfactant that helps the cleanser rinse away easily. We have only used a small amount so it cleans effectively without stripping the skin, leaving it feeling fresh but still comfortable.
Rose Geranium Essential Oil
Rose Geranium Essential Oil blends beautifully with the rose hydrosol. It’s often used in anti ageing blends because of its balancing and toning feel, while keeping the formula fully botanical.
Preservative Eco (Geogard ECT)
Because this recipe contains water we need to add a preservative to keep the cleanser safe and stable. It’s a naturally derived preservative that helps protect against bacteria and mould, so the product stays fresh during use.
Substitutions
- Distilled water, flower hydrosol, aloe vera juice or cucumber water would also be nice
- Rose Hydrosol distilled water or a different type of hydrosol
- Camellia Seed Oil, sweet almond would be my go to. Sunflower oil would also work well.
- Castor Oil, jojoba oil or sweet almond
- Olivem 1000, Montanov 68 or emulsifying wax NF. The latter is very easy to work with but it is not classed as a natural ingredient.
- Cetyl alcohol Cetearyl alcohol or Stearyl alcohol.
Vitamin E, rosemary C2o extract would work, but be honest the oils we have chosen all have great shelf life so you could get away with leaving it out. - Coco Glucoside decyl glucoside would be the best swap here
- Rose Geranium Essential Oil, lavender or chamomile would be good but feel free to choose your own blend.
- Preservative Eco (Geoguard ECT) Saliguard PCG or Optiphen Plus.
Watch The Video

As an Amazon Associate, I earn from qualifying purchases. If you buy via the links here I may earn a small affiliate commission at no cost to you, please read my affiliate disclosure.
Ingredients
Equipment
Method
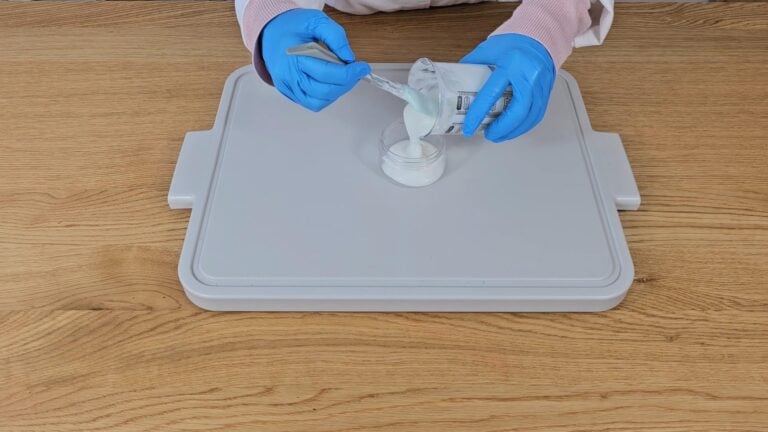
- 33 grams Distilled Water, 33 grams Rose Hydrosol, 6 grams GlycerineIn a heatproof beaker beaker weigh the phase A ingredients.

- 10 grams Camellia Seed Oil, 5 grams Castor Oil, 2 grams Cetyl Alcohol, 6 grams Olivem 1000In a separate heatproof container, weigh out and mix together all the phase B part ingredients.
- Stand both containers in a pan of simmering water, I find a wide shallow pot perfect for this. Let the beakers sit in the simmering water until all the oils and waxes have melted and the water and glycerine have heated through both should be around 75c (167f).
- Once the oils have melted and the water heated through, remove from the heat and add the water to the oils. Remember the beakers will be hot so take care when handling them.
- Using a mini blender begin to blend the water and oils together. Blend in 10 to 20 second bursts. Once the cream starts to thicken, change to using a silicon spatula.
- 0.5 gram Vitamin E Oil, 0.5 gram Rose Geranium Essential OilOnce the cream has thickened and has cooled to just above room temperature, 40c (104f) we can start to add the phase C ingredients. Add the vitamin E first and stir well. Then add the essential oil and stir again.
- 3 grams Coco GlucosideNext carefully add the glucoside. You may find that the glucoside thins the cream out and the cream tries to separate. Keep stirring briskly until it comes back together and starts to thicken again. The cream may not get back to the thickness it was before adding the glucoside.( I find it becomes thicker again once the preservative has been added).
- 1 gram PreservativeWe can now add the preservative. Once again stir well to make sure the preservative has been fully combined into the cream.
- When using surfactants we always need to check the pH of the finished product to check that it's not too high. Dilute a small sample of the cleanser (1 part cleanser to 9 parts distilled water). Dip a pH strip into the diluted sample and check it reads pH 5.0–5.5. Ours was around 5pH, so its ready for use.
- 1 Cosmetic Jar 4 ozPour the finished cleanser into a clean cosmetic container to store.


Tried this recipe?
Let us know How It Was!
How To Lower The pH Of A Cleanser
If the pH is too high, add a couple of drops of a 10% citric acid solution to the main batch of cleanser and stir gently until fully combined.
Take a fresh small sample, dilute again (1 part cleanser to 9 parts distilled water), and re-test the pH. Repeat if needed until the pH is 5.0–5.5.
Once the cleanser is at a good pH range we can transfer the cream to a jar ready for use.
How to use it
Suitable for use morning and evening as part of your regular skincare routine.
Apply a small amount to dry or slightly damp skin and massage using light circular motions.
The camellia and castor oils will help lift away makeup, SPF and daily build-up, while the coco glucoside allows it to rinse away cleanly.
Remove with warm water or a soft damp cloth. Skin should feel clean, soft and comfortable.
How to store it
The cleanser should keep for around 12 months if stored correctly.
Keep the cleanser in a cool, dry place away from direct sunlight and heat. If you are using a jar, always use clean, dry hands (or a small spatula) when removing product.
Final Thoughts
Mature skin doesn’t need aggressive cleansing, it needs thoughtful cleansing!
With that thought on my mind, this DIY facial cleanser for aging skin focused on comfort, nourishment and balance.
The blend of camellia and castor oils helps lift impurities, while Olivem 1000 and cetyl alcohol create a soft, conditioning cream that feels gentle and supportive rather than harsh. The small touch of coco glucoside ensures it rinses away cleanly, so skin feels fresh but never stripped.
It’s the kind of cleanser that makes you slow down a little, massage, rinse and enjoy that soft, comfortable finish.