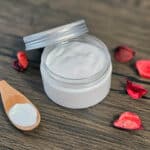
How To Make A Facial Cleanser For Aging Skin
Make a DIY facial cleanser for aging or mature skin. This creamy, moisturising formula gently cleanses without drying or dragging delicate skin.
Print
Pin
Yield (adjustable): 100 grams (approx)
Ingredients:
Phase A (Water part)
- 33 grams (1.16 oz) Distilled Water
- 33 grams (1.16 oz) Rose Hydrosol
- 6 grams (0.21 oz) Glycerine
Phase B (Oil part)
- 10 grams (0.35 oz) Camellia Seed Oil
- 5 grams (0.18 oz) Castor Oil
- 2 grams (0.07 oz) Cetyl Alcohol
- 6 grams (0.21 oz) Olivem 1000
Phase C (Cool down)
- 0.5 gram (0.02 oz) Vitamin E Oil
- 3 grams (0.11 oz) Coco Glucoside
- 0.5 gram (0.02 oz) Rose Geranium Essential Oil
- 1 gram (0.04 oz) Preservative Preservative Eco
- 1 (1) Cosmetic Jar 4 oz
Equipment:
- Water Bath
Instructions:
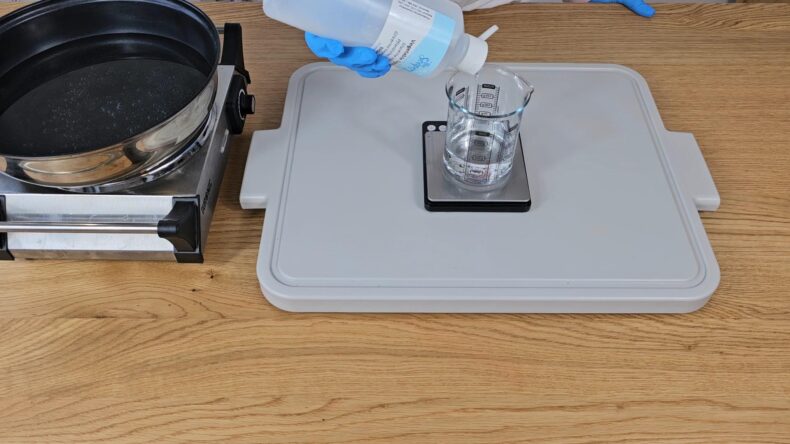
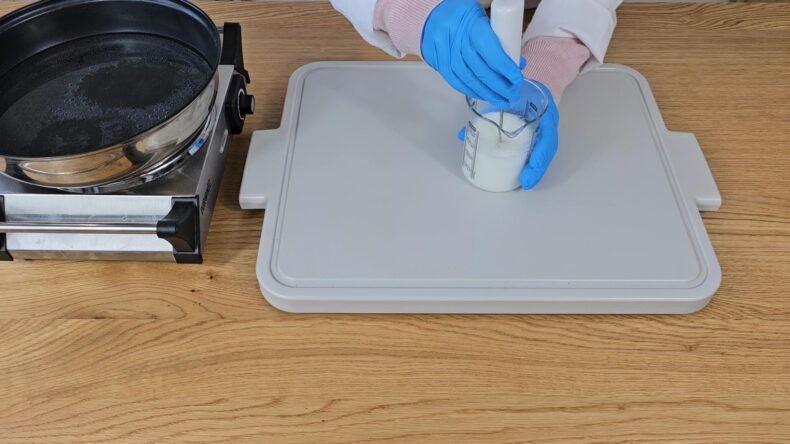
- In a heatproof beaker beaker weigh the phase A ingredients.33 grams Distilled Water, 33 grams Rose Hydrosol, 6 grams Glycerine
- In a separate heatproof container, weigh out and mix together all the phase B part ingredients.10 grams Camellia Seed Oil, 5 grams Castor Oil, 2 grams Cetyl Alcohol, 6 grams Olivem 1000

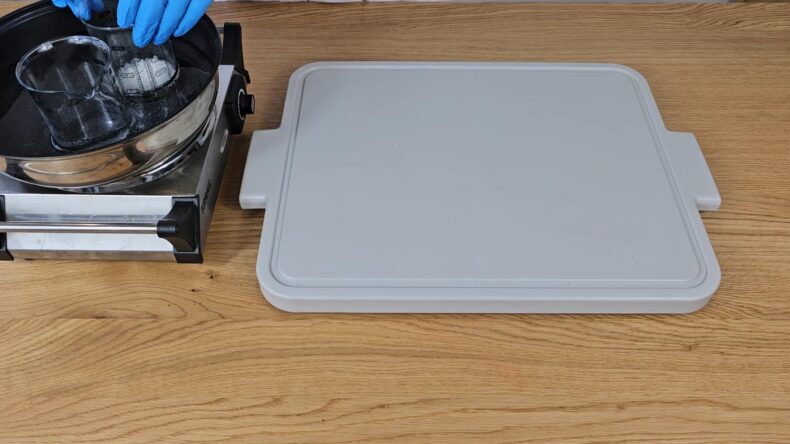
- Stand both containers in a pan of simmering water, I find a wide shallow pot perfect for this. Let the beakers sit in the simmering water until all the oils and waxes have melted and the water and glycerine have heated through both should be around 75c (167f).
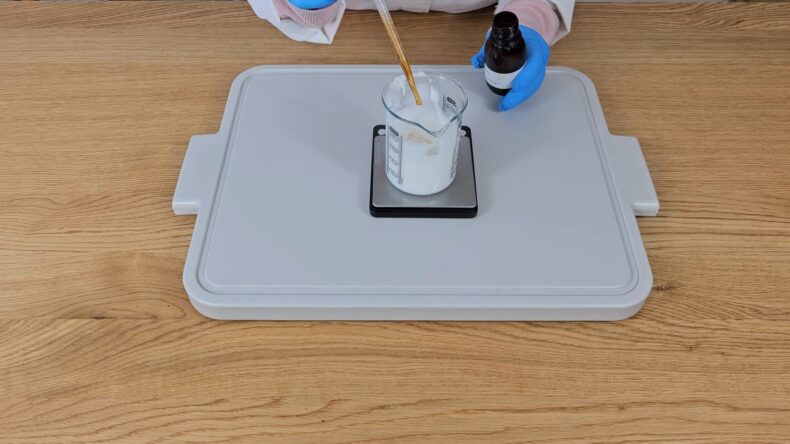
- Once the oils have melted and the water heated through, remove from the heat and add the water to the oils. Remember the beakers will be hot so take care when handling them.
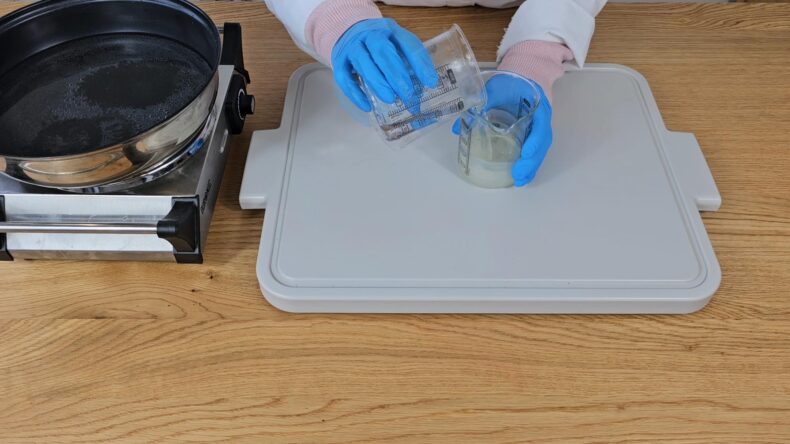
- Using a mini blender begin to blend the water and oils together. Blend in 10 to 20 second bursts. Once the cream starts to thicken, change to using a silicon spatula.
- Once the cream has thickened and has cooled to just above room temperature, 40c (104f) we can start to add the phase C ingredients. Add the vitamin E first and stir well. Then add the essential oil and stir again.0.5 gram Vitamin E Oil, 0.5 gram Rose Geranium Essential Oil
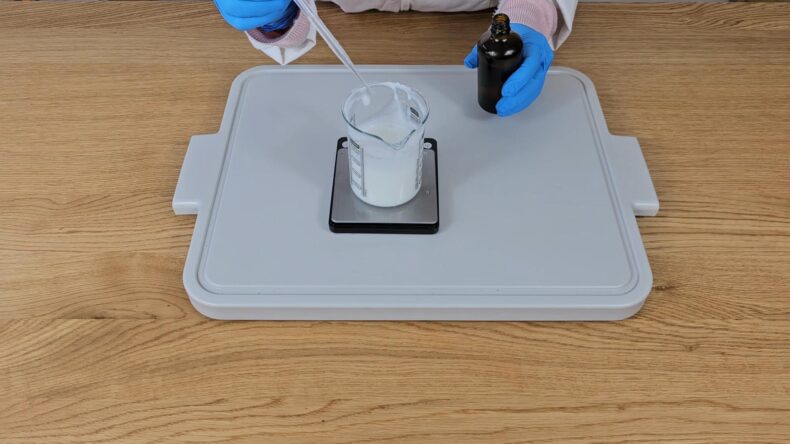
- Next carefully add the glucoside. You may find that the glucoside thins the cream out and the cream tries to separate. Keep stirring briskly until it comes back together and starts to thicken again. The cream may not get back to the thickness it was before adding the glucoside.( I find it becomes thicker again once the preservative has been added).3 grams Coco Glucoside

- We can now add the preservative. Once again stir well to make sure the preservative has been fully combined into the cream.1 gram Preservative
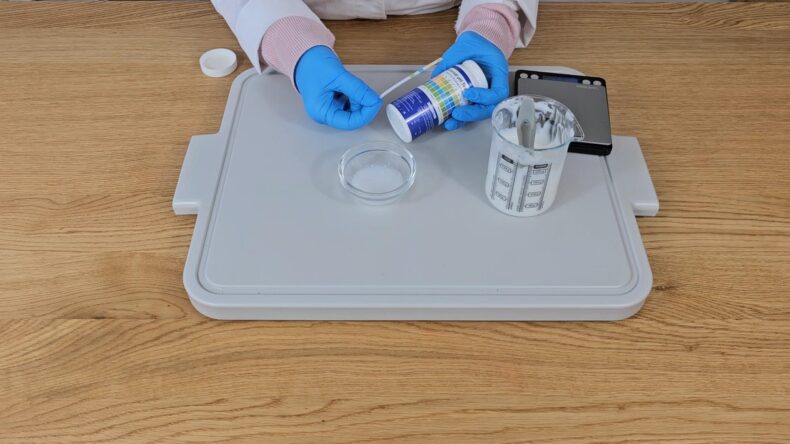
- When using surfactants we always need to check the pH of the finished product to check that it's not too high. Dilute a small sample of the cleanser (1 part cleanser to 9 parts distilled water). Dip a pH strip into the diluted sample and check it reads pH 5.0–5.5. Ours was around 5pH, so its ready for use.
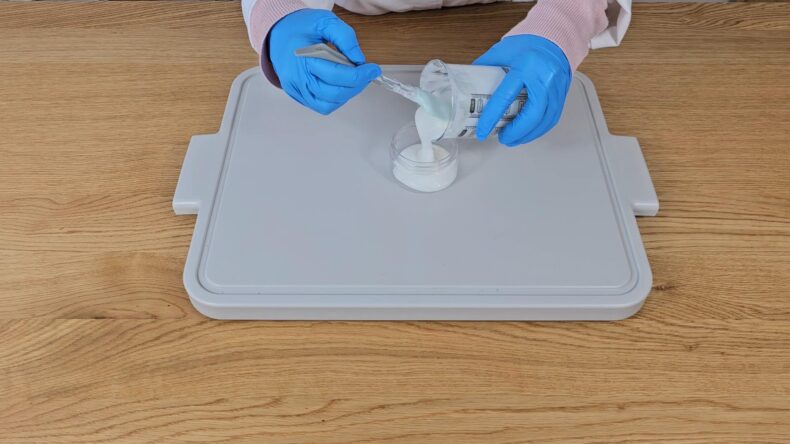
- Pour the finished cleanser into a clean cosmetic container to store.1 Cosmetic Jar 4 oz
Tried this projectMention @Savvyhomemade or tag #savvyhomemade!