How To Make A Scented Candle
With their soft glow and gentle perfume, there's nothing quite as relaxing as curling up on a cold winter evening to read a few pages by candlelight you crafted yourself.
Print
Pin
Yield (adjustable): 1 candle
Ingredients:
Equipment:
- A skewer or bamboo stick
Instructions:
- In this demonstration, I'm using soy candle wax, so the first thing you will need to do is refer to my soy candle making page to determine how much to use. Then gather your other ingredients and materials detailed above.

- Place the wax into a double boiler or a metal container placed over a pan of hot water, and set it on the stove until it melts. Be extremely careful, because hot wax is extremely HOT.

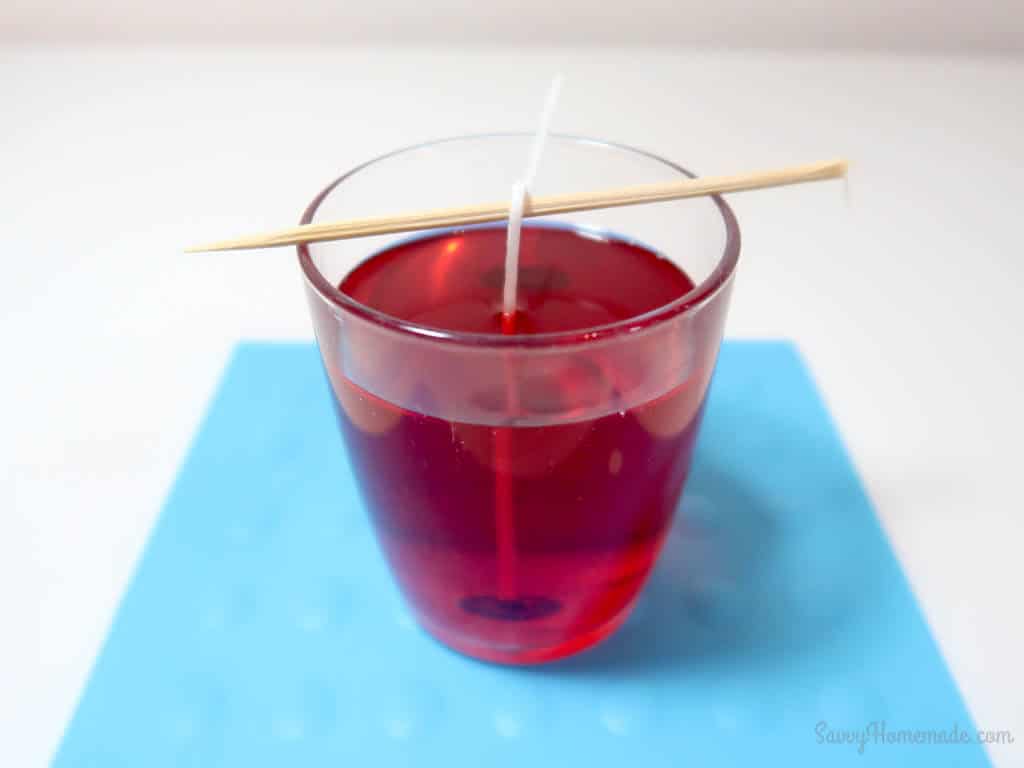
- Glue the stabilizer attached to the bottom of your wick to the inside base of your jar. Your wick should stick out at the top. Use the wick holder or balance a pencil or skewer on top of the mold and wrap the wick around it; this will help to keep the wick in a central position.

- Once the wax has fully melted stir in the candle dye, I am matching the raspberry fragrance with a red candle dye.
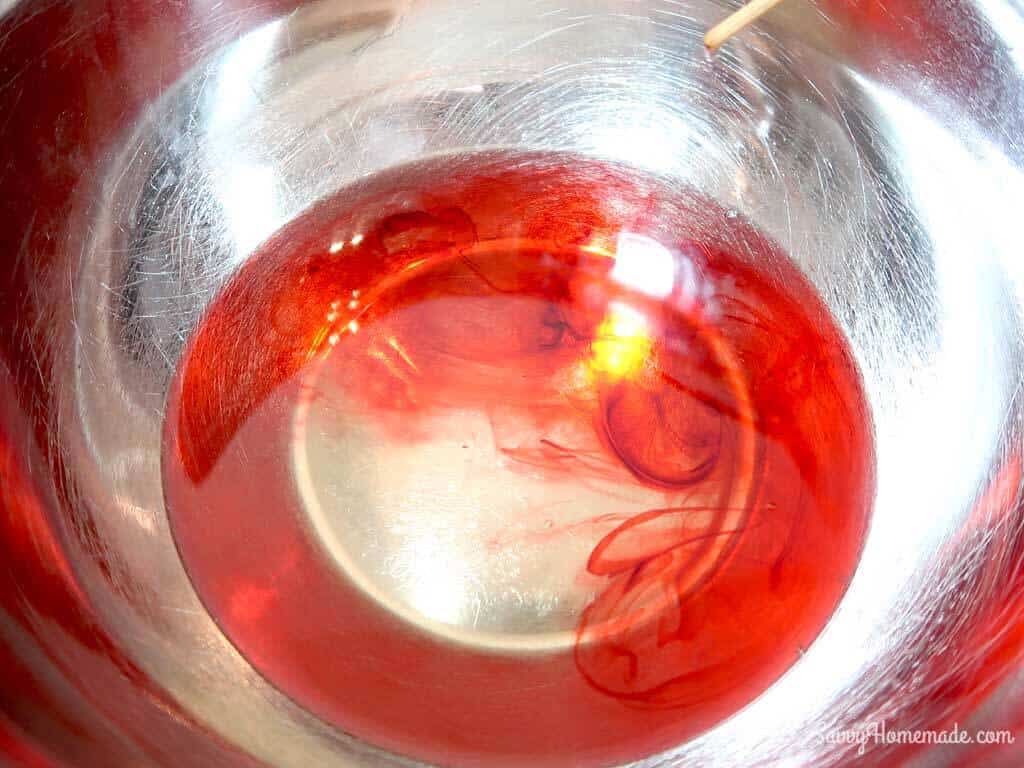
- Now your wax and dye should be nice and melted. This is the point where you will want to add your fragrance and/or luxurious essential oils. For this candle, I’ve used raspberry fragrance oil. It’s a relatively cheap oil to buy, and a perfect scent for a candle. You’ll want to add around between 7 to 10% of the weight of your wax.

- At this point I have to say my kitchen is smelling lovely, the deep red color looks like melted jello, yummy! Now carefully pour the wax into the jar or mold.

- Support your wick using a bamboo stick or pencil. Whilst the wax cools it contracts, sometimes resulting in the candle sinking a little in the middle.Wait until the candle is half set, then pierce the top of the candle with a bamboo stick or needle and top it up with wax that's been reheated. Making sure you don't top over the original level of wax or you won't be able to remove the finished candle very easily. You may need to do this more than once. A full explanation on fixing sink holes with photos can be found on the basics of candle making at why do homemade candles sink in the middle.
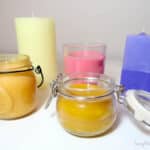
- Give your candle 24 hours to harden, you now have another masterpiece to add to your collection of homemade candles! As I mentioned before its possible to scent all kinds of candles. You can see this raspberry candle in the middle of the photo below amongst my recent collection.

Tried this projectMention @Savvyhomemade or tag #savvyhomemade!