
My Castile Soap Recipe
A recipe with reduced water part that will get your bars hard enough to remove from their molds much more quickly.
Print
Pin
Yield (adjustable): 6 bars
Ingredients:
- 80 grams (2.82 oz) Distilled Water
- 57.5 grams (2.03 oz) Soapmaking Lye sodium hydroxide/lye crystals
- 450 grams (15.87 oz) Olive Oil
- 15 grams (0.53 oz) Lavender Essential Oil
- 1 tbsp (1 tbsp) Nettle Leaf ground, optional
Equipment:
- Heat-Safe Mixing Bowl
- Plastic Containers to weigh out lye crystals
- Pitcher to make lye solutions
- Glass containers to weigh essential oil
Instructions:
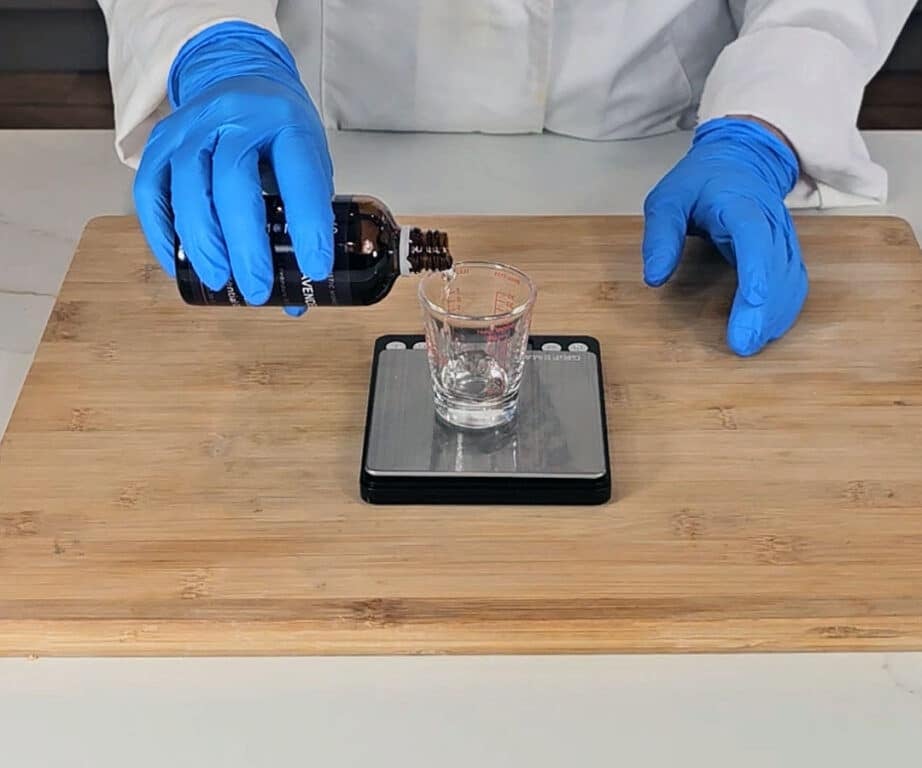
- Weigh the essential oil into a small glass container and set it aside for later use.15 grams Lavender Essential Oil
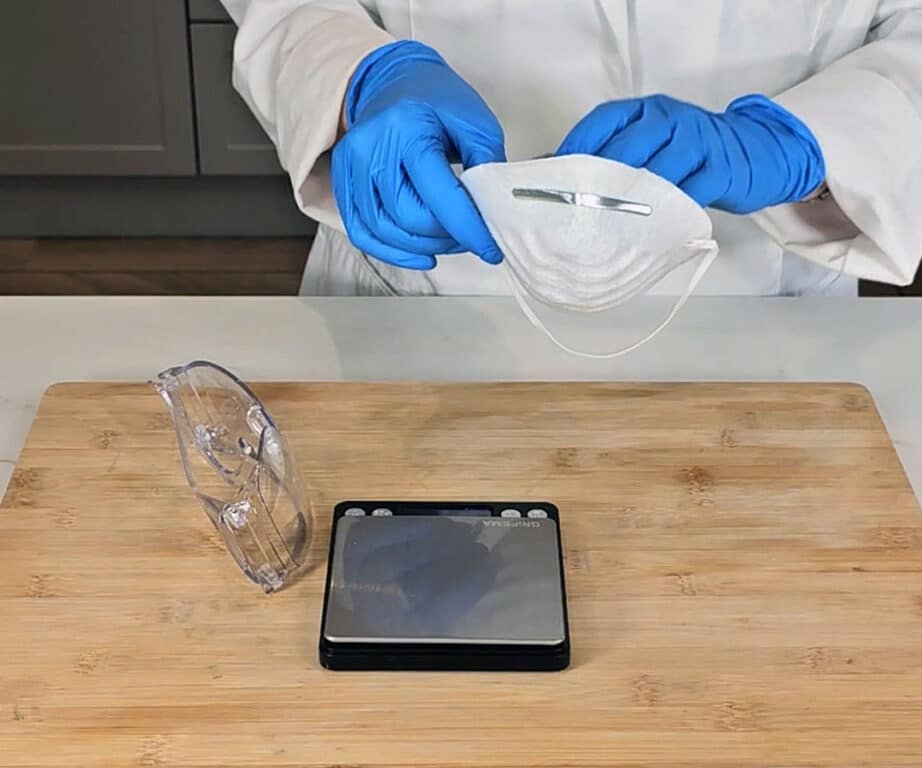
- Make sure you are making the soap in a well-ventilated area. Put on your gloves, eye protection, mask, apron, and long rubber gloves.
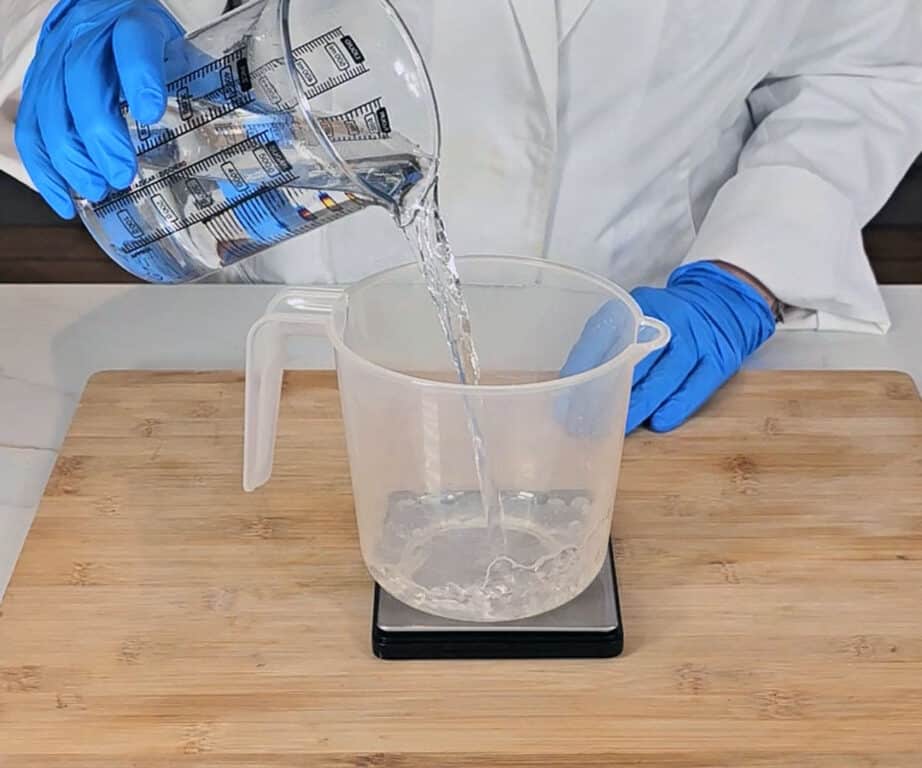
- Weigh the distilled water into a clean container. Never use a glass container as this is going to be holding the lye water. Lye can weaken glass so it can easily break. In a separate container, weigh your sodium hydroxide/lye crystals.80 grams Distilled Water, 57.5 grams Soapmaking Lye
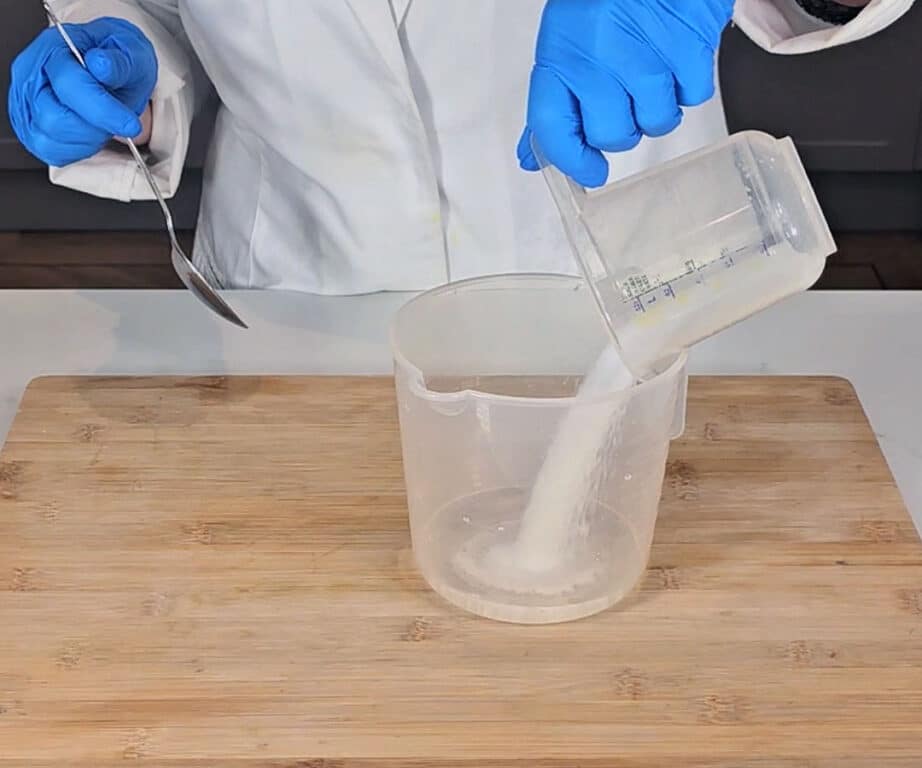
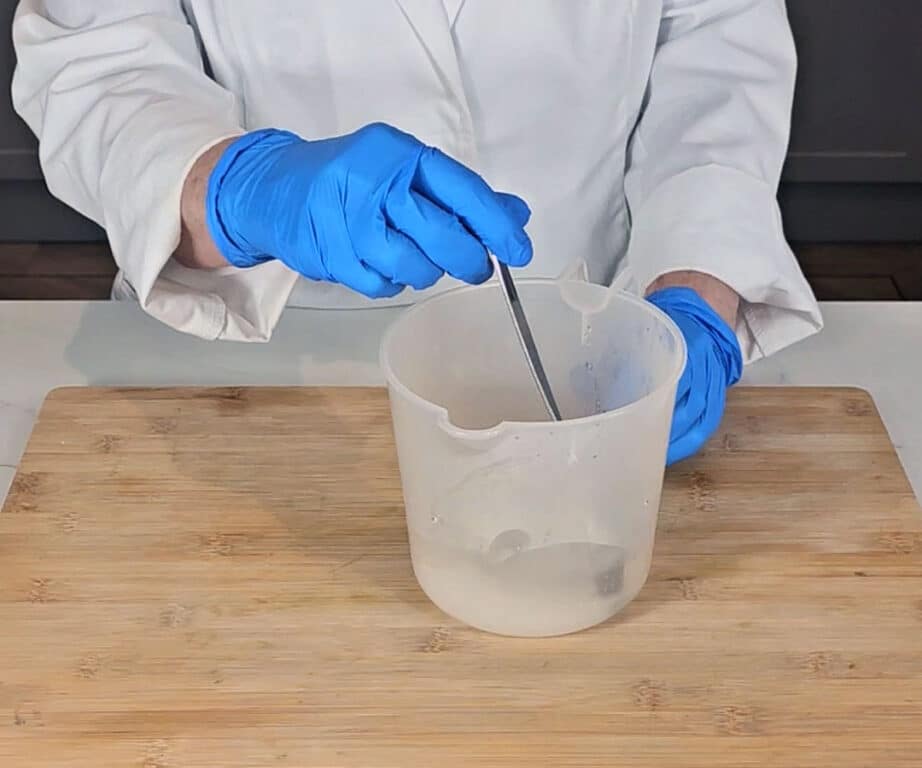
- When you’re ready, carefully pour your lye crystals into the water. Never pour the water into the lye as this can create a violent reaction.Once the lye is in the water, start stirring it. Although you are wearing a mask, we still recommend turning your head and leaning away while stirring, so you do not breathe any of the fumes. As the water and lye mix this will result in a chemical reaction, and the lye water will increase in temperature and release toxic fumes.
- Stir until the lye crystals have dissolved and the water looks fairly clear. Now place to one side, somewhere well-ventilated but safe so that it will not be knocked over. Allow to cool to around 120f (49c) as we get on with our other steps.
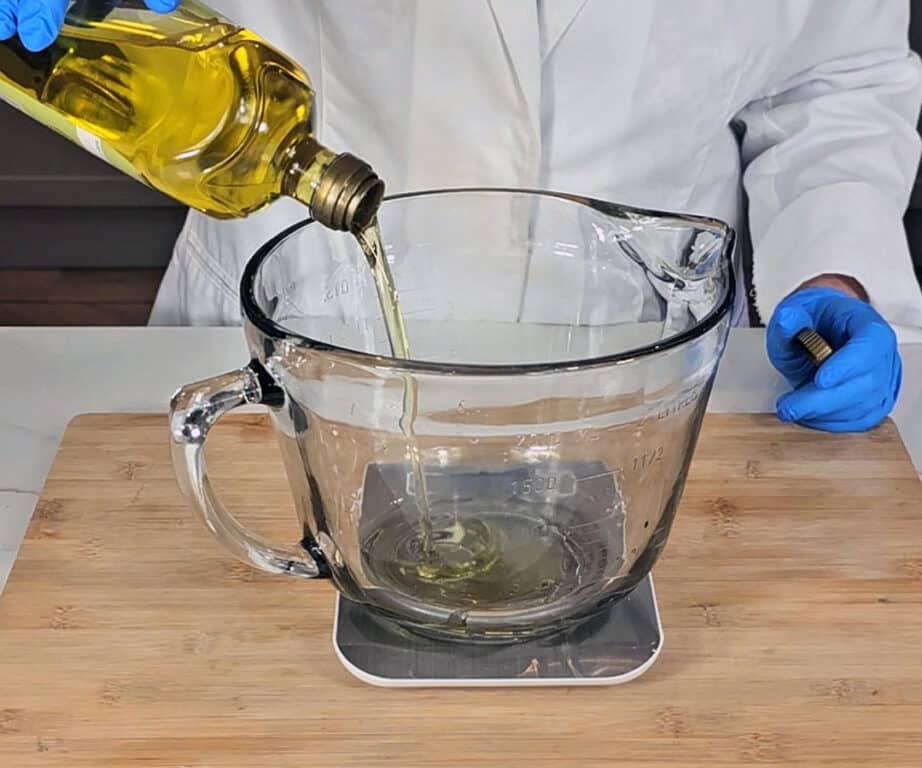
- Place the olive oil into a large glass mixing bowl. Make sure the bowl is microwave safe, then pop it into the microwave and gently warm it to around 120f 49c)450 grams Olive Oil
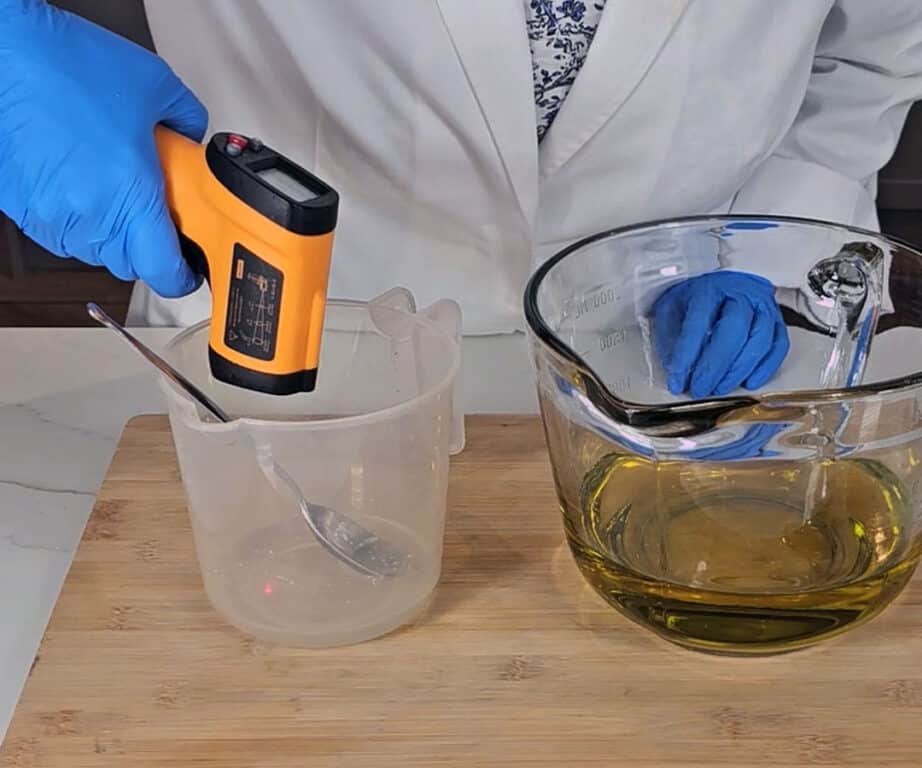
- Check the temperature of the oils and the lye water. You can do this with a temperature laser gun or a jam thermometer. We want them both to fall between 120- 100 (49-38C). If they are still too hot, leave them to cool for a while longer. They do not need to be the same temperature, for example, the lye could be 120f and oils 110f, but it is best to keep them within 10 degrees of each other.
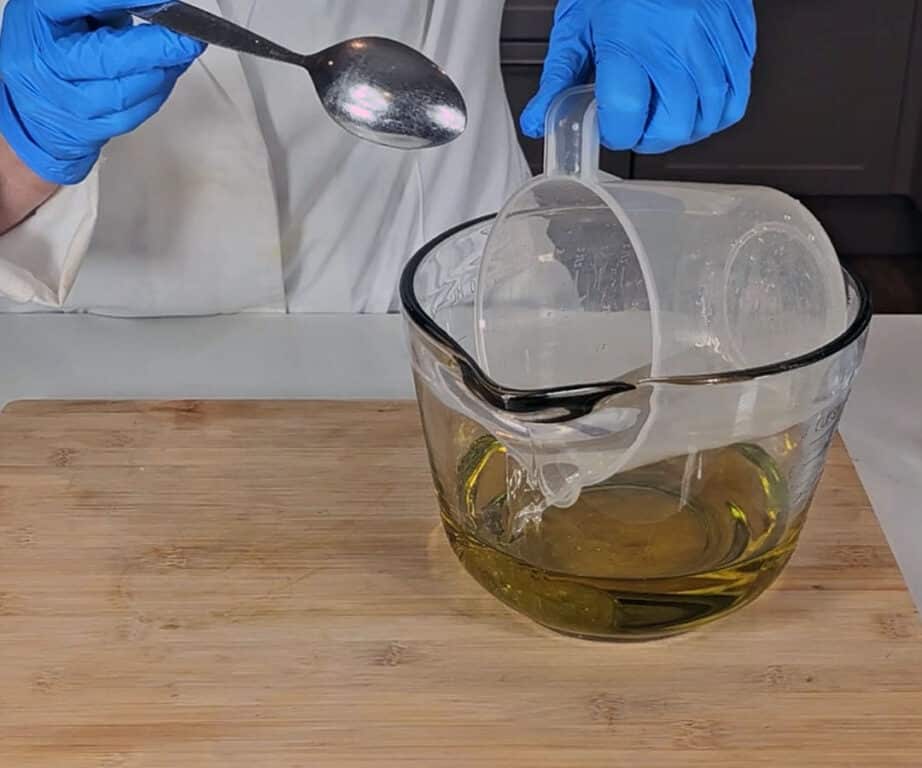
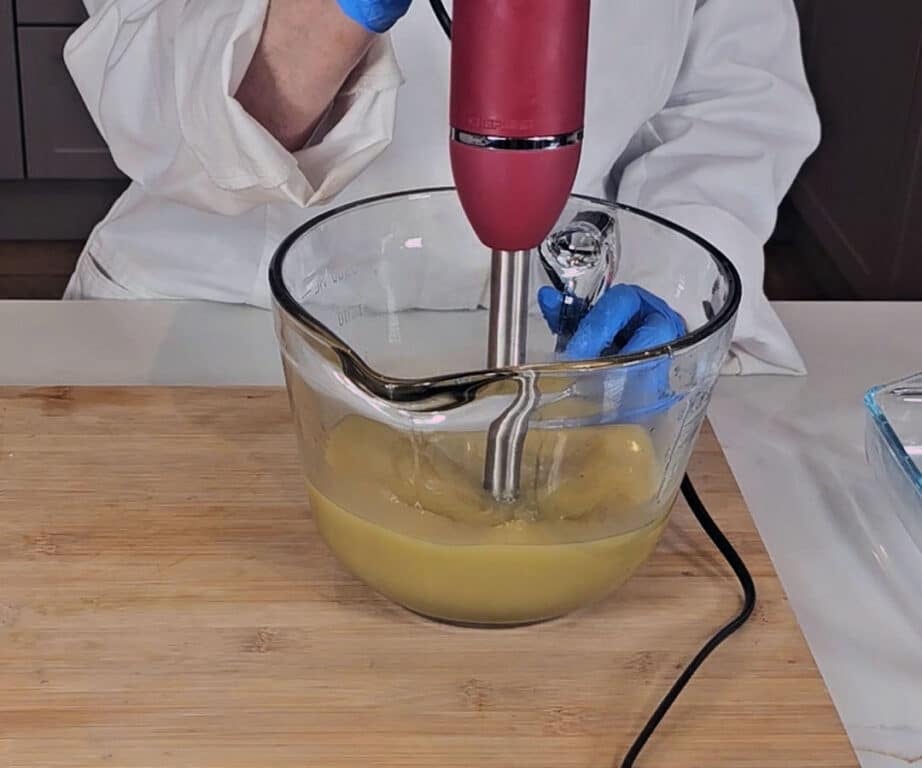
- Once you’re satisfied they’re balanced, carefully pour your lye solution into your oils. Before turning on the stick blender to mix the oils and lye, gently tap the stick blender against the bottom of your container. Continue tapping until all the air bubbles have been released.
- Turn the stick blender on and blend the soap batter until you reach a light trace. You will notice immediately that the color of the oil has changed to a creamy, yellowish hue. This is called emulsion and is the precursor to trace.If you’ve made any other type of soap before, you may notice that this soap takes a lot longer to trace than others. This is fine and totally normal, just keep blending until you can pick up some of the mixture with a spatula, and ladle it back onto the surface of the batter. If it sits on top of the batter for a few seconds before submerging back in, then your soap batter has reached a trace.
- Now that we’re at trace, it’s time to add our essential oils. I always recommend getting the mold ready before adding the essential oils, as they can sometimes thicken the soap batter, meaning you have to work quickly to get it into the mold.
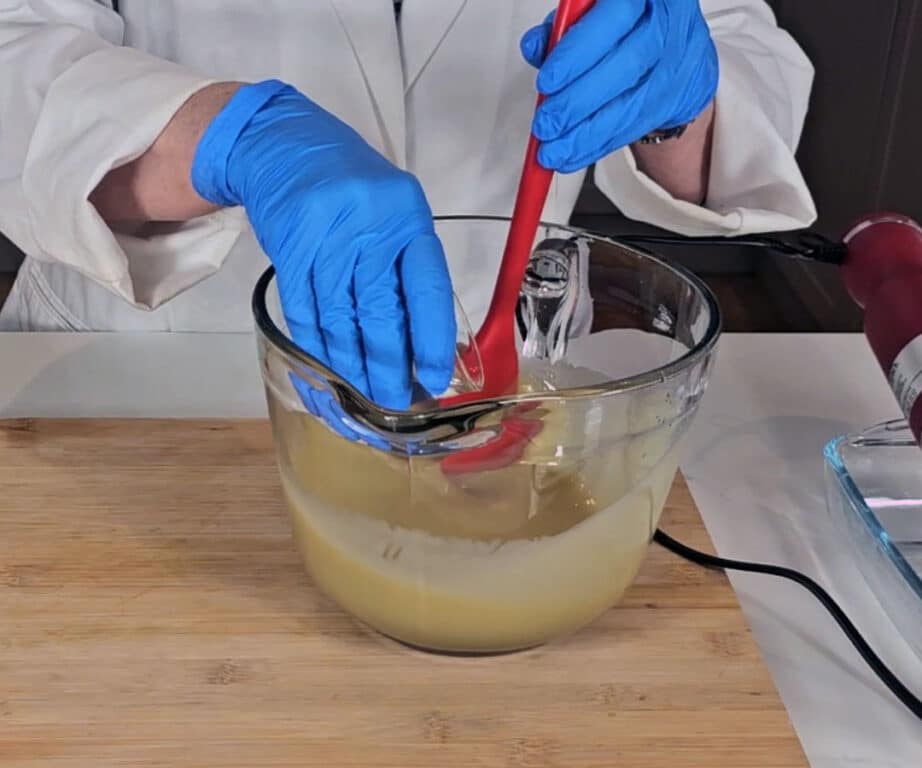
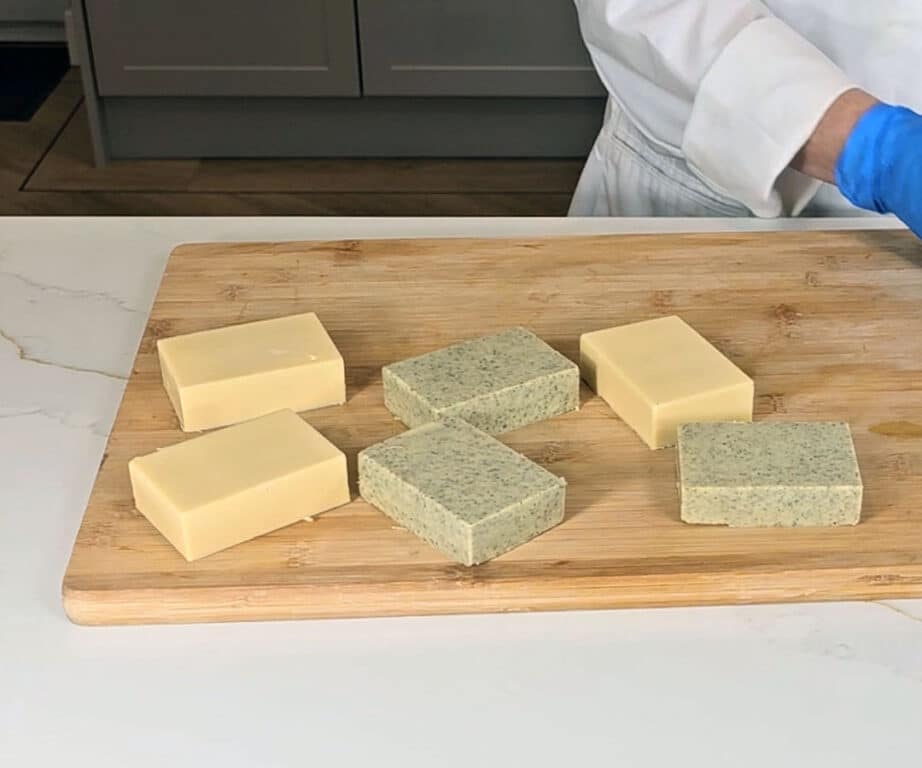
- After adding the essential oil, give the soap batter a good stir with the spatula or a few more blasts with the blender to ensure that it is fully dispersed. If you are adding a herbal powder you can also add and blend this in now. For half plain and half herbal, you will need to pour the plain ones first before blending in the herbs.1 tbsp Nettle Leaf
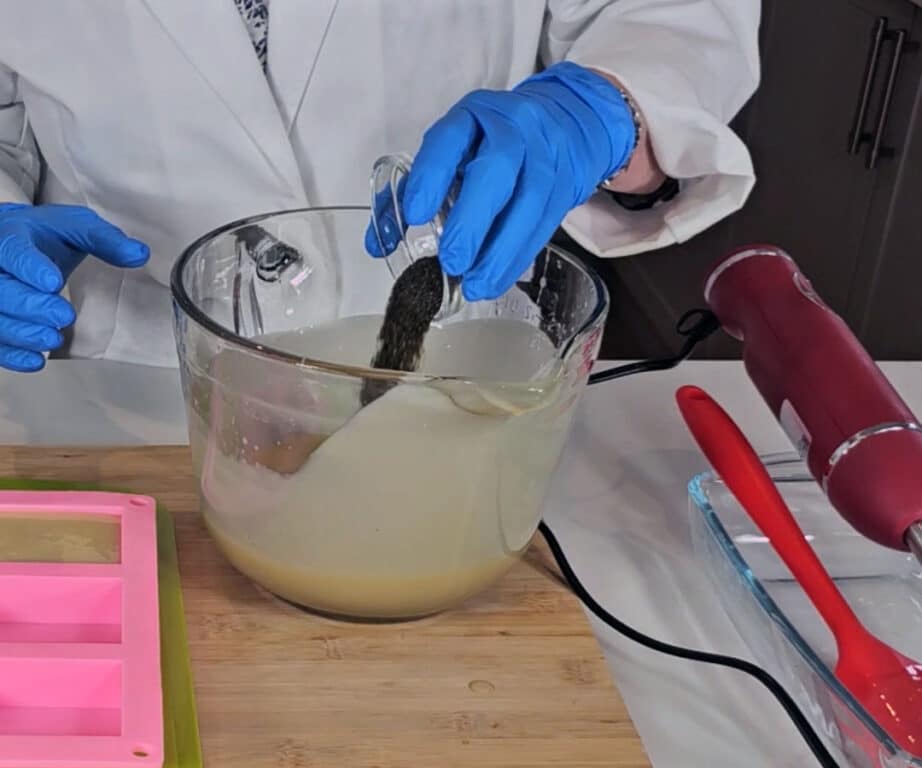
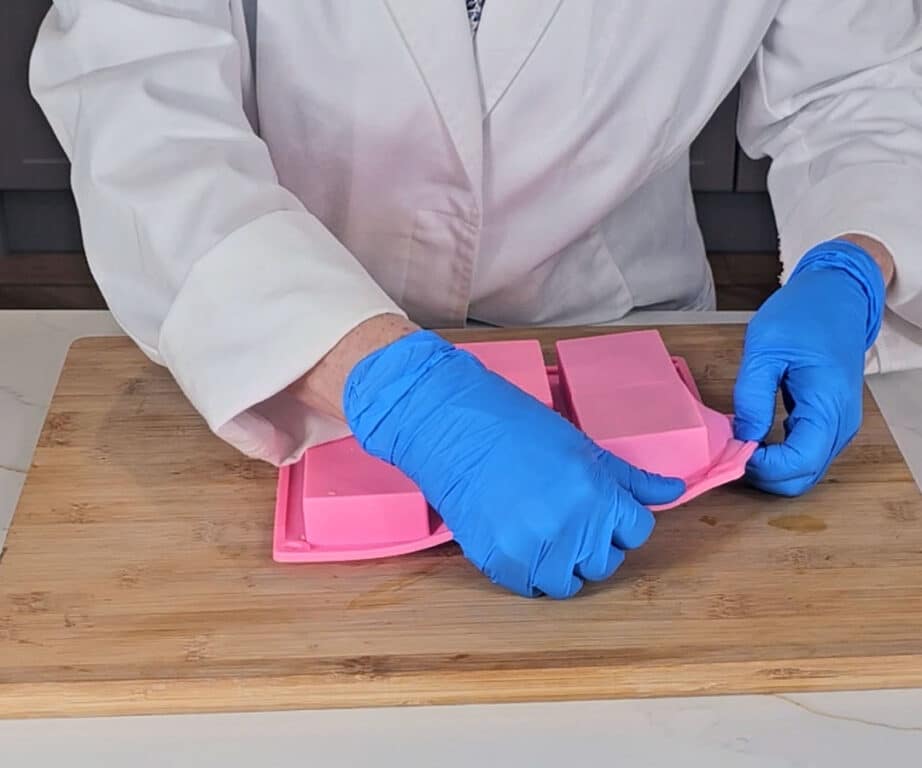
- Carefully pour the batter into your chosen mold. If you are using silicone molds like the ones we are using, remember to stand the mold on something solid so that you can move it if necessary. A chopping board or book usually works well. Give it a few light taps down to even the soap batter, or use a silicone spatula to level it out if needed. You can leave the top of the soap flat or add some texture with a spoon. Adding texture is a great way to conceal any uneven flaws and can make the soap interesting.

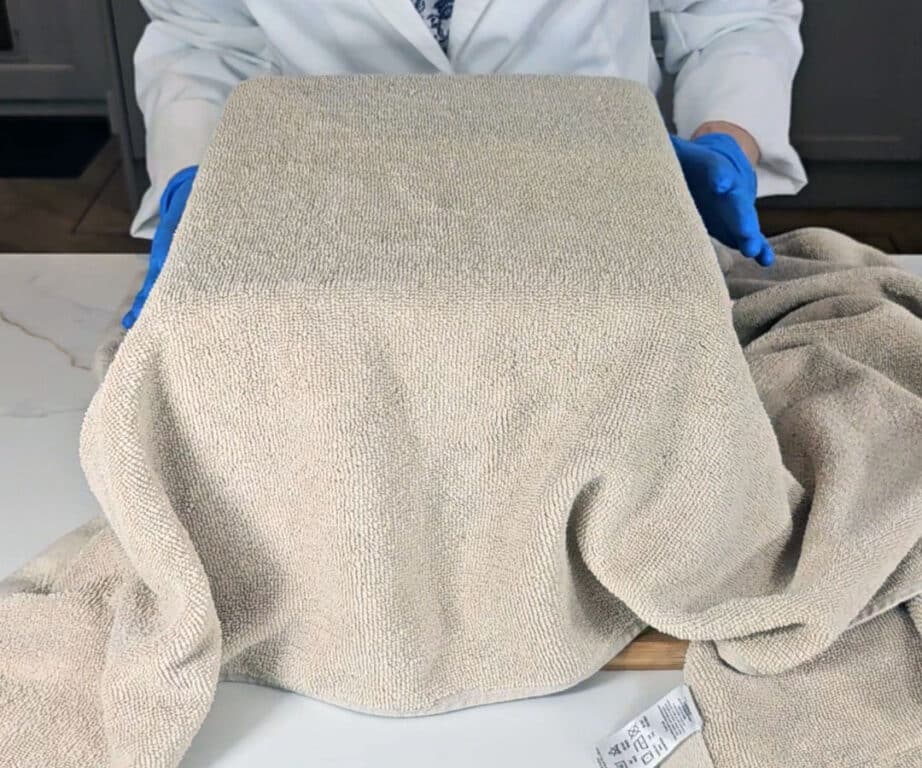
- We now need to leave this to saponify for at least 48 hours before we can remove it from the mold. I like to keep it well insulated during this period, so the gel phase is efficient. I do this by cutting a piece of cardboard to sit on top of the mold and then covering it with an old towel.
- Once our soap has fully saponified, and the sides of the mold come away easily from the soap, it’s okay to remove it from the mold. We find that castile soap takes longer to harden than most soaps, so be patient and don't panic if it takes a bit longer.If you have used a loaf mold, cut the soap into bars using a stainless steel knife or a soap cutter. You should be able to get between 6 bars from this batch, depending on the desired thickness.
- Leave the soap bars to cure for at least six weeks in a cool, dry place. The longer you leave castile soap to cure, it will produce a harder and longer lasting bar.Always check the PH before using it.
Notes:
We usually work on a 2:1 ratio of water to lye, but to help the castile soap harden and cure quicker we have reduced the water by 30%. This is my secret tip, and probably why you're questioning the lack of water!
Tried this projectMention @Savvyhomemade or tag #savvyhomemade!