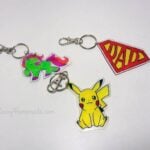
Make Your Own Personalized DIY Keychain
These are so quick to make there’s still plenty of time to make them as a simple yet very personal gift for Christmas this year!
Print
Pin
Yield (adjustable): 1 Keychain
Ingredients:
- Keychain and jumpring
- Shrink Plastic Sheets
- Permanent Markers
- Image Template optional
Equipment:
- Hole Punch
- Oven
Instructions:
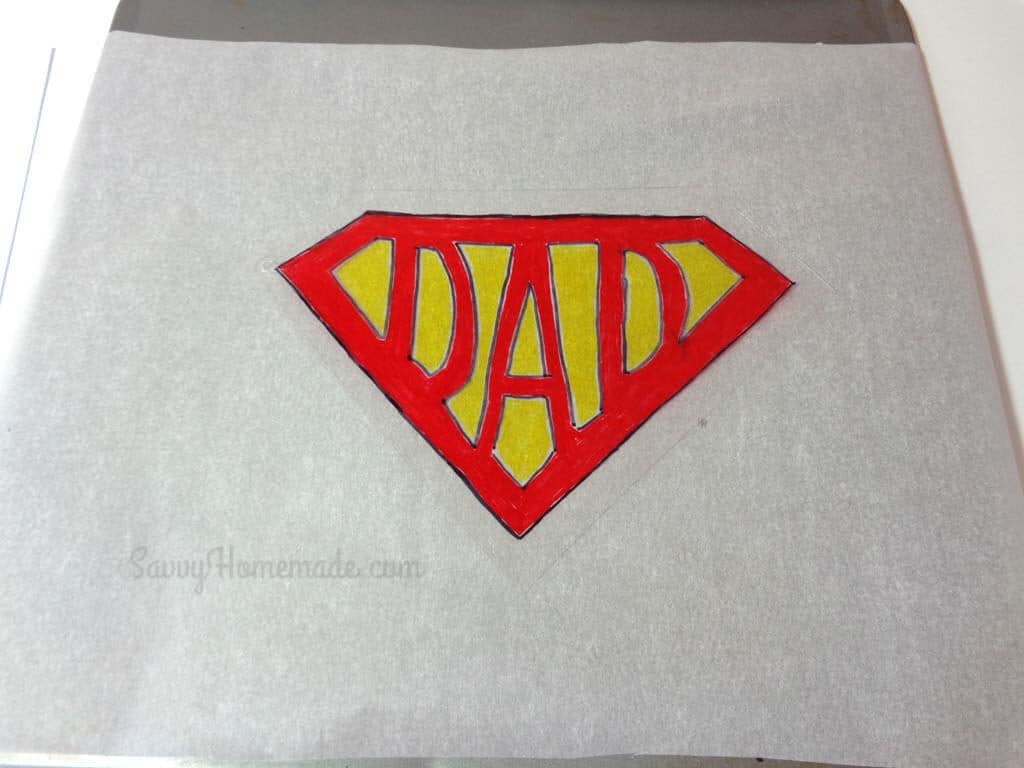
- Using permanent markers, draw a picture on to the shrink plastic or download and print off a template, then trace it on to the shrink plastic. Remember that the end result will be 3 times smaller than your original drawing. So that I can see what I’m doing, I find it easier to color my picture on a white back ground. An ordinary piece of white paper is sufficient for this.

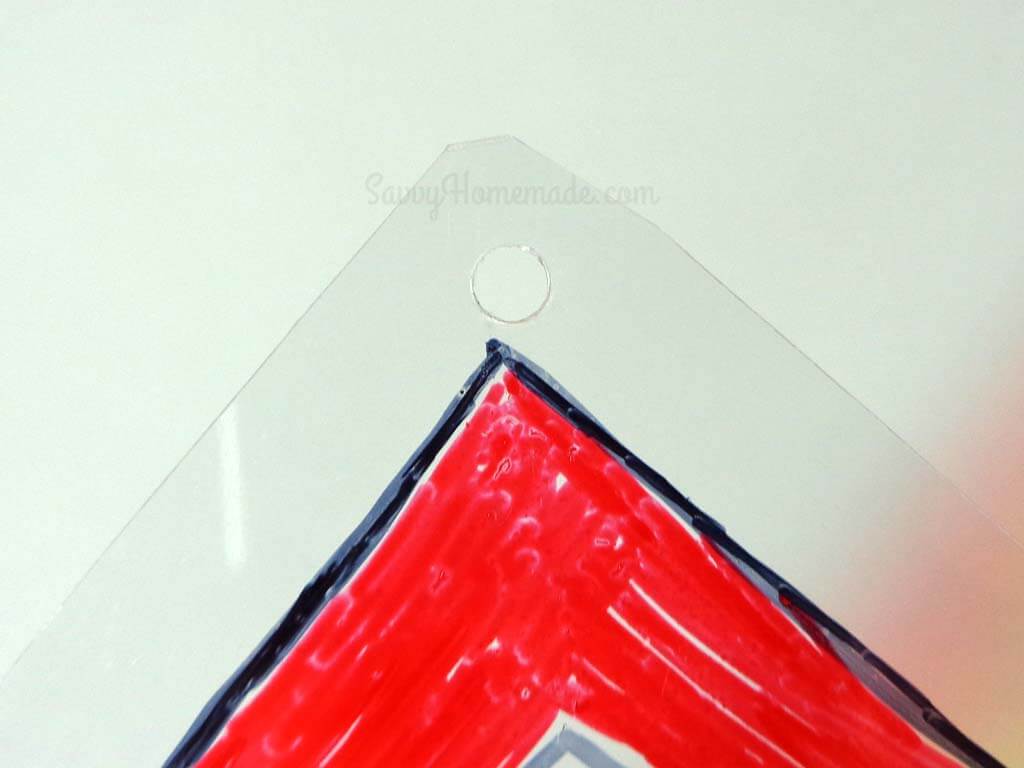
- Leaving a decent sized border around your drawing, cut your picture out. Use a hole punch to pierce a hole in one of the corners. Remember that this will shrink too, so it needs to be large enough to attach a key chain afterwards.
- Place the piece of parchment paper on to a cool baking sheet and place your plastic on top. You don’t want your plastic to be in direct contact with the metal sheet. Do check this against the instructions on your shrink plastic as some makes recommend using silver foil.
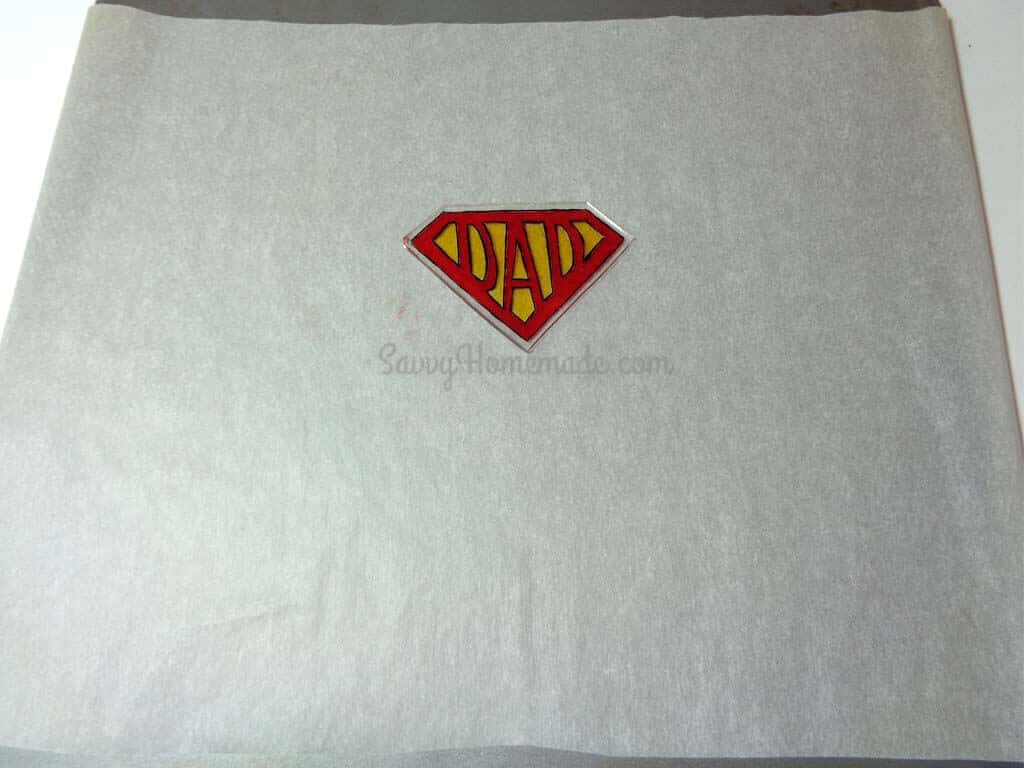
- Bake in the oven at the manufactures recommendations for a few minutes until it has shrunk and is flat. Whilst shrinking you will see the plastic curl and twist, don’t panic wait until it’s become flat again before removing from the oven. (See notes on curling below)Once removed from the oven immediately place it on to the work surface and place a table mat or book on top until hard, if it’s not pliable don’t try to press it flat. Place it back in the oven and reheat.
- Attach the keychain to the key ring. A jump ring can be used if the hole is a little on the small size.

Notes:
Some shrink plastics work better than others so it’s inevitable that the odd one will curl up and not become flat. If this continues to curl, place another piece of parchment paper on top of the plastic then weight it down with a few stones or pebbles, this should restrict the plastic from curling up

Tried this projectMention @Savvyhomemade or tag #savvyhomemade!