
Make A Coffee Candle With Real Beans
I've thrown interesting things in candle wax before, it's great fun. So I came up with this lovely DIY coffee candle, with real coffee beans in the base.
Print
Pin
Yield (adjustable): 1 Candle
Ingredients:
- Parrafin Candle Wax or any pillar safe wax
- Candle Wick to fit your candle mold
- Fragrance Oil For Soap coffee, latte, or cappucinno is also good
- Whole Coffee Beans a couple of handfuls should do, but will depend on size of mold
Equipment:
Instructions:
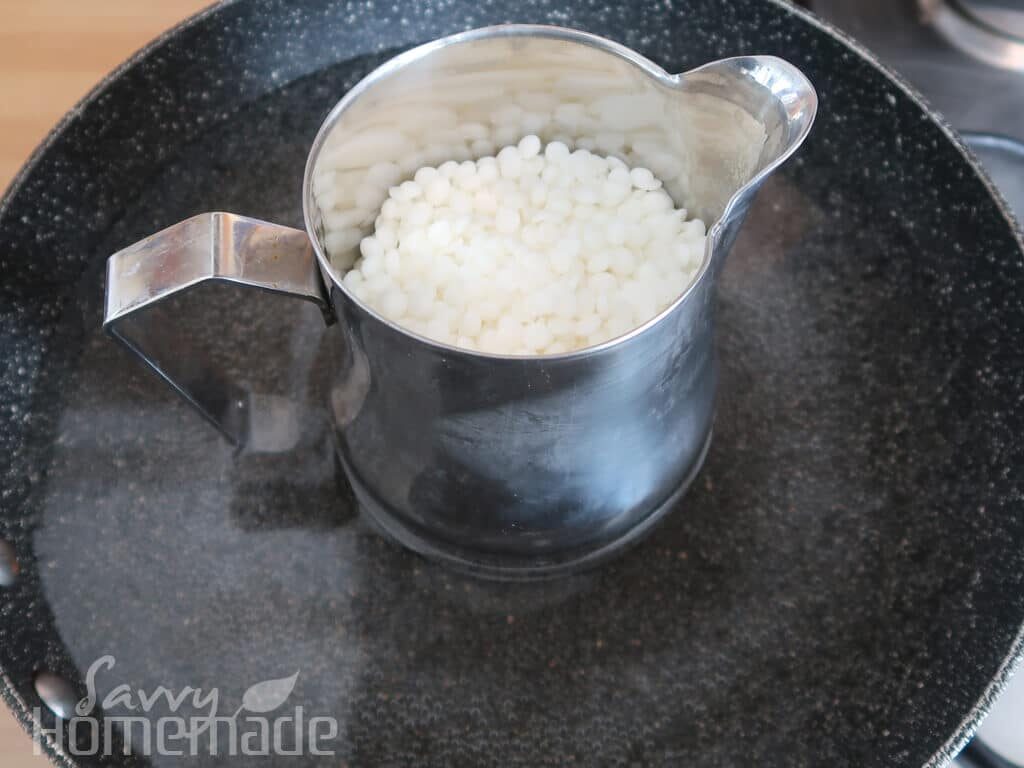
- To get this DIY coffee bean candle started, it’s a good idea to first find out how much wax we’ll need for your mold. After all, all molds are different.To do this, fill your mold with water, leaving roughly 3 inches from the top. Then, using a set of digital scales, weigh the water. I like to use grams, as it’s more accurate than your standard ounces.While water and wax do have different densities, and so do not weigh the same, it should give us a rough idea of how much we’ll need.Be sure to dry your candle mold thoroughly before continuing. Then, we can set up a waterbath and begin melting our wax!
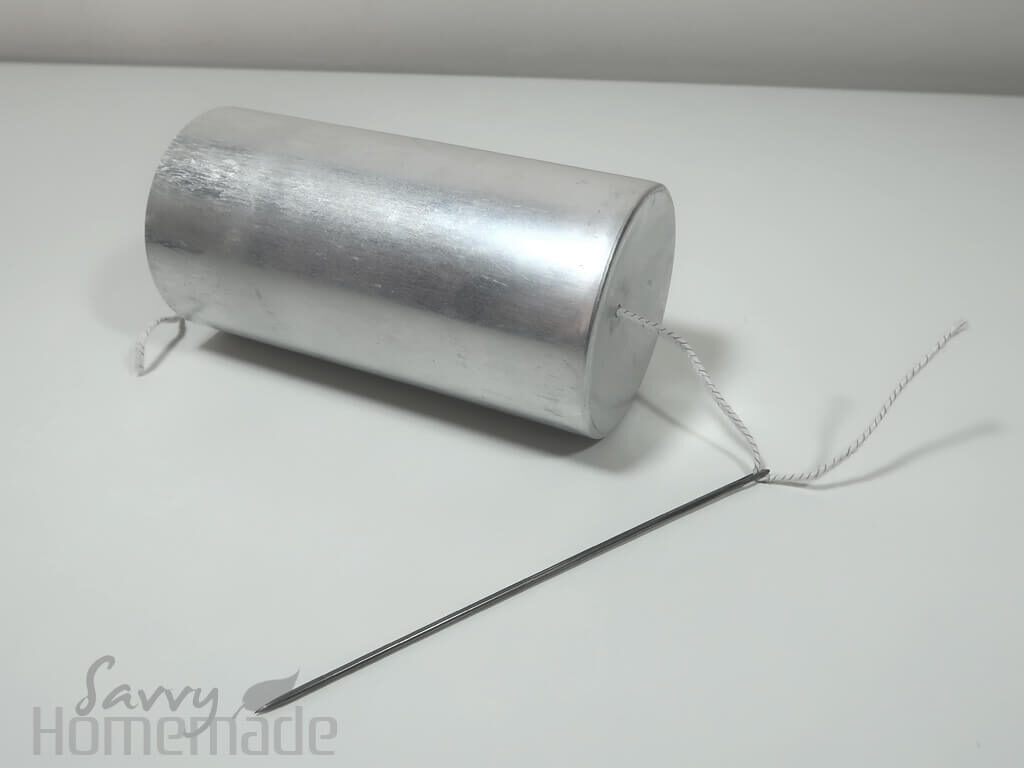
- Your wax will take a little time to melt, roughly 20 minutes. So, it’s time to wick the mold. For a detailed guide on how to choose the right size wick, see my in-depth guide to Candle Wicks and Wicking.Using your wicking needle, thread your wick through the hole in your mold.
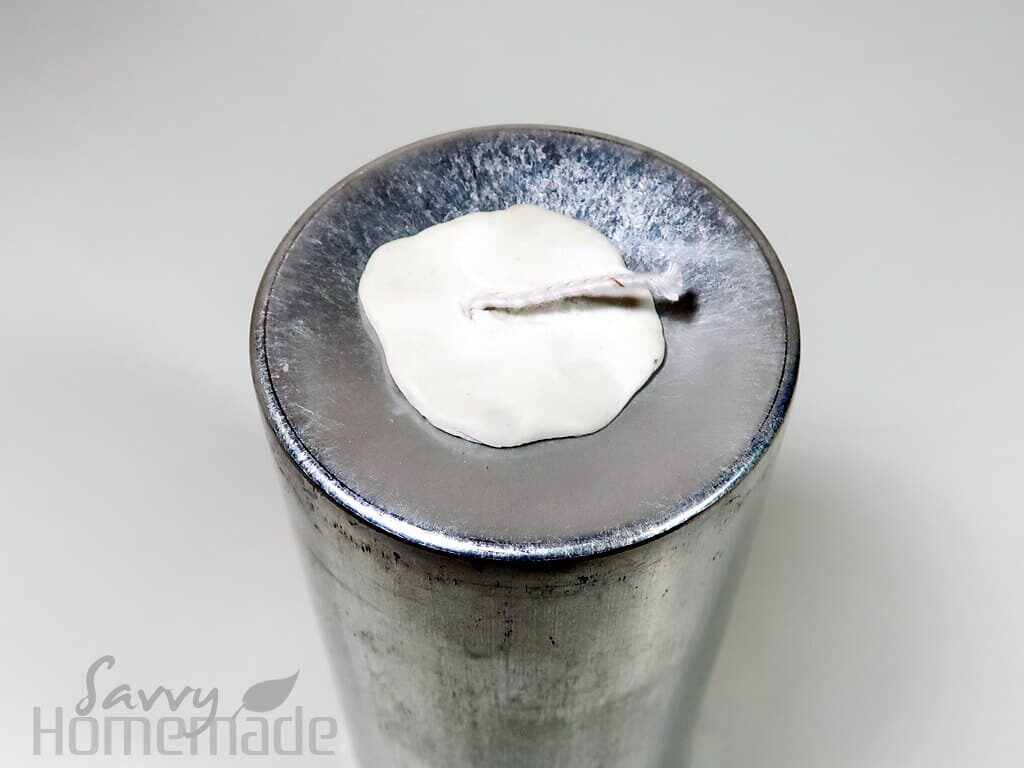
- You can then hold the wick in place by using a bit of candle sealant. This should not only keep the wick in place but also stop any wax from seeping out.Now, turn your mold right way up and use a pencil or stick of bamboo to hold your wick steady and prevent any slack. You can buy specialist wick holders, but I find they’re a bit of a waste of money.Wicking can be a little fiddly, and if you require more information you can find a detailed analysis of wicks here and a more detailed method of wicking your candle mold here.
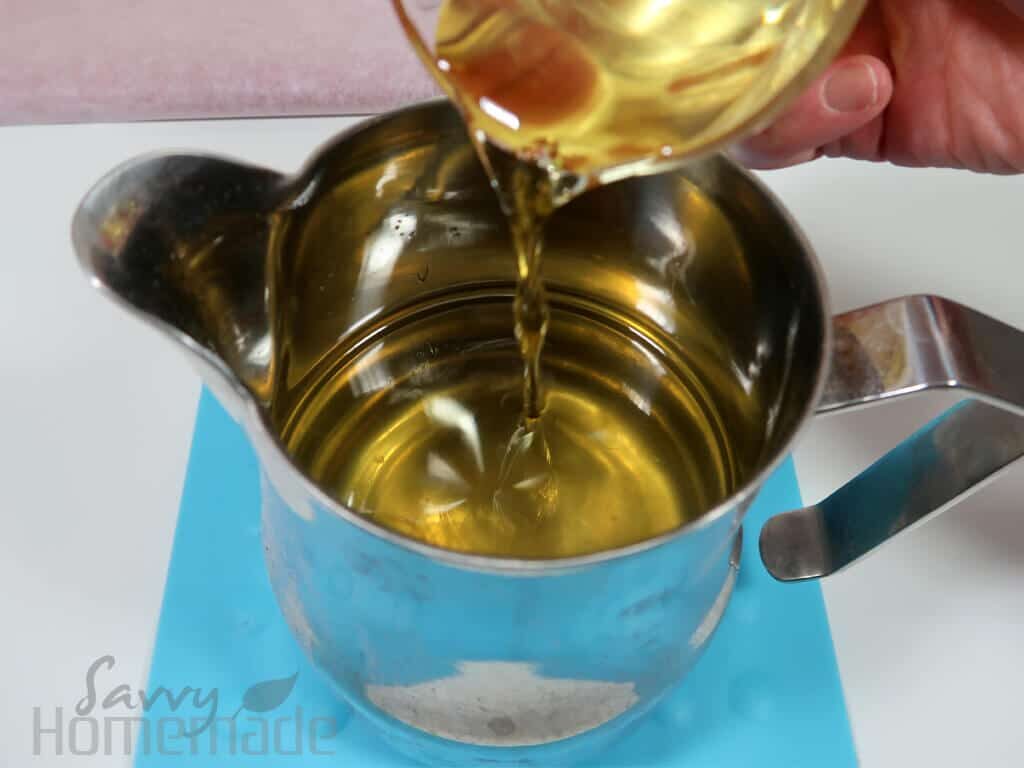
- By now, your wax should have completely melted. Remove from the water bath and place on a heatproof mat.Now it’s time to add our fragrance oils! If you’re using a mix of oils, like I am, weigh them all in the same glass beaker. This will make it easier to pour into your wax. I’m using a mix of coffee, vanilla, and chocolate fragrance oils. This gives it a sweet, mocha inspired coffee aroma that I just LOVE!When you’re happy with measurements, pour the fragrance oil into your wax. You’ll want your scent throw (the amount of fragrance oil in a candle) to be roughly 10% of the weight of your total wax, although a range of between 7-12% is fine too.
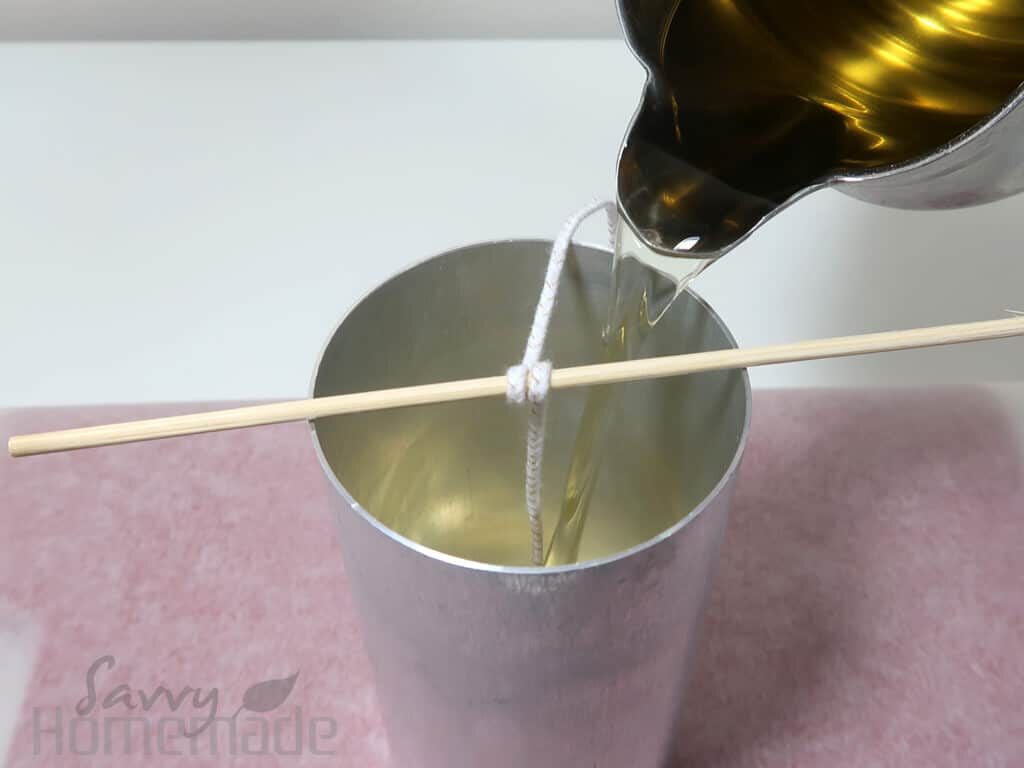
- Making sure your mold is level and sitting happily on a flat surface, pour roughly 3 quarters of your wax. Leave to harden.
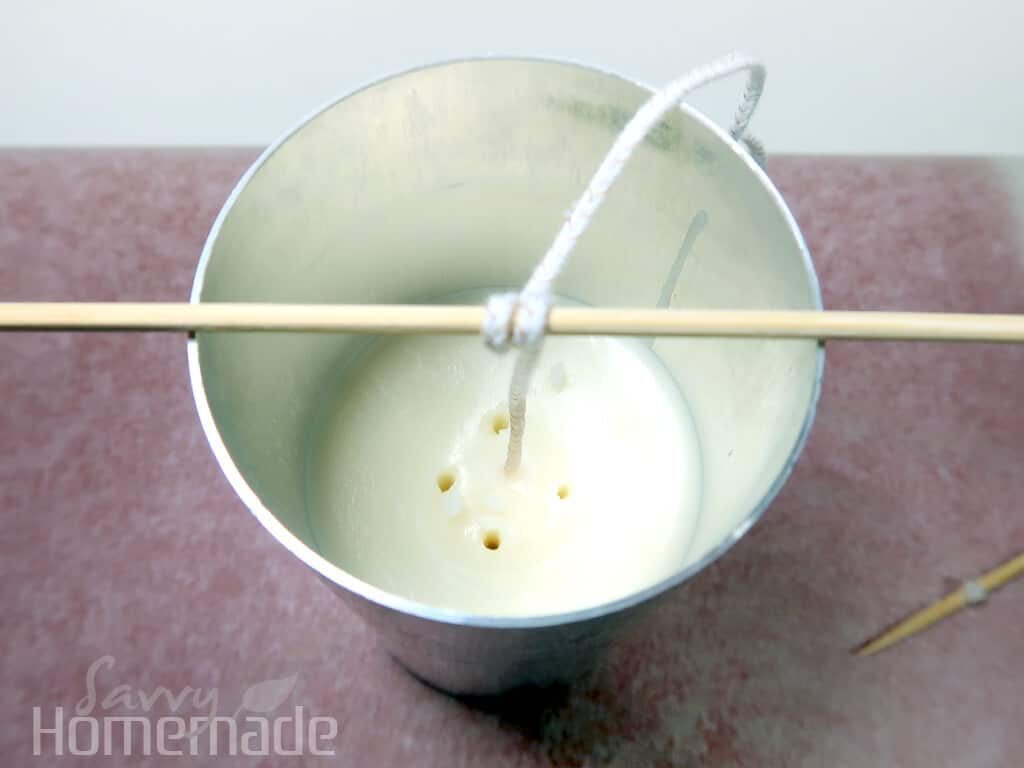
- You’ll notice once your wax has hardened you’ll get what is known as a ‘sinkhole’. This is because of the wax contracts as it begins to cool, forming holes within our candle. For more information on sinkholes, see my complete guide to candle making which I wrote a little while back.It’s important for us to fix this problem, as when we come to burn our lovely DIY coffee bean candle, a sink hole can cause it to burn poorly. We want a nice, even burn without any nasty cavities in the wax.Simply use a stick of bamboo to push holes through the wax at a vertical angle. You’ll want roughly 4 or 5 of these around your wick. However, be careful not to disturb the wick at all. You’ll also want to avoid the sides and the bottom of the candle for a smooth finish.
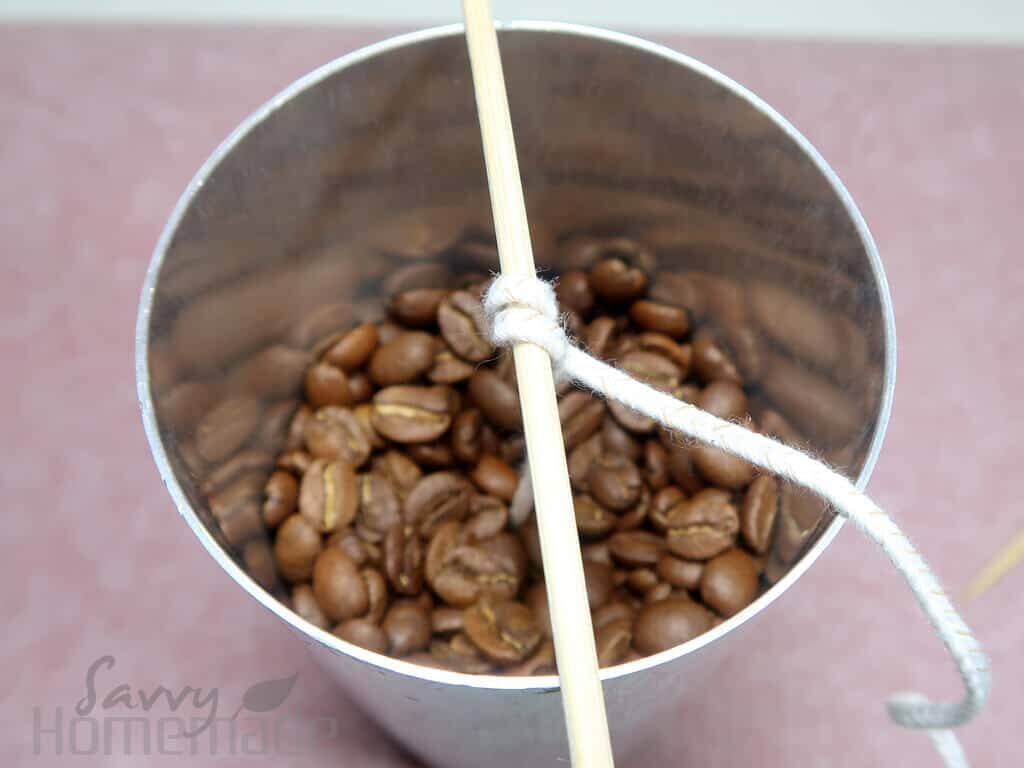
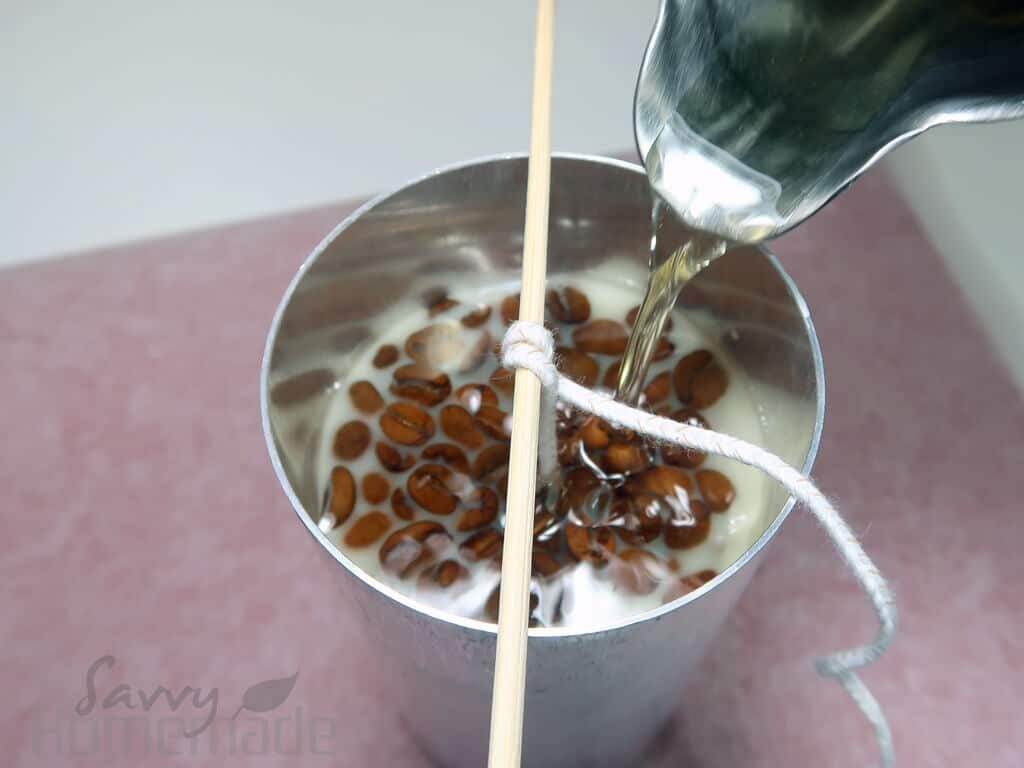
- Now that we’ve made our holes, it’s time to add the coffee beans and the last of the wax. So go ahead and pop your jug of hardened wax back into the water-bath to melt once more.While we wait for the wax to melt, take a few handfuls of the coffee and pop them into the mold. They should sit happily there while the wax continues to melt.
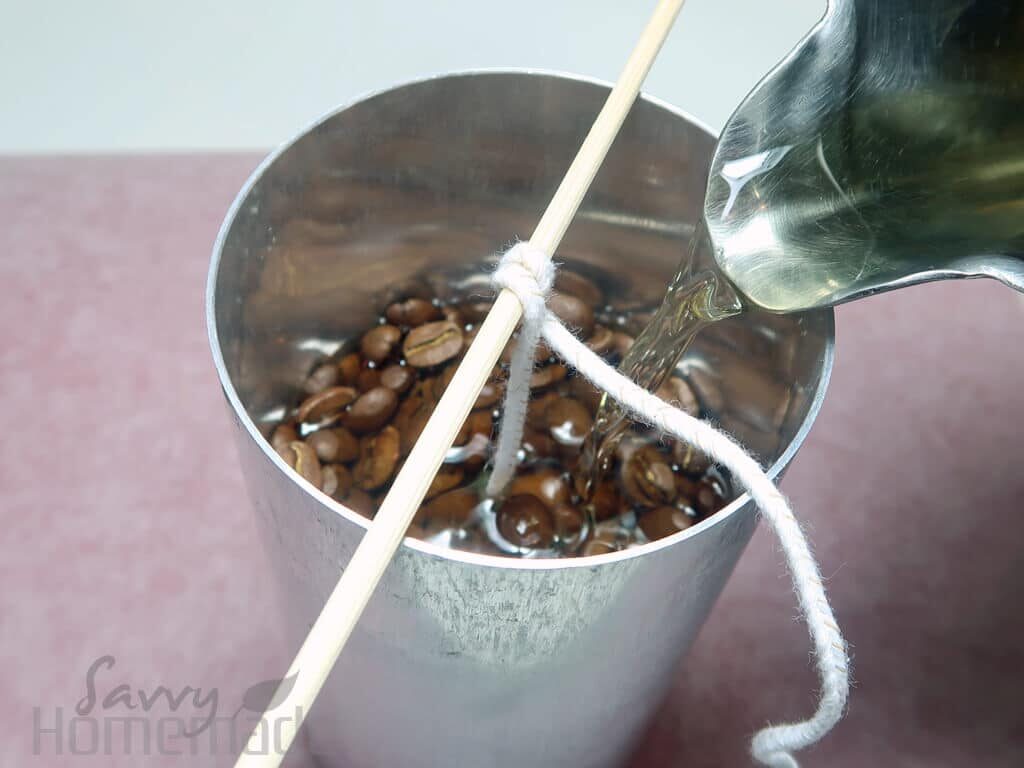
- Once the wax has melted, pour the wax over the coffee beans. Some of the wax will sink into the holes we made earlier, and fill in any gaps in the center of our candle. But don’t pour all of the wax, leave a very small amount so we can level out the candle later.
- Let the candle harden once more. You’ll notice that the coffee beans like to float in the wax as it hardens, so we’ll need that last bit of wax we held back to get a nice, smooth surface for the candle to sit on. So go ahead and melt the last bit of wax, and add it to the candle.Leave to harden fully overnight.
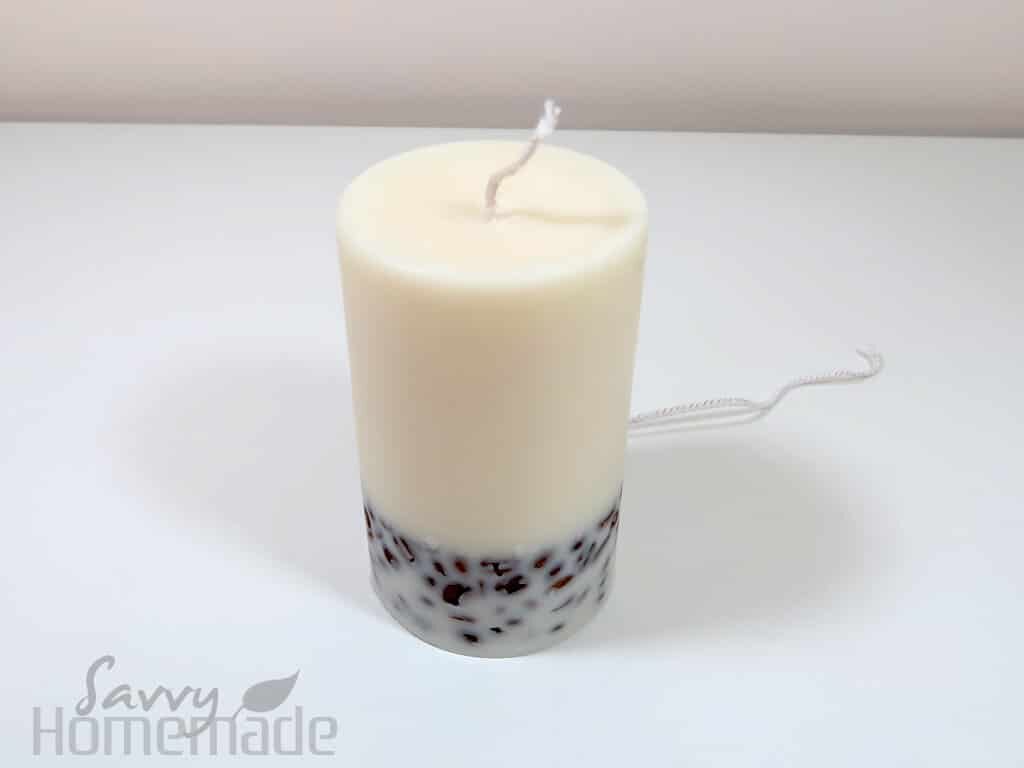
- Now we’ve left the candle overnight, we can remove it from the mold. This can be a little tricky, and you may need to gently tug on the excess wick to get it out. Be sure to remove any and all candle sealant before you attempt to remove your candle from its mold.
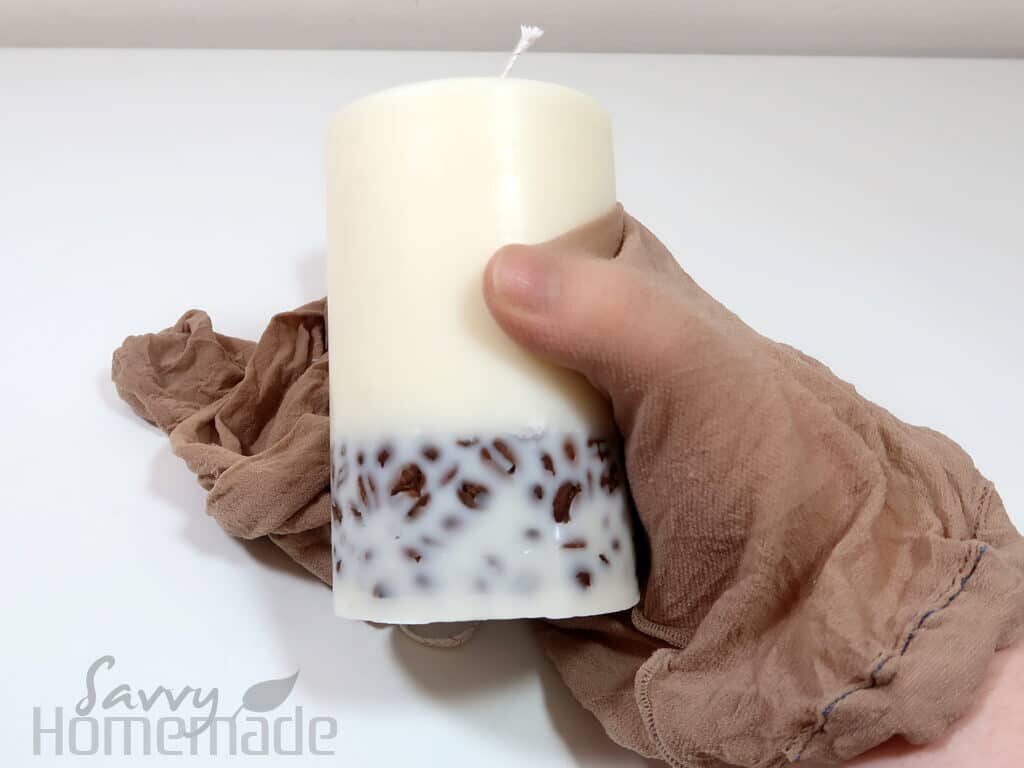
- You’ll notice that the coffee pokes through the wax a little. This is fine. While it doesn’t look great now, once we’ve given it a bit of a polish, the beans will look much more defined.To polish, grab a pair of pantyhose or thin nylon tights and give it a good rub all over. Give the wax surrounding the coffee beans special attention. You’ll find any cracks and uneven wax should buff out and make the coffee beans look much more like… well, coffee beans! After all, for a coffee bean candle, you’ve kinda gotta be able to see the beans!
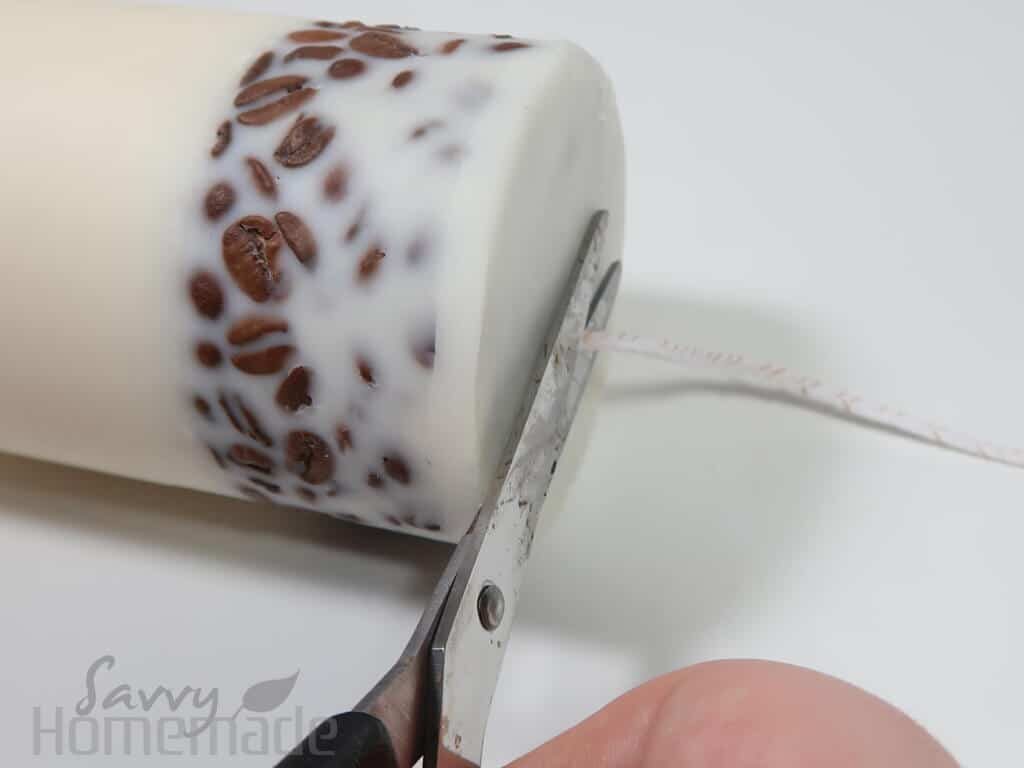
- Now the candle is polished, it’s time to trim the wick on both ends. Cut the wick on the base of the candle right against the surface so that your candle can sit evenly. On top, you’ll want to leave an inch or two so that you can light it easily.
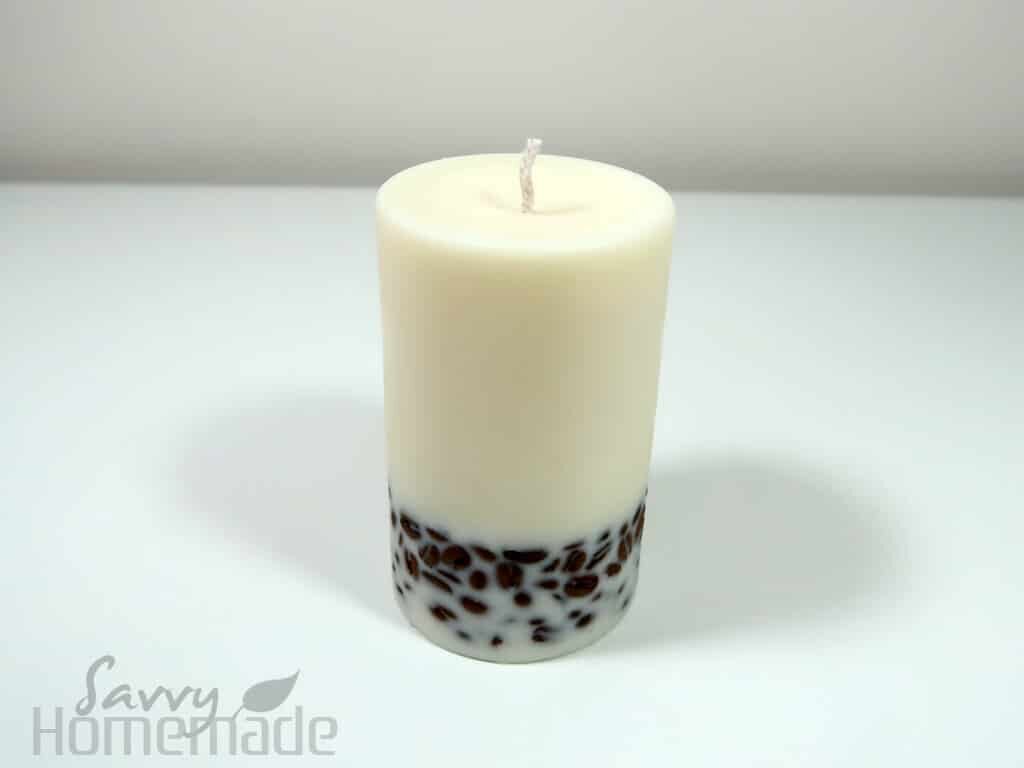
- So there we have it! A gorgeous DIY coffee bean candle, scented with coffee fragrance oil and a handful (or two) of coffee beans embedded in the base!
Tried this projectMention @Savvyhomemade or tag #savvyhomemade!