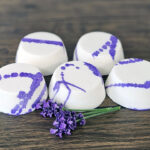
How To Make Shower Steamers At Home
This shower steamer recipe makes approximately six steamers, although the final number will depend on the size of your mold.
Print
Pin
Yield (adjustable): 6 Steamers
Ingredients:
- 284 grams (10.02 oz) Baking Soda Bicarbonate of Soda
- 10 grams (0.35 oz) Kaolin Clay
- 142 grams (5.01 oz) Citric Acid
- 18 grams (0.63 oz) Lavender Essential Oil
For The Decoration
- 10 grams (0.35 oz) isopropyl alcohol 2 teaspoons
- 2 grams (0.07 oz) Mica Powders ½ teaspoon
Equipment:
- Paintbrush
- Small squirty bottle or pipette
- Greaseproof paper/Baking parchment
- Cooling Rack or tray
Instructions:
- Before you begin mixing the dry ingredients, weigh the essential oil into a small glass container. Set it to one side until you are ready to use it.Place the baking soda and kaolin clay into your mixing bowl. Stir them together until they are thoroughly combined.Pass any particularly lumpy ingredients through a sieve before adding them to the bowl.284 grams Baking Soda, 18 grams Lavender Essential Oil, 10 grams Kaolin Clay
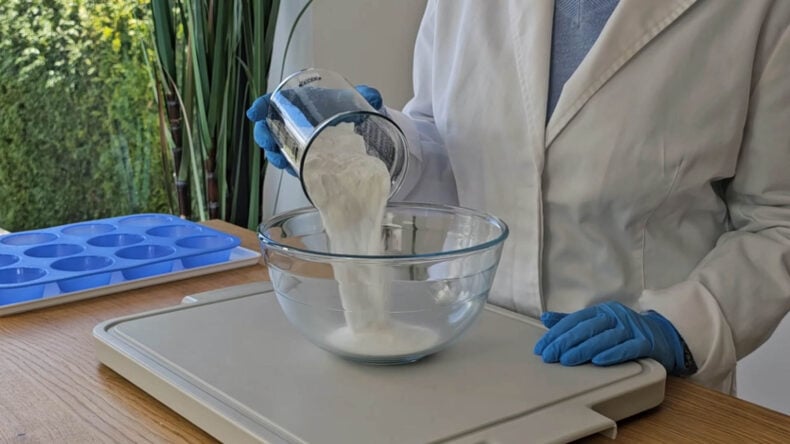
- Sprinkle the essential oil over the baking soda and clay.Mix thoroughly until the oil is evenly dispersed. You can use a hand whisk or get your hands into the mixture and give everything a good mix.Working the mixture with your hands is particularly helpful for breaking apart any oily lumps or clumps.Baking soda can feel quite harsh on the hands, so always wear disposable gloves while handling the mixture. Gloves are especially important at this stage because we are working with a relatively high amount of essential oil.
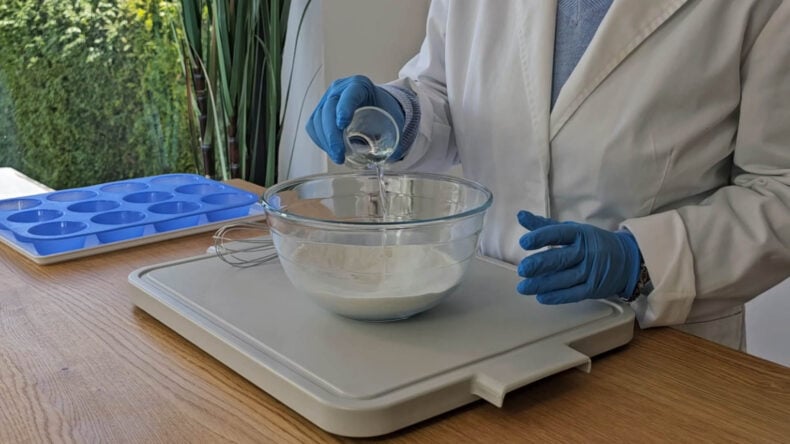
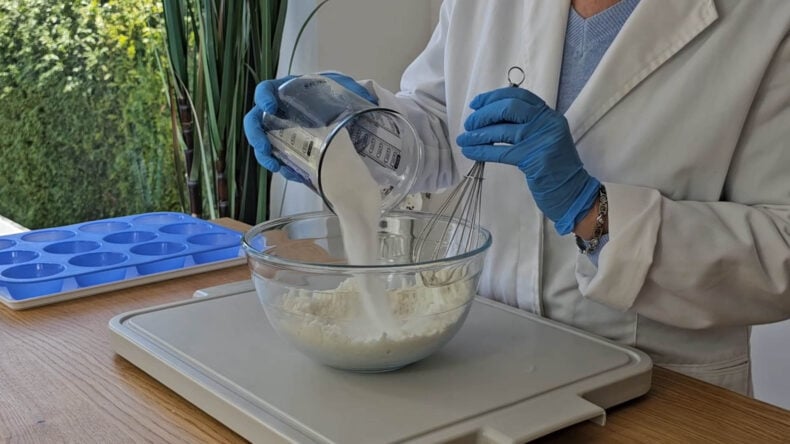
- Once the essential oil has been fully dispersed, add the citric acid.Mix everything thoroughly with your whisk or gloved hands until all the powders are evenly combined.It is important to add the citric acid after incorporating the essential oil. This prevents the oil from creating isolated damp areas around the citric acid, which could trigger premature fizzing.Take your time and make sure there are no pockets of unmixed powder. A thoroughly combined mixture will help your DIY shower steamers perform consistently.142 grams Citric Acid
- When everything is properly combined, the mixture should feel similar to damp sand.Squeeze a handful in the palm of your hand. It should hold its shape when you release it.When the mixture crumbles apart immediately, give it a light spritz with isopropyl alcohol, mix thoroughly and test it again.Only add a small amount at a time. The aim is to use just enough alcohol to help the powders hold together.
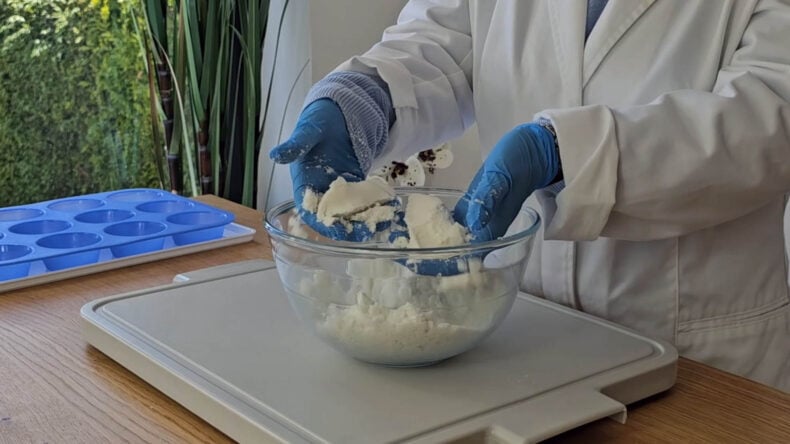
- Begin filling the cavities of your silicone mould a little at a time.Press the mixture down firmly as you work. Compacting each layer helps remove air pockets and creates stronger shower steamers that are less likely to crumble.We managed to make six homemade shower steamers from this batch.For a smooth and level finish, use the flat bottom of a glass or small container to gently press down the tops.
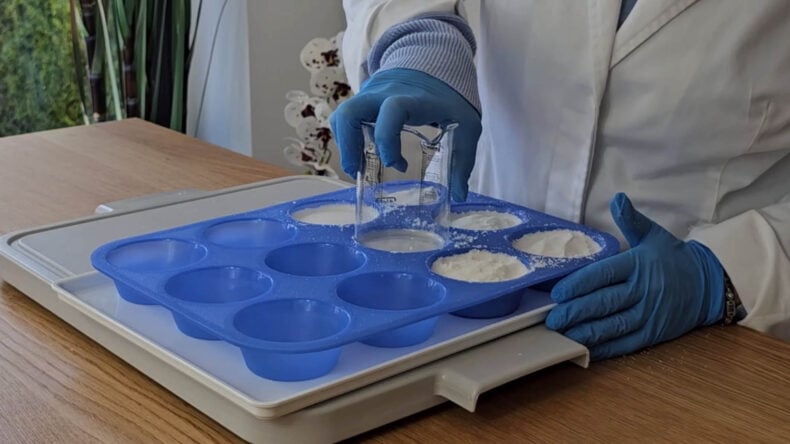
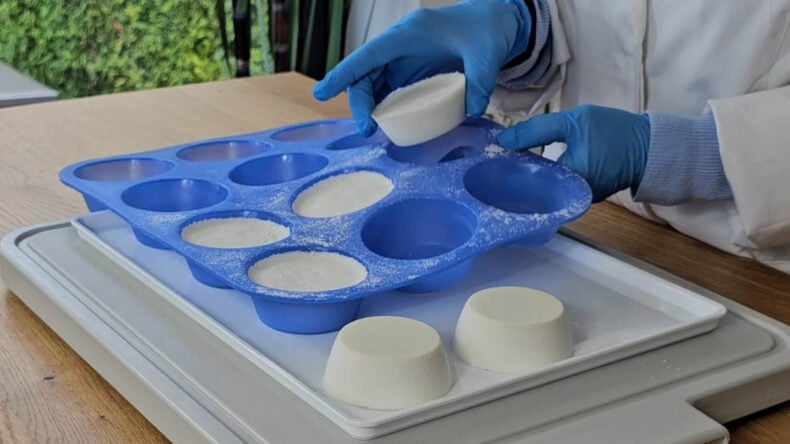
- Leave the shower steamers inside the mold for at least 24 to 48 hours.As they dry, the clay should help the steamers shrink slightly away from the sides of the mould, making them easier to remove.Do not rush this stage. Removing the steamers before they have hardened properly can cause them to crack or crumble.
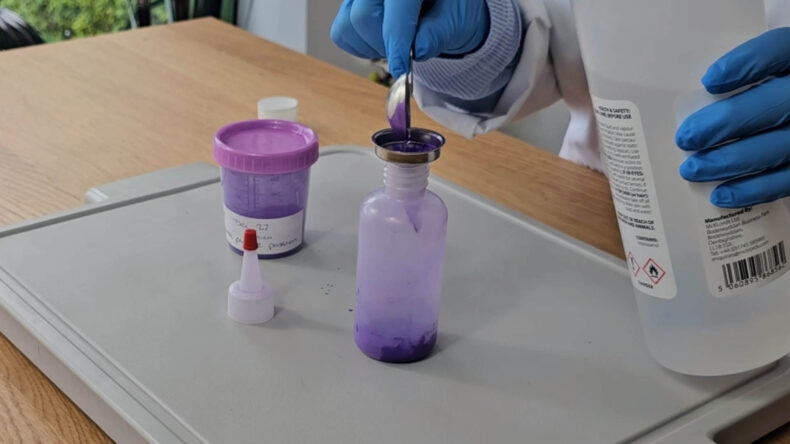
- Mix approximately 1 teaspoon of mica with 4 teaspoons of isopropyl alcohol in a small squirty bottle.Shake the bottle thoroughly until the mica is completely dispersed.You can test the mixture by squirting a small amount onto a piece of baking parchment. When it appears too thick, add a little more alcohol. When the colour is not vibrant enough, add a little more mica.When you do not have a suitable squirty bottle, mix the mica and alcohol in a small beaker or glass container and use a pipette to drizzle it over the steamers.10 grams isopropyl alcohol, 2 grams Mica Powders
- Place the dried shower steamers on a tray lined with baking parchment.A cooling rack works particularly well if you have one because it allows any excess mica mixture to drip away from the steamers.
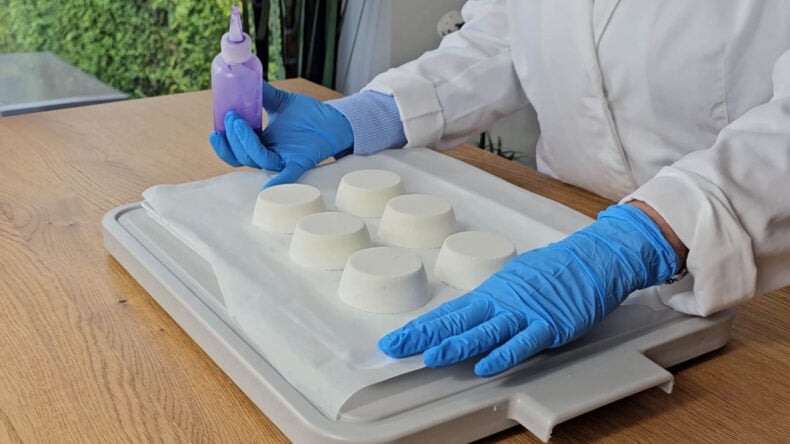
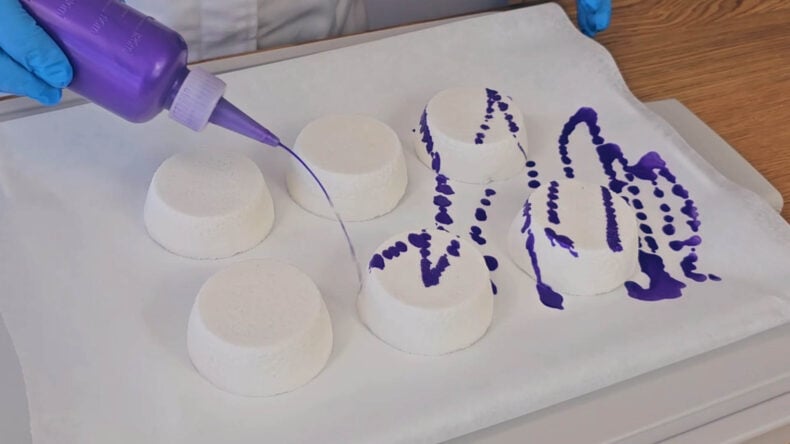
- Starting at one corner, gently squeeze the mica mixture from the bottle while moving your hand in a smooth zig-zag motion over the shower steamers.Continue until all the steamers have been decorated to your liking.The lines do not need to be perfectly straight or uniform. Small variations in the pattern can make the finished steamers look more interesting and eye-catching.
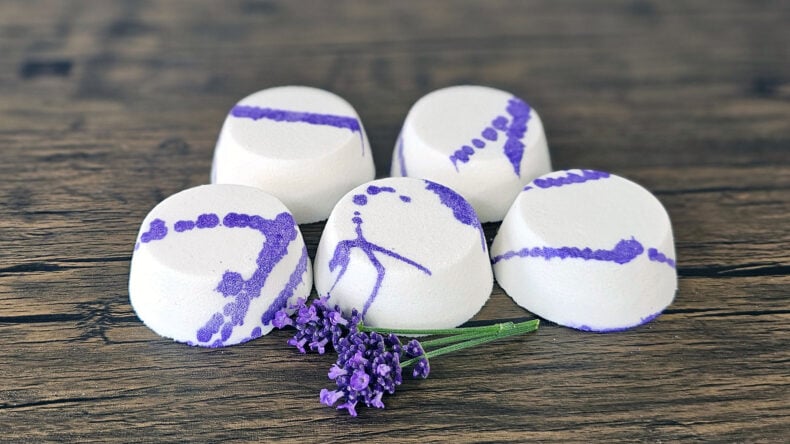
- Leave the decorated steamers uncovered until the isopropyl alcohol has evaporated and the mica decoration is completely dry.They are then ready to use or package.
Tried this projectMention @Savvyhomemade or tag #savvyhomemade!