
My Exfoliating Salt Soap Bar Recipe
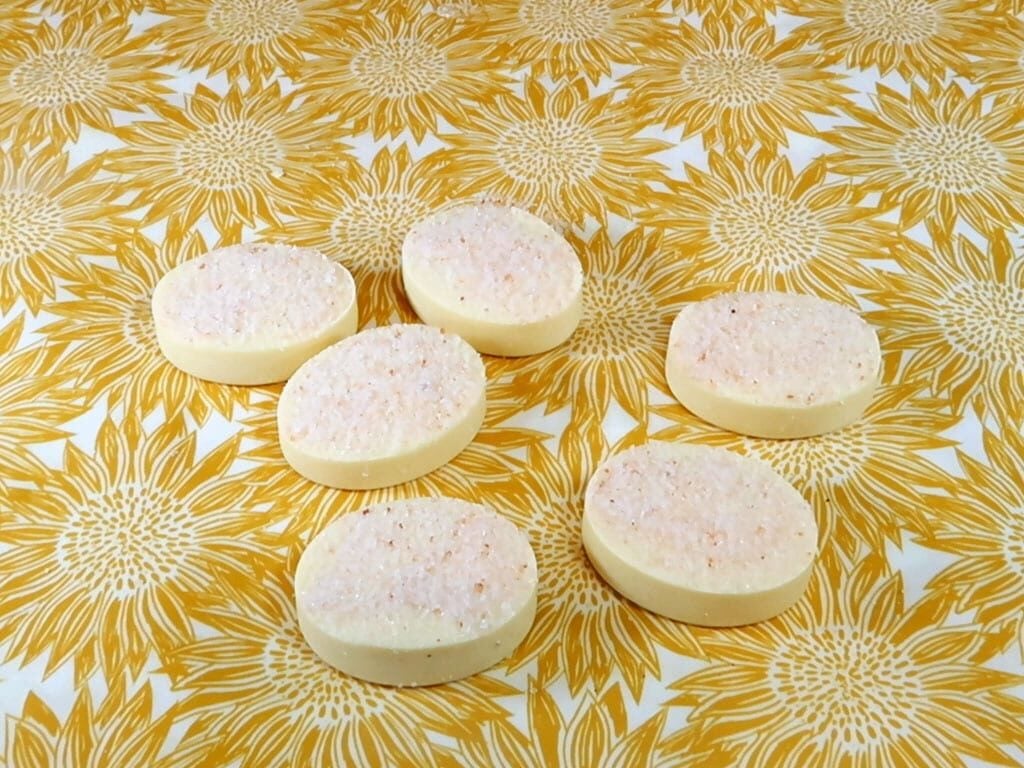
The salt melts away on contact with the warm water, leaving behind a Himalayan salt soap bar that's lusciously soft and creamy with only a mild exfoliation.
Print
Pin
Yield (adjustable): 8 bars
Ingredients:
- 312 grams (11.01 oz) Coconut Oil
- 85 grams (3 oz) Olive Oil
- 28 grams (0.99 oz) Castor Oil
- 28 grams (0.99 oz) Shea Butter
- 65 grams (2.29 oz) Soapmaking Lye crystal or flakes
- 176 grams (6.21 oz) Distilled Water
- 14 grams (0.49 oz) Grapefruit Essential Oil pink grapefruit is best
- 226 grams (7.97 oz) Pink Himalayan Salt
Equipment:
Instructions:
- If you’ve not made soap before, take a look at my full cold process tutorial here.Put on your protective clothing, gloves, mask, and glasses. I always find it best to then prepare and weigh all of the ingredients before starting.

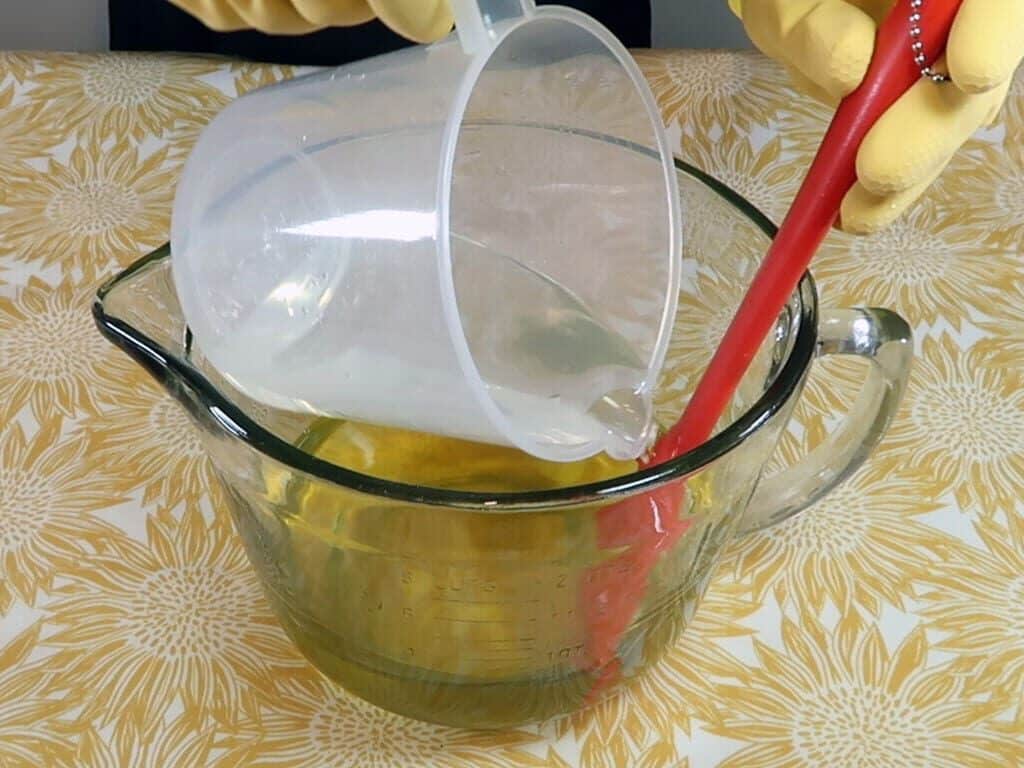
- Pour the distilled Water into a sturdy jug then carefully stir in the lye. To avoid burns from splashing, always add the lye to the water rather than the water to the lye. Once the lye has dissolved in the water, set it aside in a safe place to cool.65 grams Soapmaking Lye, 176 grams Distilled Water

- Place the coconut oil, olive oil, castor oil and shea butter into a large glass jug then melt in the microwave using a 30 second burst.You can also melt the oils/butter in a stainless steel saucepan over a low heat. Once melted, set aside to cool.312 grams Coconut Oil, 85 grams Olive Oil, 28 grams Castor Oil, 28 grams Shea Butter

- When both the lye and oils have cooled to around 120f to 40f (49c 60c) it's time to mix the lye into the melted oils. Do this carefully and slowly to avoid being splashed.
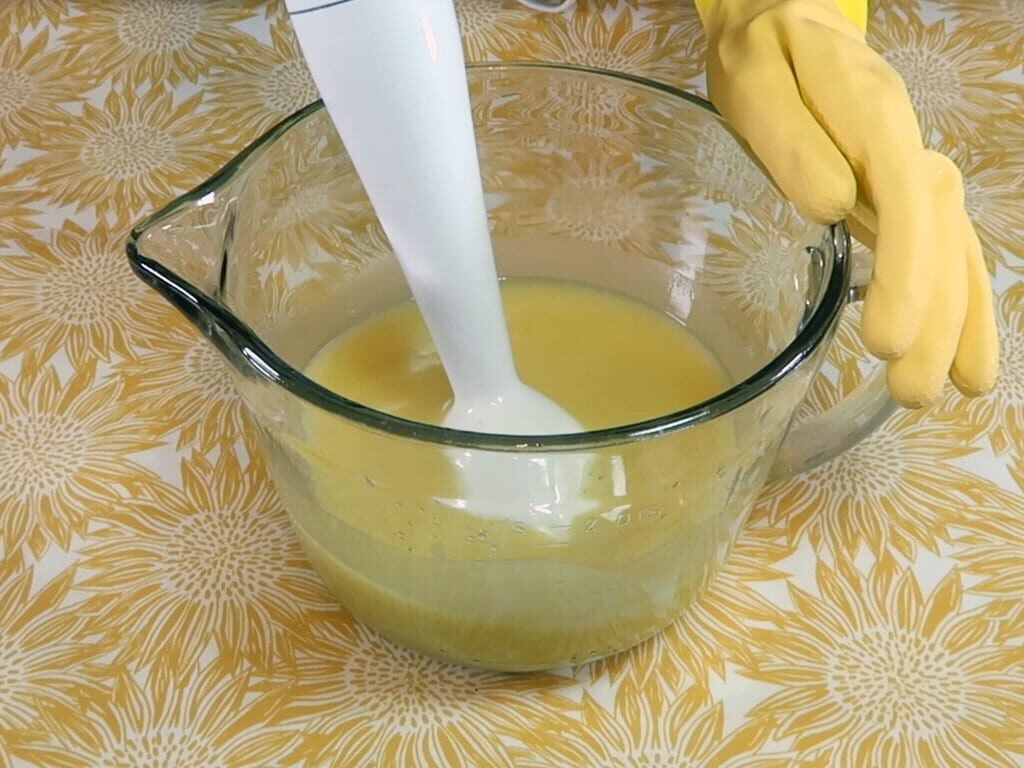
- Using a blender, start stirring your mixture for several minutes before switching it on. Turn the blender on and give your mixture a few short 3 second blitz, stirring between each burst until the batter thickens enough to leave a thin trace on the surface of the batter before disappearing back into the batter.
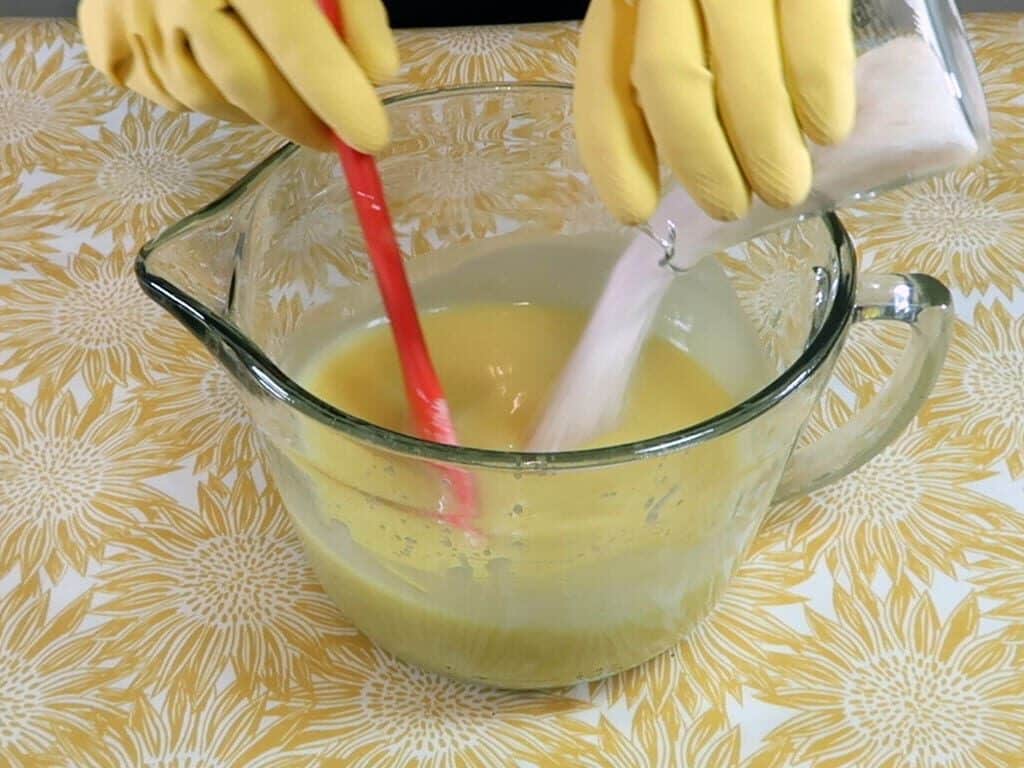
- Now it's time to pour in the pink grapefruit essential oil. Once added, give the batter another few blasts with the hand blender until the batter is nice and thick but still pourable.14 grams Grapefruit Essential Oil

- Swap the hand blender for a silicon spatula or something similar. Then stir in the Himalayan salt. You will notice the soap batter becoming very thick once the salts have been added.226 grams Pink Himalayan Salt
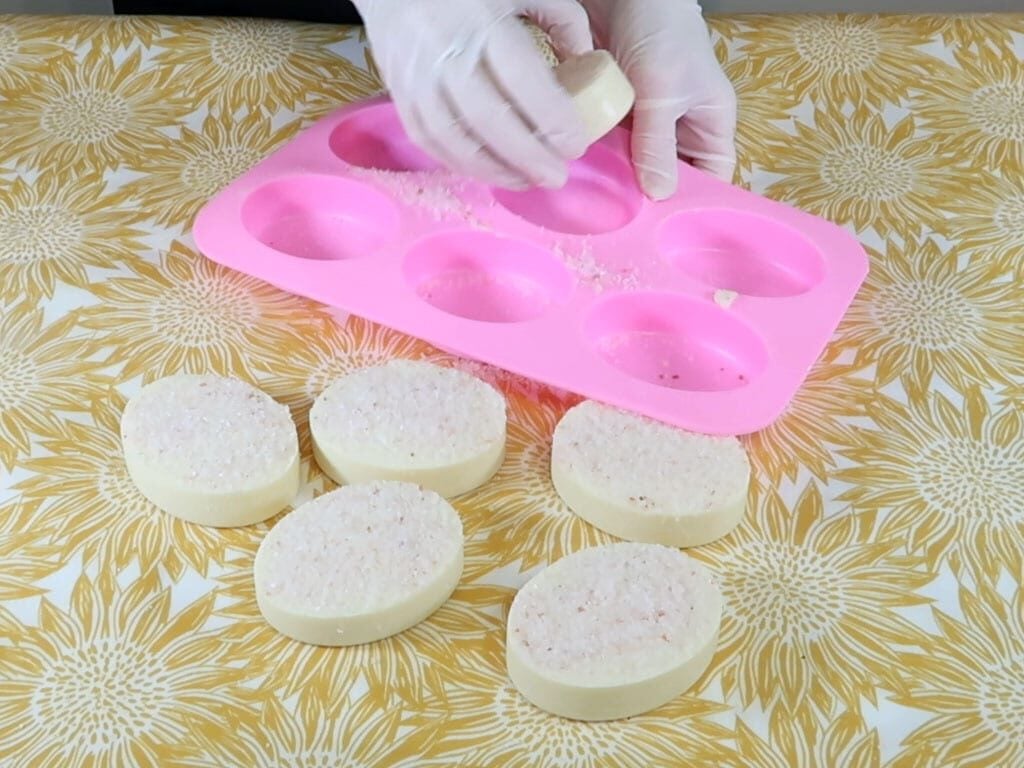
- When you have completely mixed in the salt and that you are happy that it's been fairly evenly distributed throughout the soap batter, you can transfer the soap to the molds. If the soap batter is too thick to pour, then you may need to spoon it into the molds.
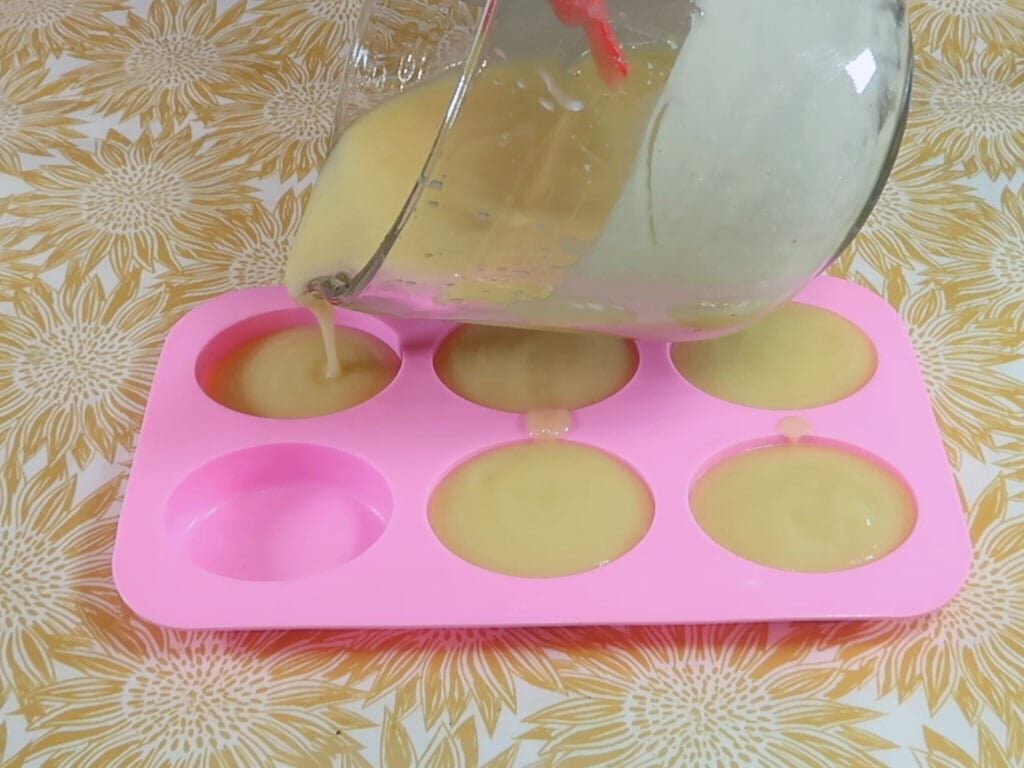
- If you are using individual soap cavities, you can walk away and forget about them for 24 hours before popping them out of the mold. It goes without saying that they will still be a bit caustic until cured so put your gloves on before releasing them. If you have used a loaf mold you will need to keep an eye on the soap and remove, then cut it as soon as it feels hard, this can be as little as an hour.
- The soap will need to cure for around 4 weeks before you can use it. Which is just a case of letting the soaps sit and air in a cool dry area and rotating them once a week. Cured soap has a lower PH so it's much milder on the skin. I hope you enjoy making and using these soaps as much as I did. They make great gentle exfoliating bars for the bath or shower, and leave the skin feeling squeaky clean and softened.
Tried this projectMention @Savvyhomemade or tag #savvyhomemade!