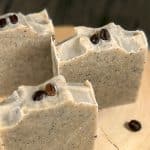
My Coffee Soap Recipe
Learn how to craft a beautiful, exfoliating soap with essential oils and coffee.
Print
Pin
Yield (adjustable): 6 bars
Ingredients:
Oils
- 245 grams (8.64 oz) Olive Oil
- 135 grams (4.76 oz) Coconut Oil
- 50 grams (1.76 oz) Cocoa Butter
- 20 grams (0.71 oz) Castor Oil
Lye Solution
- 65 grams (2.29 oz) Soapmaking Lye
- 130 grams (4.59 oz) Distilled Water
Aromatics & Additives
- 1 tbsp (0.03 pt) Used Coffee Grounds
- 1 pinch (1 pinch) Whole Coffee Beans
- 5 grams (0.18 oz) Orange Essential Oil Sweet Orange
- 4 grams (0.14 oz) May Chang Essential Oil Litsea Cubeba
- 4 grams (0.14 oz) Cedarwood Essential Oil Atlas or Himalayan
Equipment:
- 3 Glass Mixing Beakers 2 large 1 small
- Silicone Soap Mold (Note: Ingredients are for 1/2 Loaf Mold)
- Spoon or Spatula
- PPE To include safety goggles, apron and gloves
Instructions:
Making The Lye Solution
- Weigh the essential oils into a small glass container and set it aside for later use. Prepare your coffee grinds and have them close to hand. Make sure you are making the soap in a well-ventilated area. Put on your gloves and eye protection, your mask, apron, and long rubber gloves.Weigh the distilled water into a clean container. Never use a glass container, as this is going to be holding the lye water. Lye can weaken glass so it can easily break. In a separate container, weigh your sodium hydroxide/lye crystals.130 grams Distilled Water
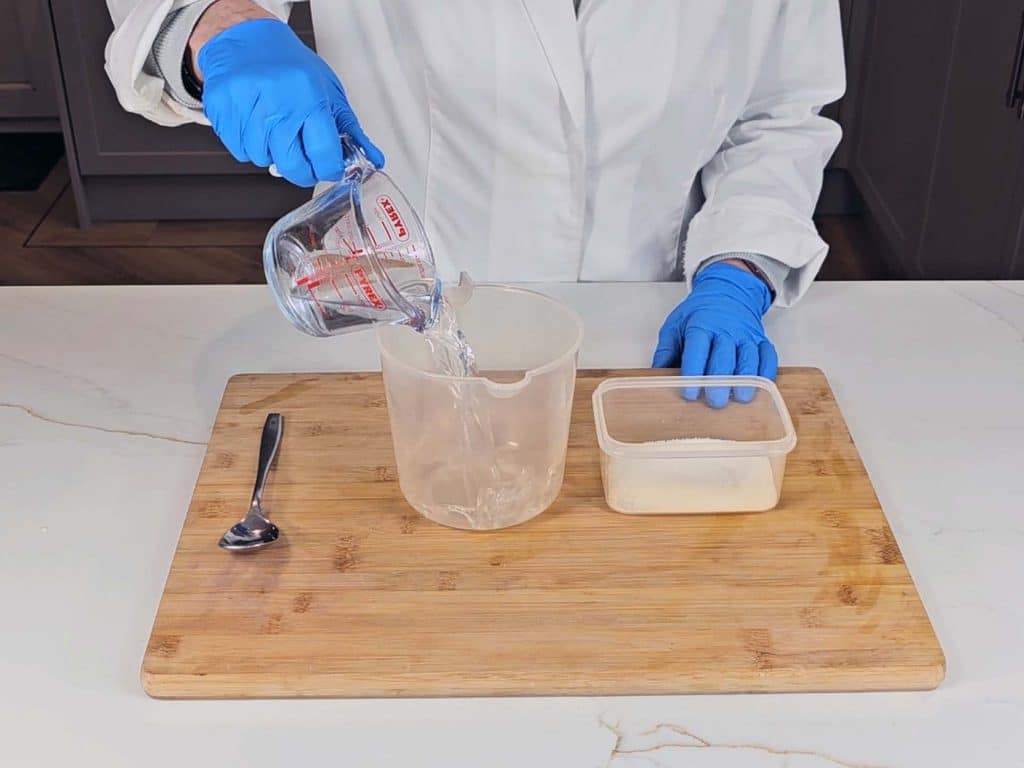
- When ready, carefully pour your lye crystals into the water; never pour the water into the lye as this can create an unstable reaction.Once the lye is in the water, start stirring it. Although you are wearing a mask, we still recommend turning your head and leaning away while stirring, so you do not breathe any of the fumes. As the water and lye mix, this will result in a chemical reaction, and the lye water will increase in temperature and release toxic fumes.65 grams Soapmaking Lye
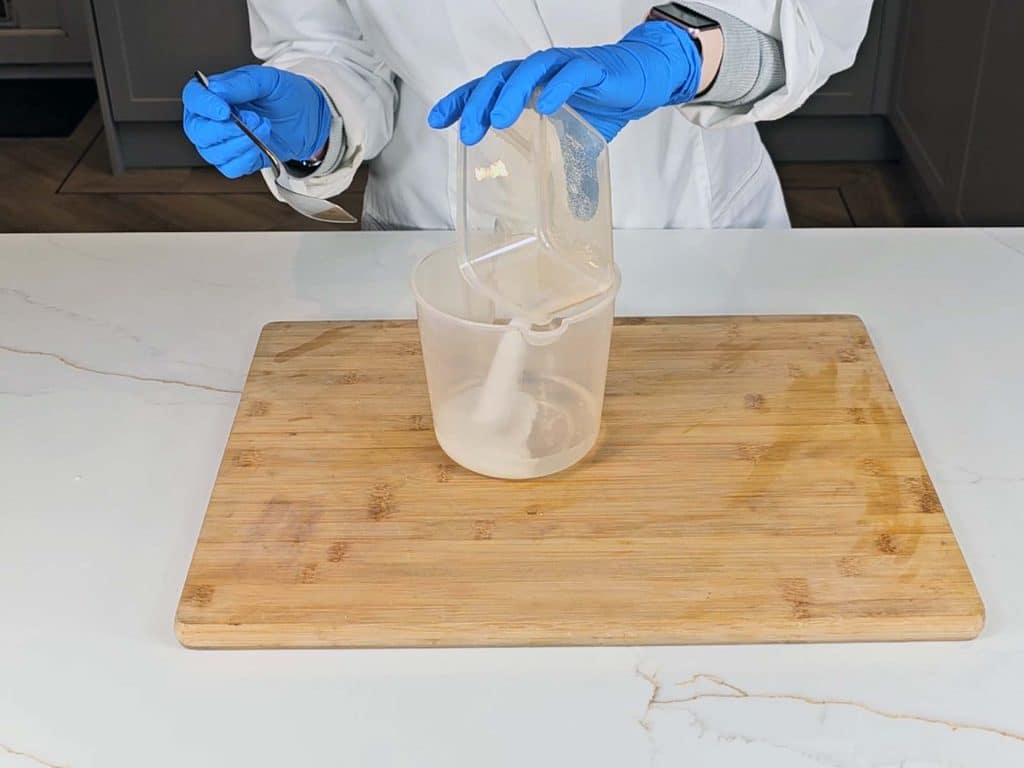
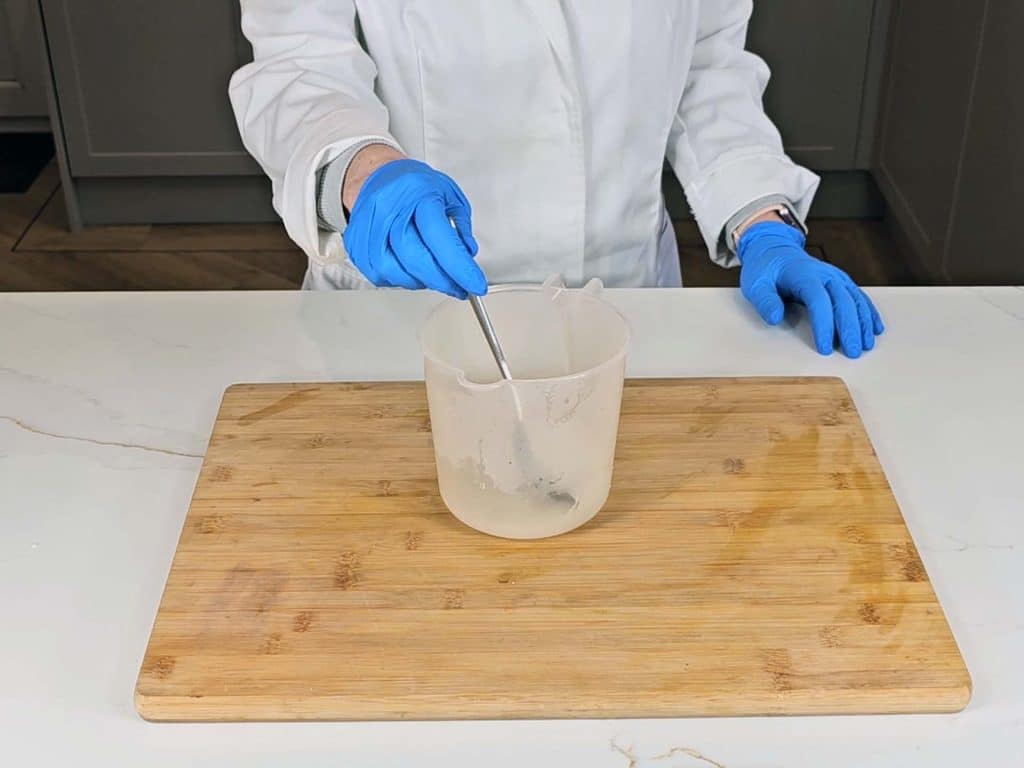
- Stir until the lye crystals have dissolved and the water looks fairly clear. Now place it to one side, somewhere well-ventilated but safe so that it will not be knocked over. Allow to cool between 115°F and 80f (46c - 27°C) whilst we get on with our other steps.
Mixing Our Oil Part
- Weigh the coconut oil and cocoa butter into a good-sized heatproof container. Melt in a microwave, using 30-second bursts.135 grams Coconut Oil, 50 grams Cocoa Butter
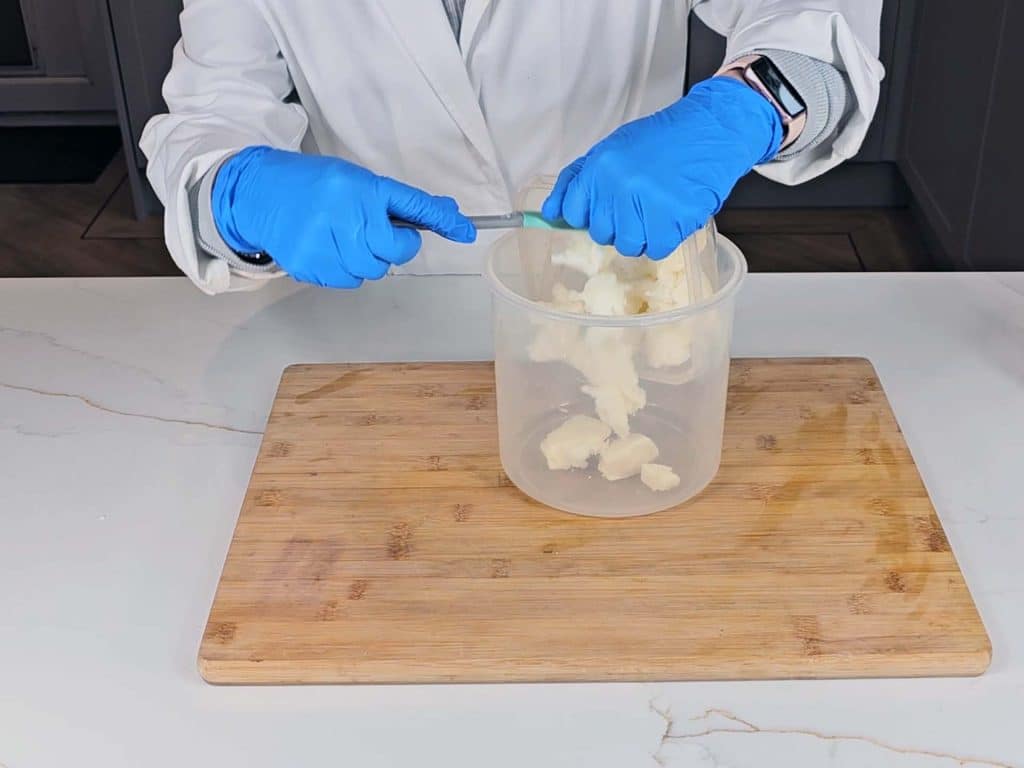
- Add the olive oil and castor oil, then give it a quick stir. You should now have all your oils in a liquid state, in one good-sized bowl/container.245 grams Olive Oil, 20 grams Castor Oil
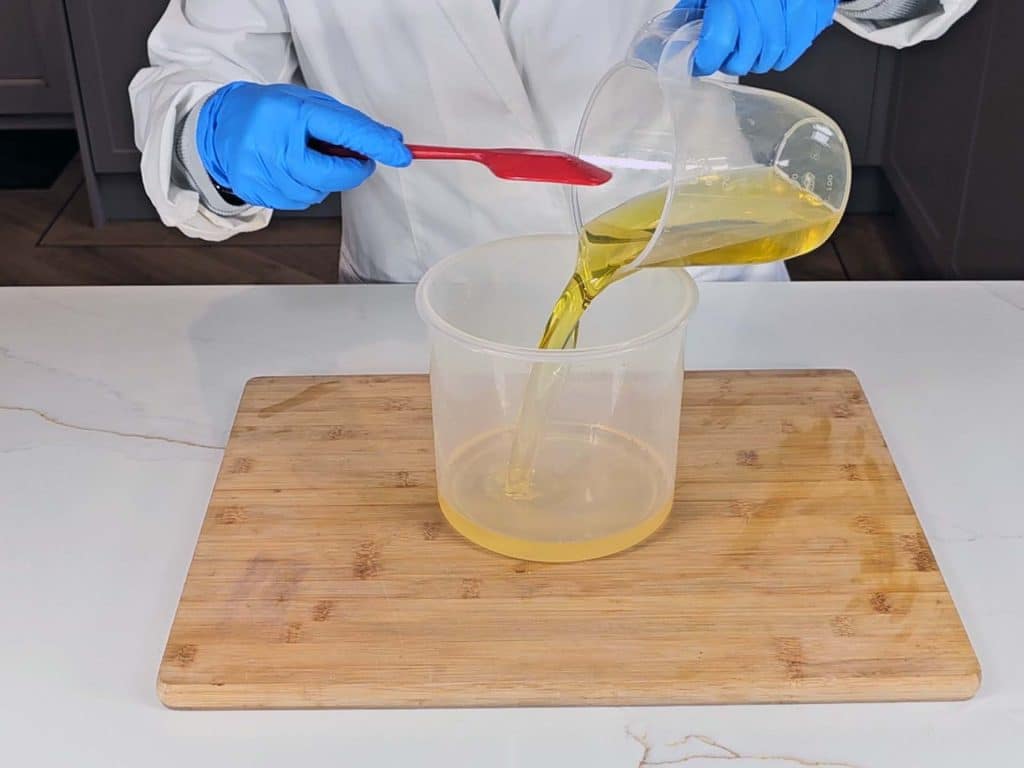
- Check the temperature of the oils and the lye water. You can do this with a temperature laser gun or a jam thermometer. We want them both to fall between 115- 80°F (46- 27 °C). If they are still too hot, leave them to cool for a while longer. They do not need to be the same temperature, for example, the lye could be 90°F and oils 100°F, but it is best to keep them within 10 degrees of each other. Once you’re satisfied they’re balanced, pour your lye solution into your oils.

Trace, Aromatics & Additives
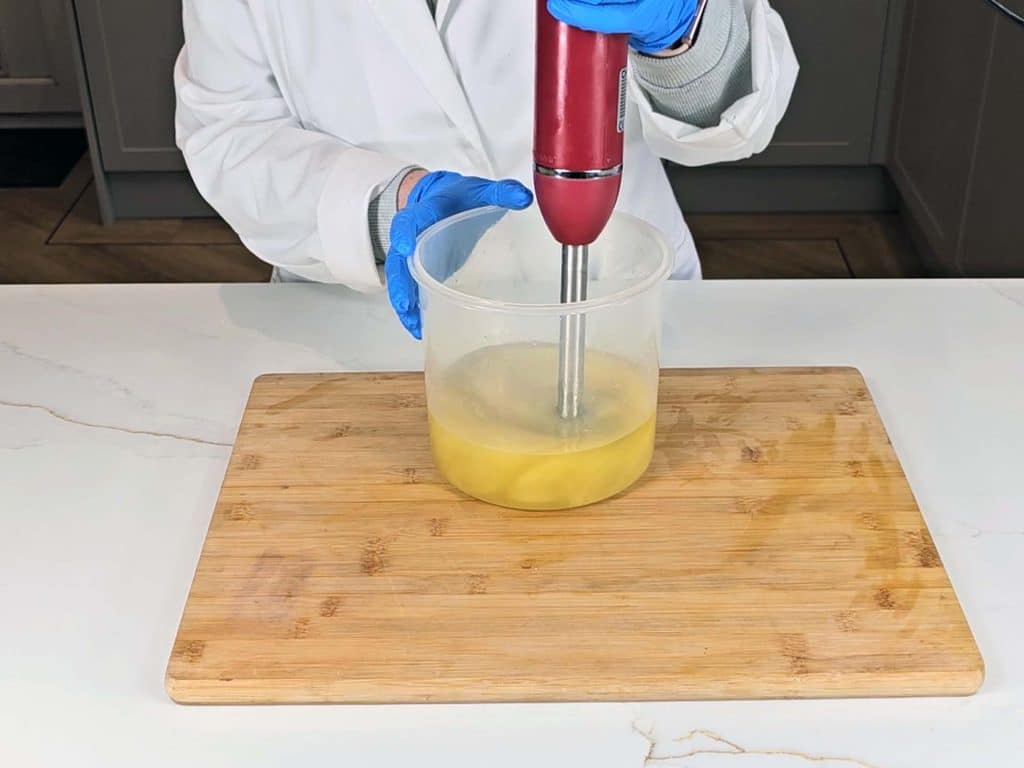
- Before turning on the stick blender to mix the oils and lye, gently tap the stick blender against the bottom of your container. Continue tapping until all the air bubbles have been released.Then, turn the stick blender on and blend until all the oils have been fully emulsified into the lye solution, switch off the blender, and check to see if the soap batter has reached trace. Trace is when you can drizzle a small amount of soap batter on top and it leaves a visible trail or 'trace' on the surface
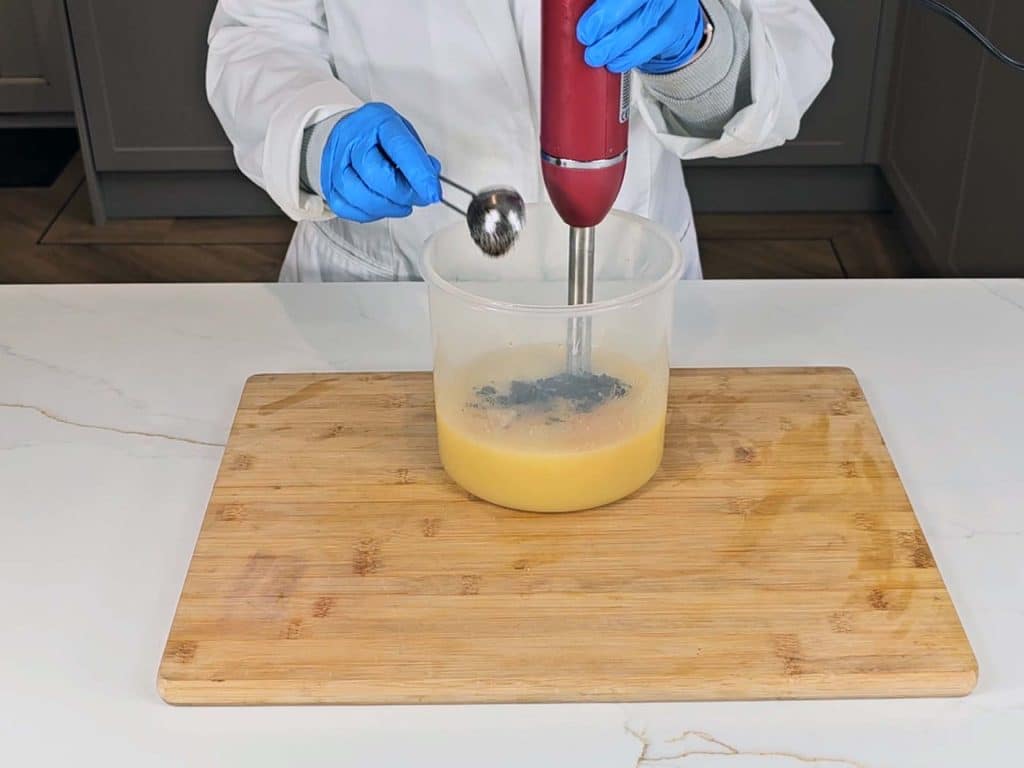
- Now that we’re at trace, it’s time to add our essential oils. I always recommend getting the mold ready before adding the essential oils, as they can sometimes thicken the soap batter, meaning you have to work quickly to get it into the mold. After adding the essential oils, we can add the coffee grinds, give the soap batter a good stir with the spatula or a few more blasts with the blender to ensure the coffee is fully dispersed. You also need a good, thick trace so that the coffee grinds are suspended and do not sink to the bottom of the soap.5 grams Orange Essential Oil, 4 grams May Chang Essential Oil, 4 grams Cedarwood Essential Oil, 1 tbsp Used Coffee Grounds
Pouring Into Mold
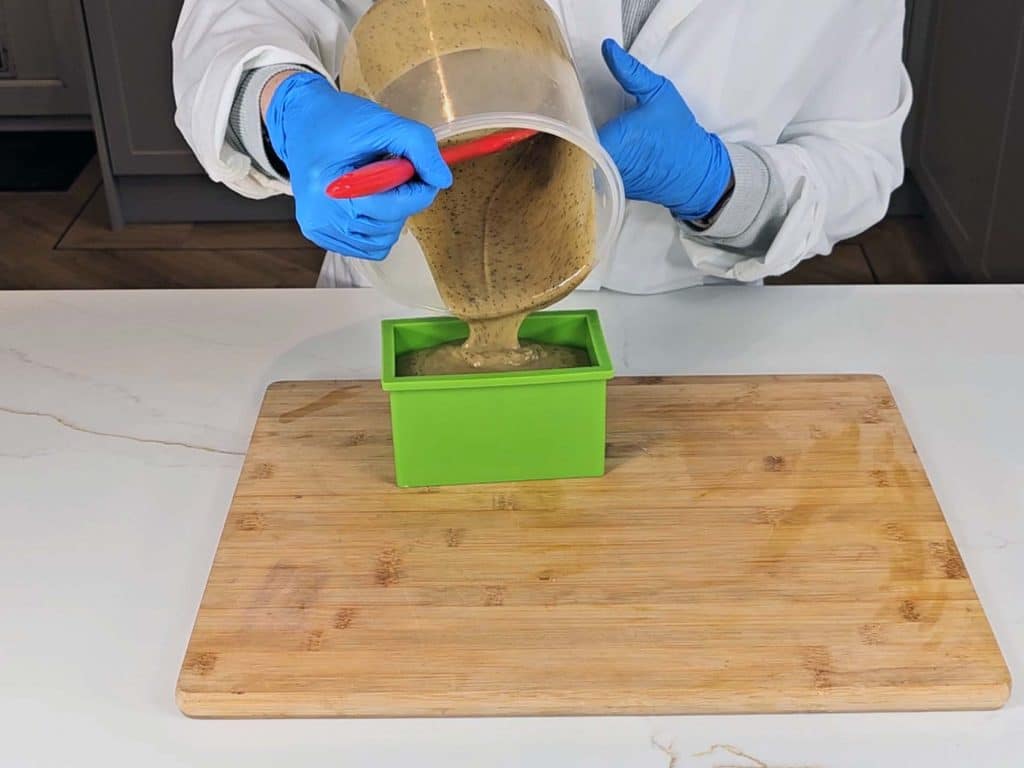
- Pour or spoon the batter into your loaf mold. Give it a couple of light taps down to even out the soap batter, and use a silicone spatula to level it out if needed.
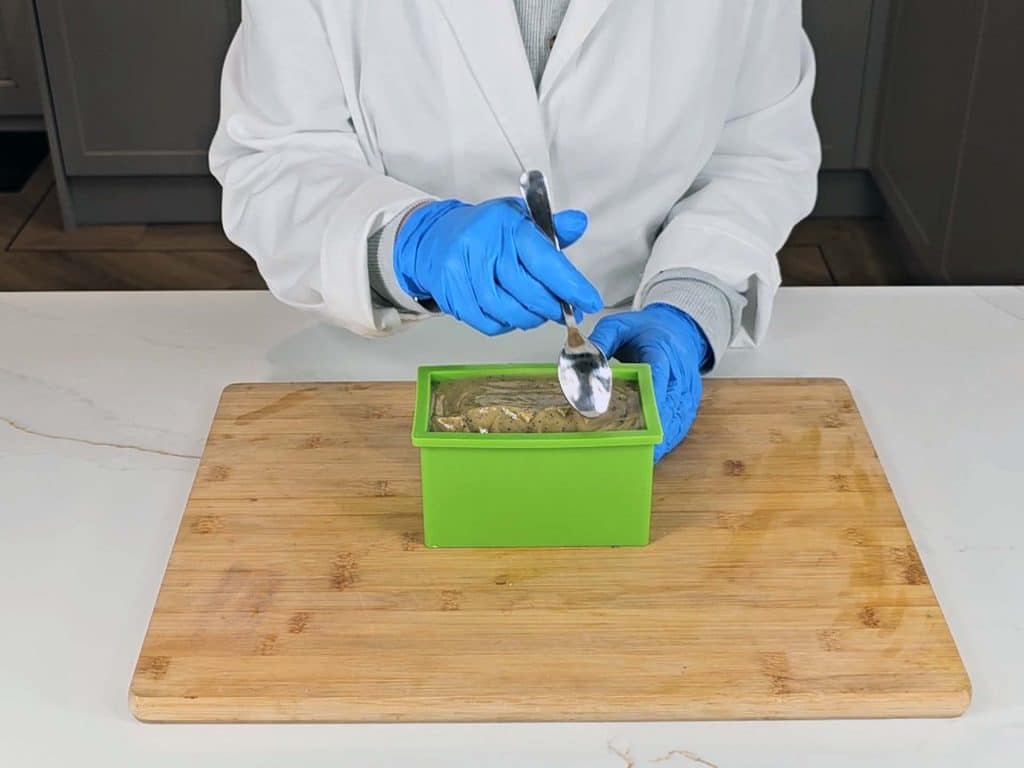
- You can leave the top of the soap flat or add some texture with a spoon. Adding texture is a great way to conceal any uneven flaws and can make the soap interesting.
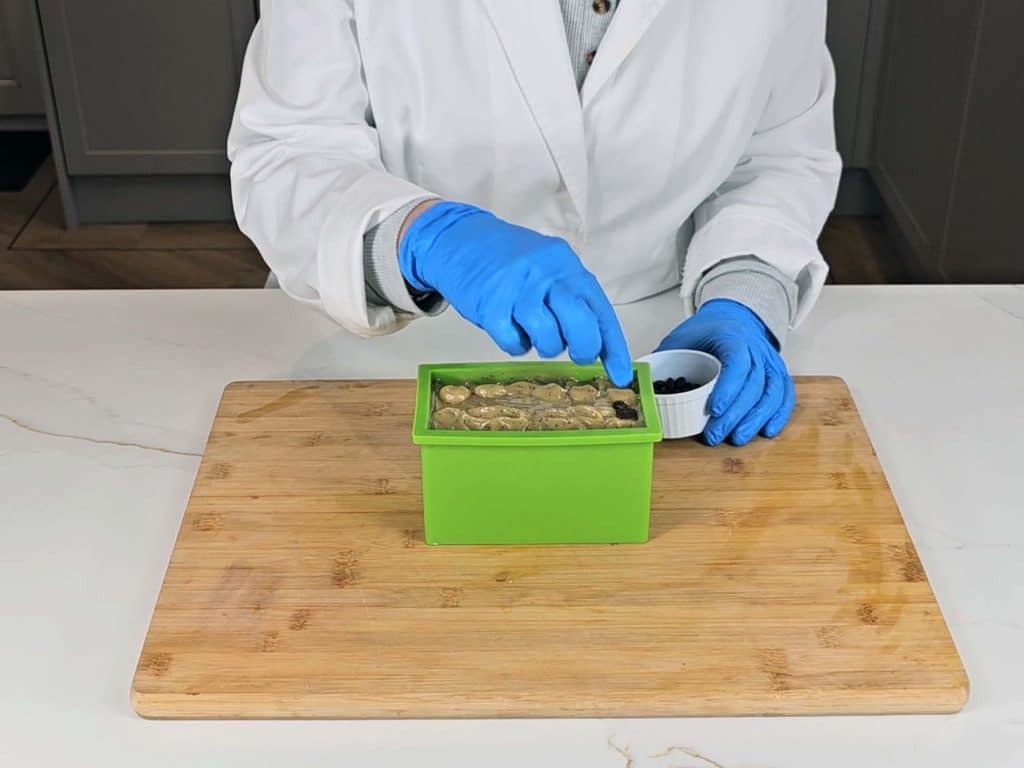
- For a cool finish, top with coffee beans! This step is totally optional, but provides a beautiful finish for your soaps. We now need to leave this to saponify for 24-48 hours before we can remove it from the mold. I like to keep it well insulated during this period, so the gel phase is efficient. I do this by cutting a piece of cardboard to sit on top of the mold and then covering it with an old towel.1 pinch Whole Coffee Beans
Releasing, Cutting & Curing Soaps
- Once our soap has fully saponified, and the sides of the mold come away easily from the soap, it’s okay to remove it from the mold.
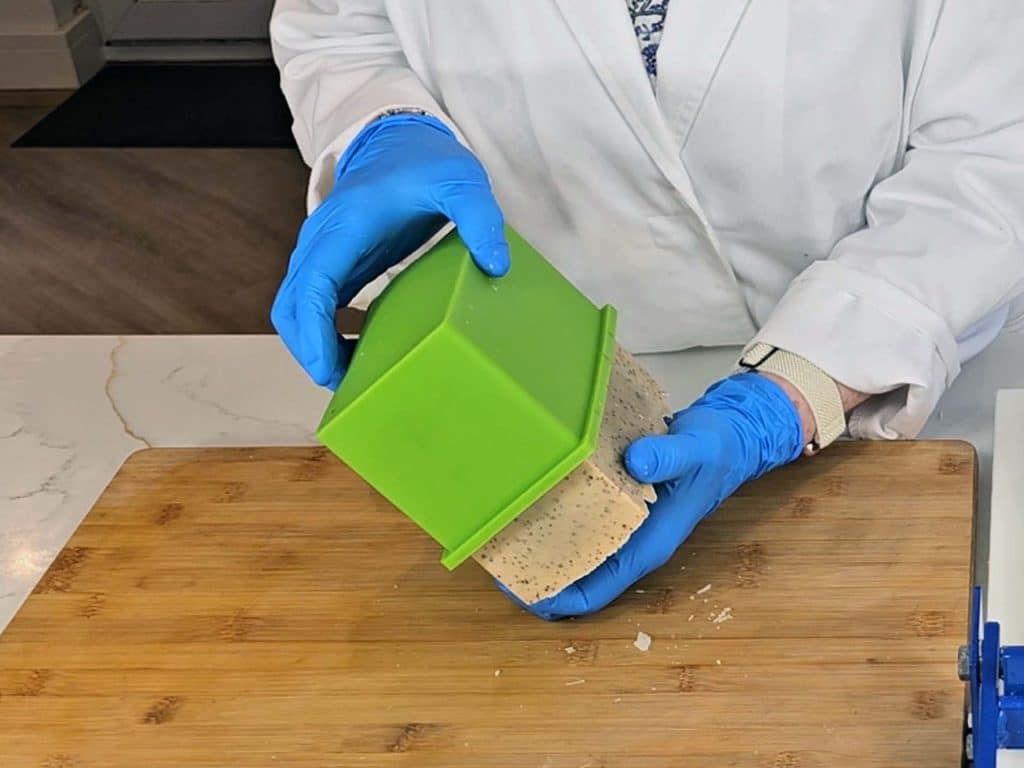
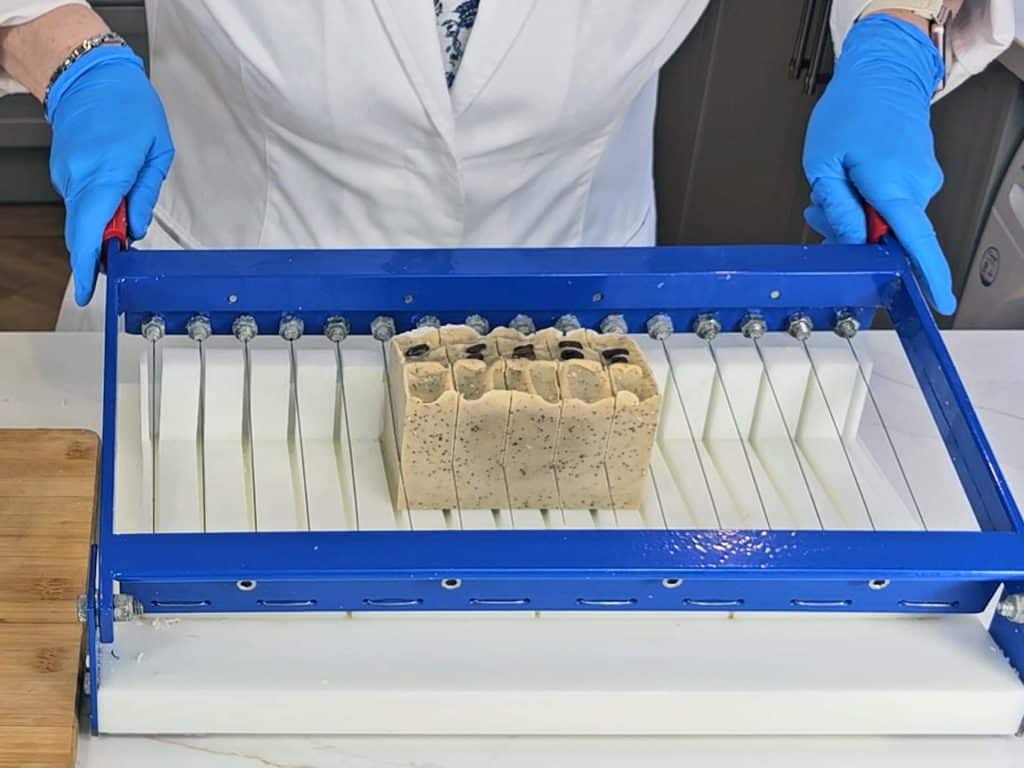
- Cut the soap into bars using a stainless steel knife or a soap cutter. You should be able to get between 5 to 6 bars from this batch, depending on the desired thickness. Leave the soap bars to cure for four weeks in a cool, dry place. This allows excess water to evaporate, giving a harder, longer-lasting bar. Curing also improves lather and mildness.To cure the soap bars, place them in an upright position in a cool, dry area, and turn the bars occasionally to ensure even drying.
Tried this projectMention @Savvyhomemade or tag #savvyhomemade!