
Mini Milk Bath Bomb Recipe
Your new tutorial on making mini milk bath bombs. You'll whip these luxury handmade treats up in no time, and they'll leave your skin feeling ultra soft!
Print
Pin
Yield (adjustable): 9 Bath Bombs
Ingredients:
- 200 g (7.05 oz) Baking Soda Bicarbonate of Soda
- 100 g (3.53 oz) Citric Acid
- 22 g (0.78 oz) Epsom Salts
- 20 g (0.71 oz) Cream of Tartar
- 18 g (0.63 oz) Whole Milk Powder
- 8 g (0.28 oz) Polysorbate 80
- 16 g (0.56 oz) Shea Butter
- 4 g (0.14 oz) Fragrance Oil For Soap Earl Grey
- Earl Grey Tea Best Quality
- Rubbing Alcohol at least 70% in a mister
Equipment:
- Greaseproof Paper
Instructions:
- Gather the ingredients listed above

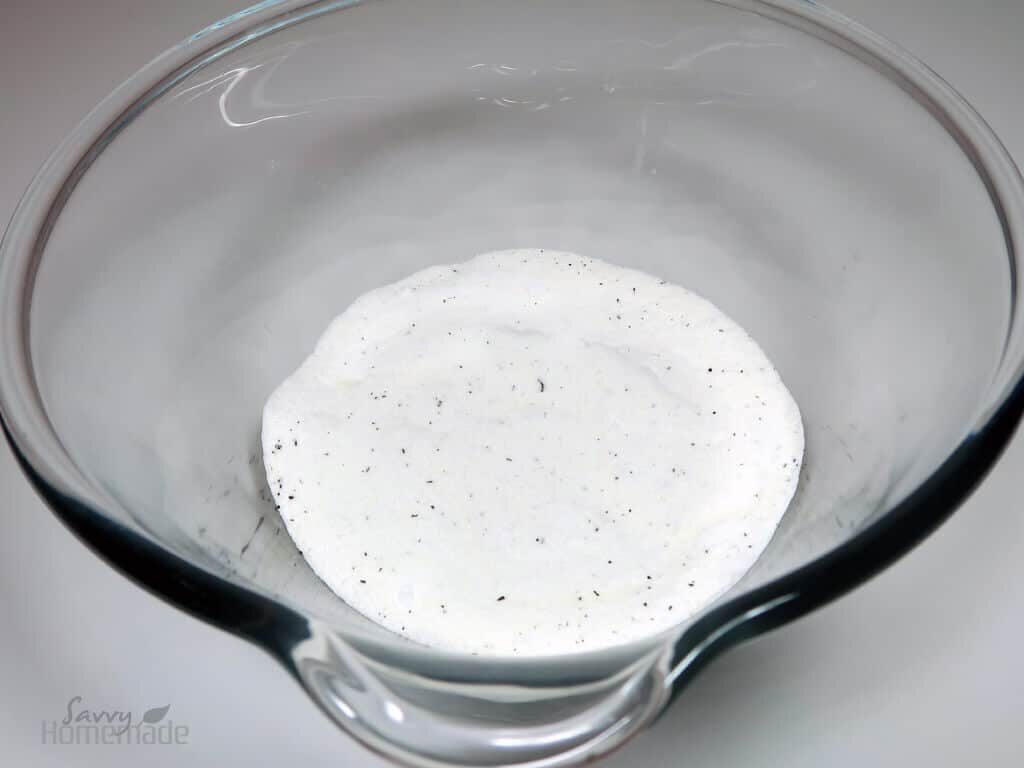
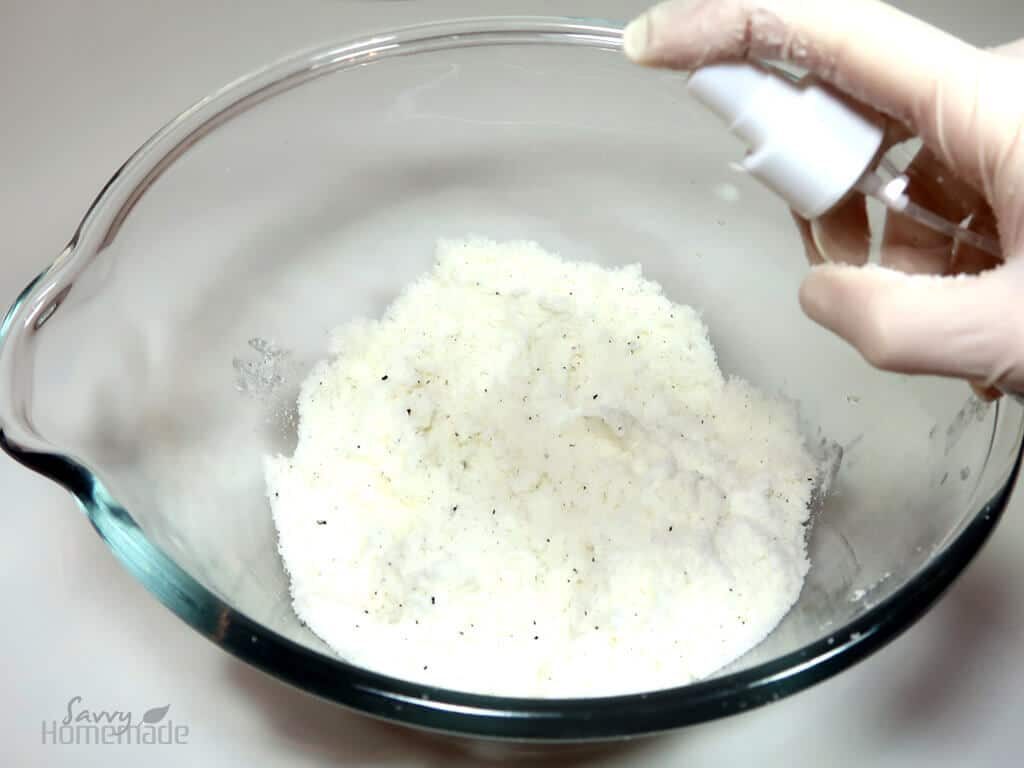
- Weigh and combine your dry ingredients in a large bowl. You’ll want to add your a few pinches of the earl grey here as well, although it’s best to grind it up a bit in a pestle and mortar first.
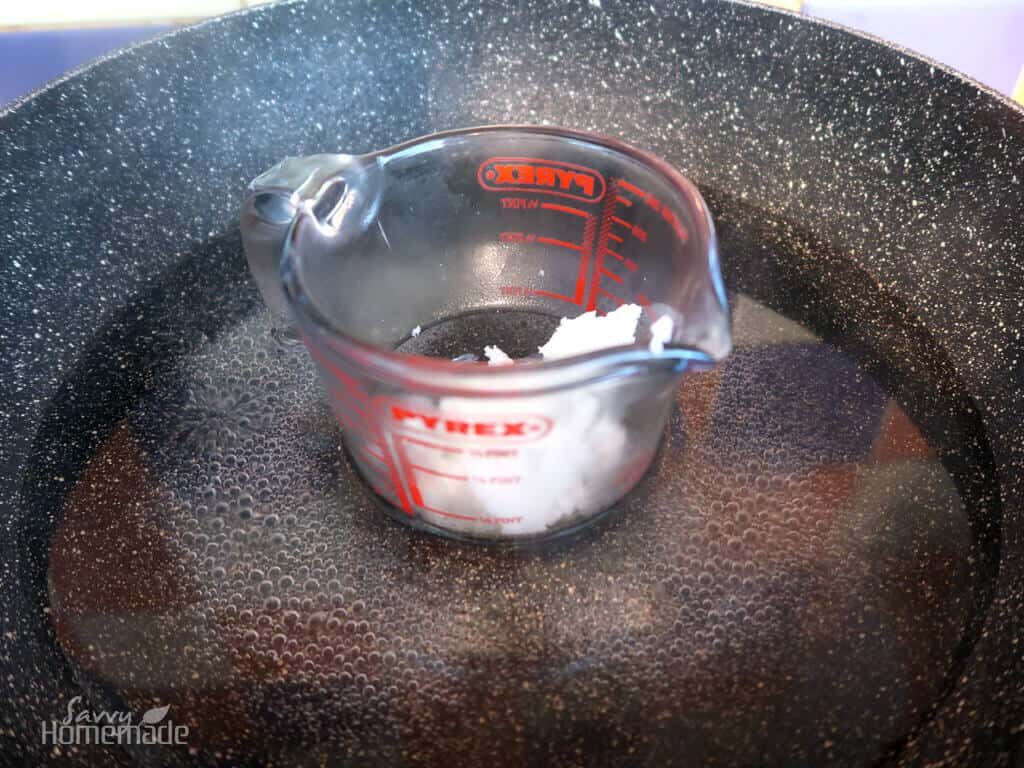
- In a smaller, heatproof bowl (Pyrex beakers or jugs are a good choice) weigh out your polysorbate 80 and the Shea butter.Step 2: Use a water bath to melt your butter into the surfactant (hence the necessity of a heatproof vessel). You could use a microwave if you wish, but only bursts of about 3-5 seconds at a time.
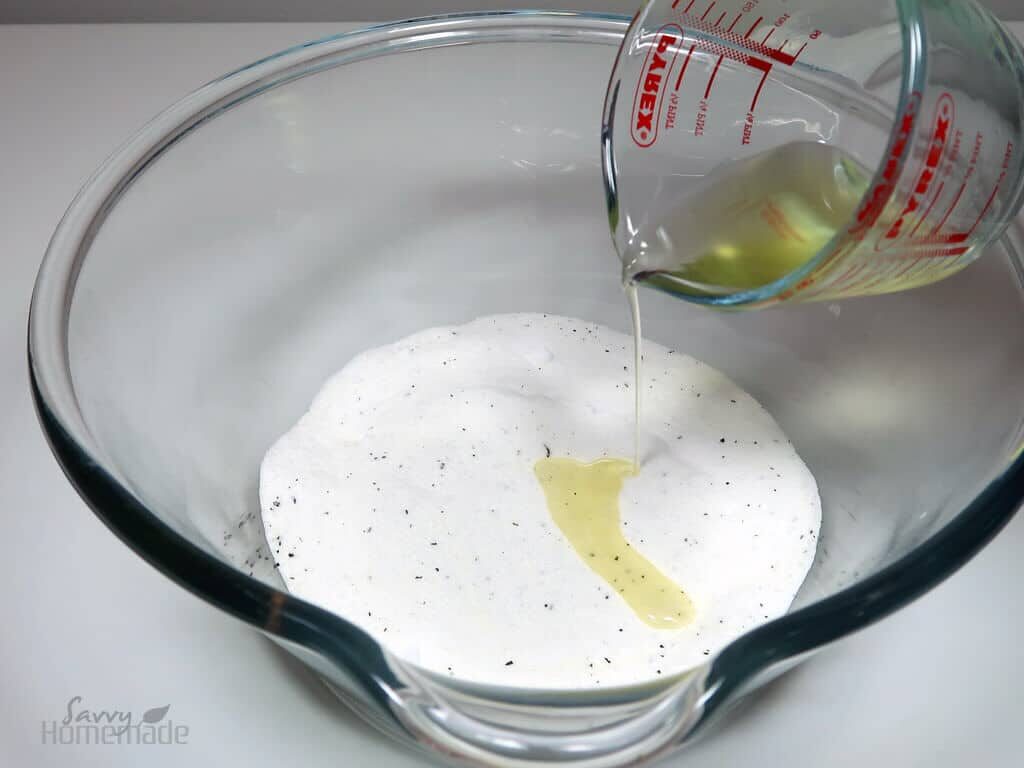
- While you wait for it to melt (should take about 15 minutes if using the water bath), weigh out your fragrance oil.Once the butter has melted and combined into an oily liquid, remove from heat and add your fragrance oil.Then, go ahead and pour the oil mix into the main mixing bowl that contains your dry ingredients.
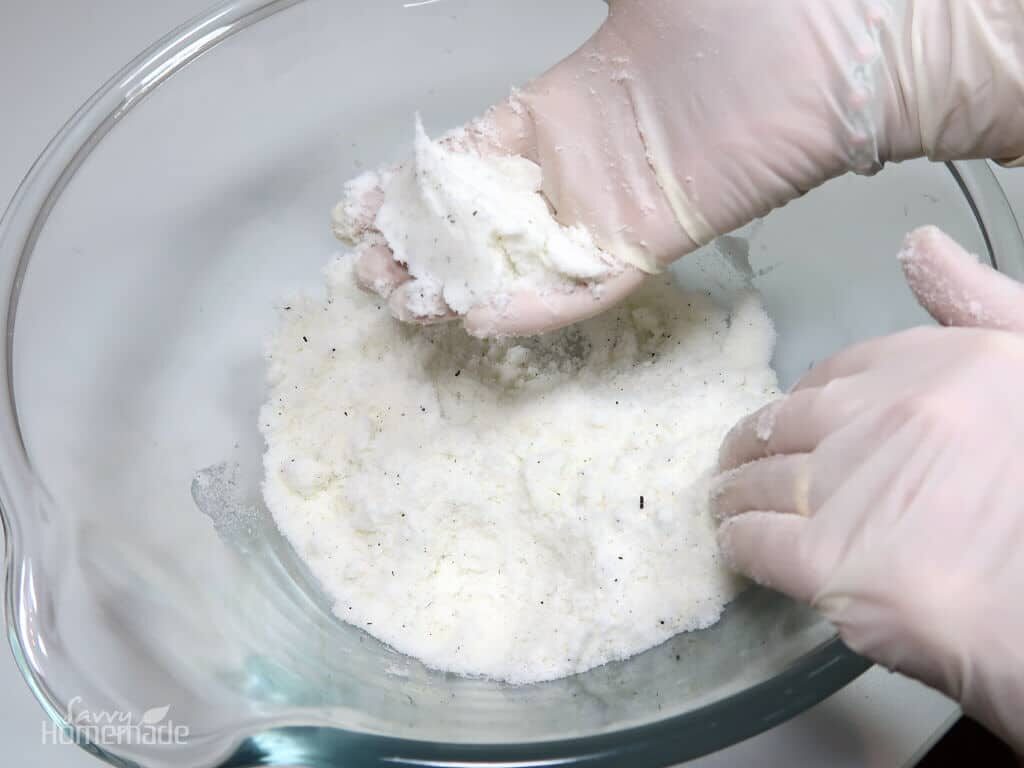
- As soon as you add the oils, give the mixture a thorough mix. I like to use the tips of my fingers to rub the ingredients together. You should find the mixture holds together like wet sand, but definitely not saturated.You want to work quickly here so you get as much time to mold your bath bombs as possible.
- Now it’s time to mold! But right before, give your mixture a couple of sprays with the alcohol. This should give it a bit more liquid to help it all hold together. Don’t let the smell concern you, it won’t be present in the finished product.
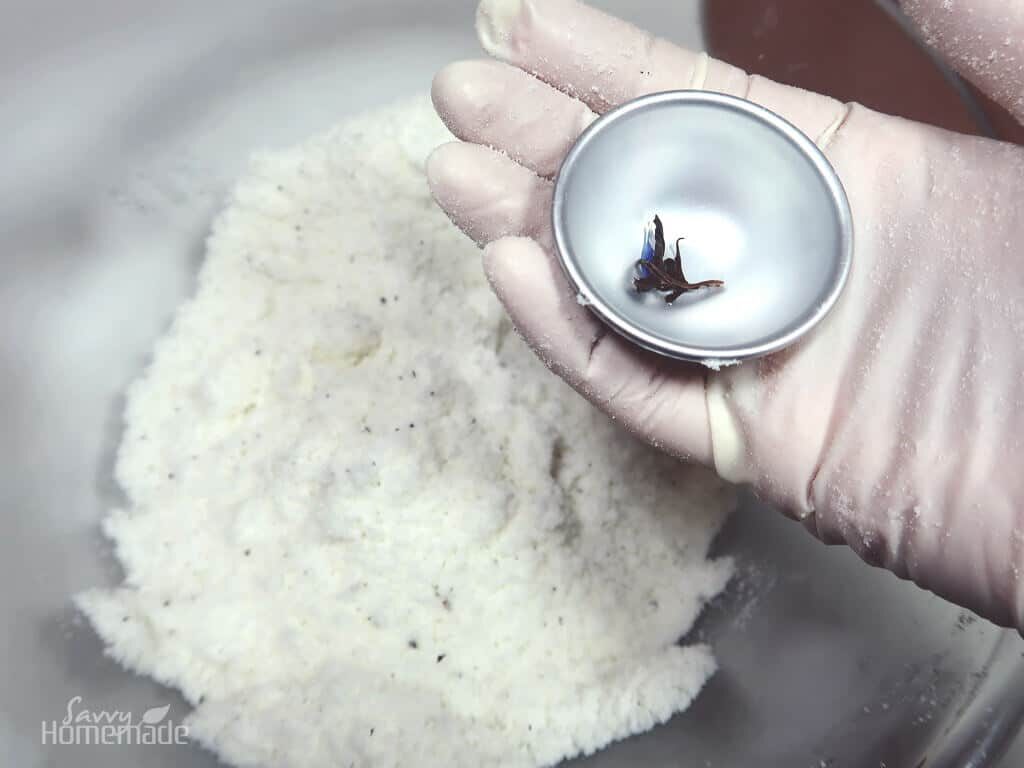
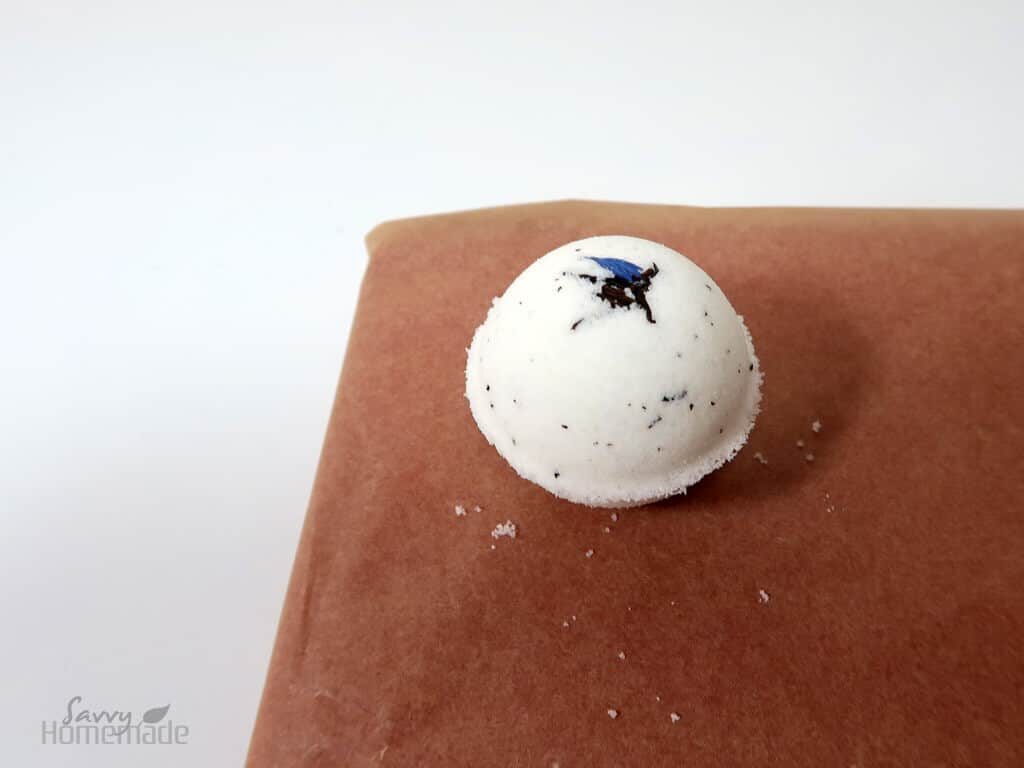
- Next, add some of the loose tea to the bottom of one-half of your molds. Be careful not to add too much, and don’t use any of the tea we ground up to add earlier. The leaves should look like little sticks poking out of the top, and too many will be overwhelming.
- When you’re happy, fill the mold with the bath bomb mixture, covering the tea. You’ll want to fill the other half of the mold as well. Make sure you really pack it in.
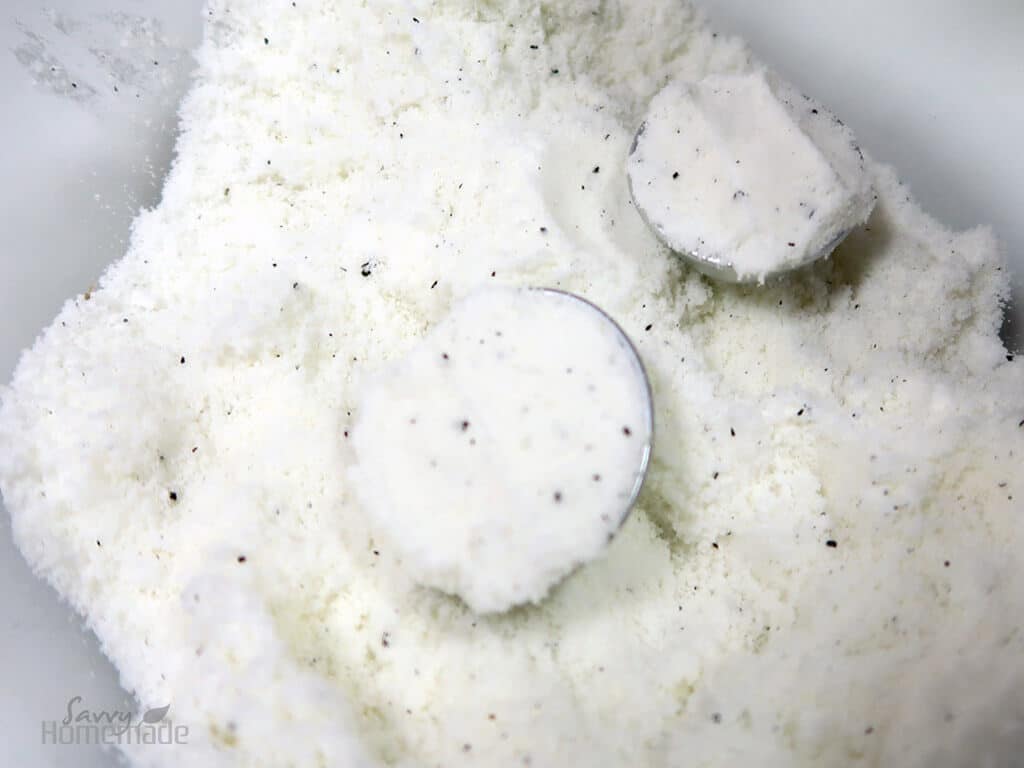
- Then, force the two molds together with significant force. We really want them to fuse together, which can require a fair bit of pressure.
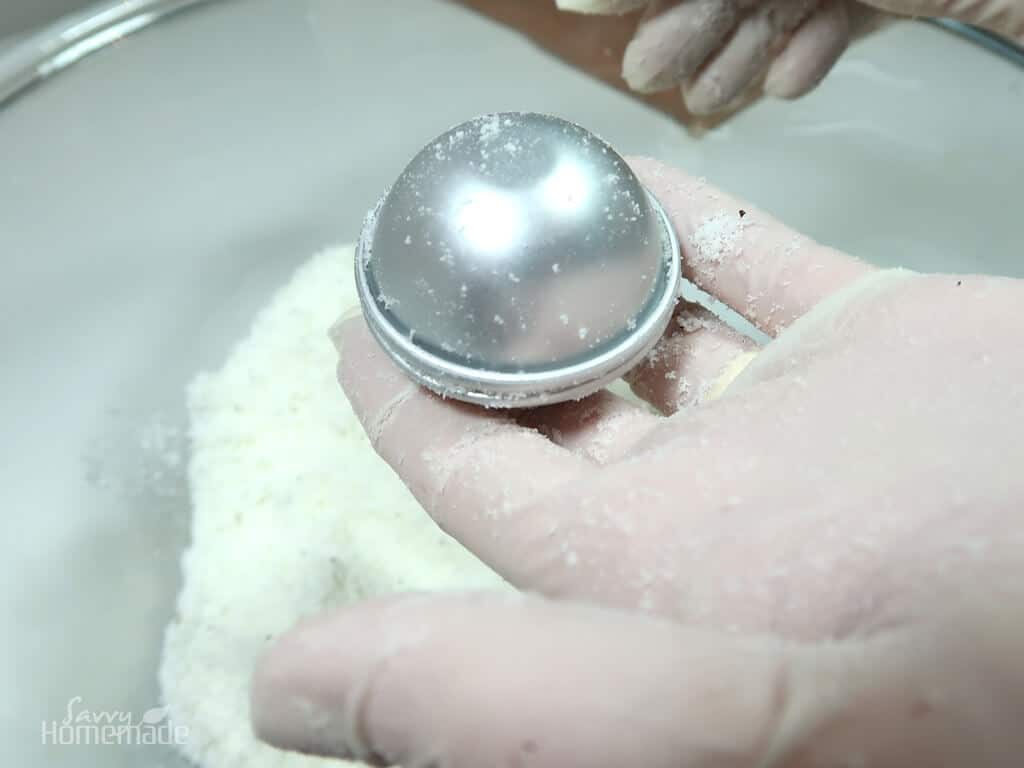
- Now turn the mold upside down so that the base mold (the one without the extra tea leaves) is on top. Then, gently remove the base mold and carefully set the base of the bath bomb onto a sheet of greaseproof paper/baking parchment. Then, lift the top mold off, revealing the lovely tea aesthetic underneath.If at any point the bath bomb crumbles, it could be that you’re taking a little too long and letting your mixture dry out. Just give it a couple more sprays of the alcohol to get it back to a more stable consistency.Leave your handcrafted bath bombs to dry overnight. Be careful where you leave them, though. I find the kitchen or bathroom is totally unsuitable, as they can become too damp of an environment for them to dry. Somewhere warm and dry is perfect.
Notes:
As your bath bombs dry, you may find they start to feel a little spongy. This is normal. Just try to leave them alone as best you can, as you’ll easily leave a thumbprint if you aren’t careful. They may require a little longer to dry on very wet or humid days. If you know you live somewhere very humid, allow for extra time to dry.
This recipe should produce 9-10 (I got about 9 and a half) mini bath bombs. You can use a 2 inch bath bomb mold, which should give you about 4 or 5.

Tried this projectMention @Savvyhomemade or tag #savvyhomemade!