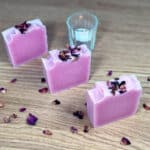
How To Make Soap At Home (Cold Process)
Learn how to make cold process soap at home with a simple recipe. I’ll walk you through lye safety, trace, molding, and curing so you get beautiful, long-lasting bars.
Print
Pin
Yield (adjustable): 12 Bars (approx)
Ingredients:
Lye Solution
- 65 grams (2.29 oz) Soapmaking Lye caustic soda/sodium hydroxide
- 129 grams (4.55 oz) Distilled Water
Lipids
- 265 grams (9.35 oz) Olive Oil
- 135 grams (4.76 oz) Coconut Oil Solid, Refined
- 50 grams (1.76 oz) Shea Butter vegetable fat
Additives
- 7 grams (0.25 oz) Lavender Essential Oil
- 7 grams (0.25 oz) Rose Geranium Essential Oil
- 1 tsp (0.01 pt) Pink Mica Optional
- Dried Rose Petals Optional
Equipment:
- Large plastic jug or plastic bucket
- An old towel
Instructions:
- Gather and measure the ingredients shown in the above recipe. You will need to measure your ingredients carefully, do not try to guess or use cup sizes, as when you make soap it needs the correct mixture to complete the saponification process.Use either grams or ounces, do not mix the two. I prefer grams as I find it much more accurate. Prepare a mold. We use silicone molds as it's so much easier to remove the soap If you don't have a specific soap mold, then any good-sized container will do. Sturdy plastic containers that still have enough give to ease the soap out. Wood, ceramic or cardboard (all lined with freezer/butcher paper) will also make suitable molds. Avoid using any metal molds unless you can be sure they are stainless steel.You should also prepare your scent and color by mixing the essential oils together, and mixing the teaspoon of mica/color with a tablespoon of the olive oil. Set them to one side for later.
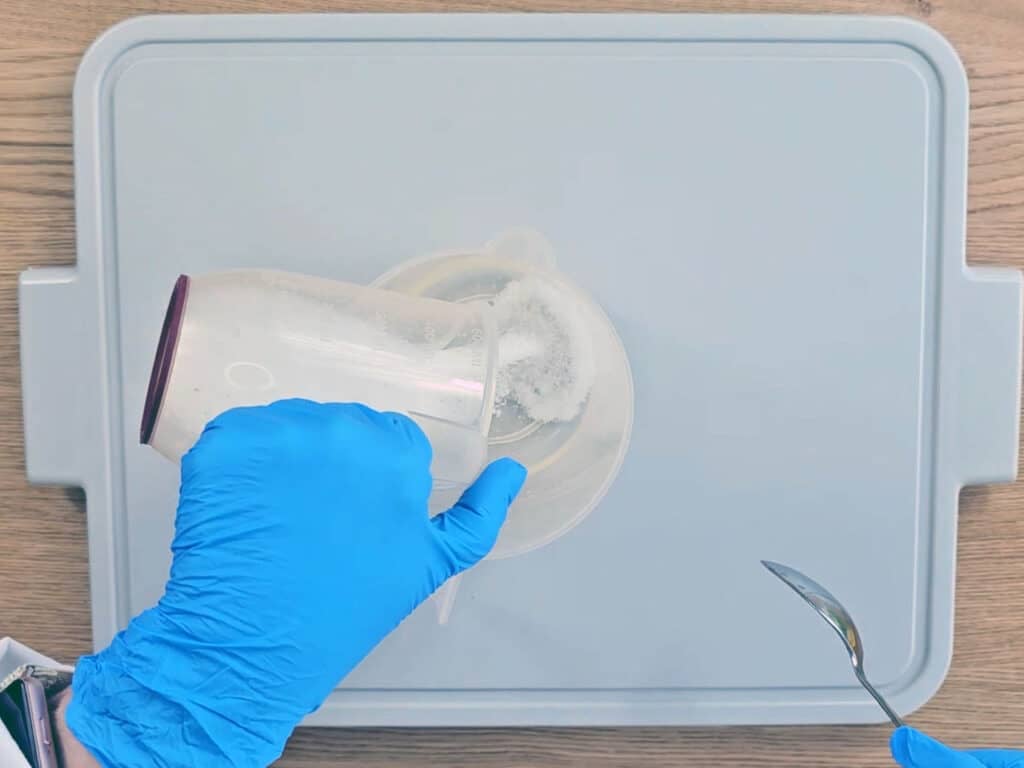
- Now it’s time to mix the lye with water, and as I already mentioned above, this is a chemical reaction, so we need to take some precautions.Make sure you are making the soap in a well-ventilated area. Put on your gloves and eye protection, your mask, apron, and long rubber gloves.Pour the distilled water into a large sturdy plastic jug. Now, slowly pour the lye into the water, using a spoon or plastic spatula to stir until dissolved.The water will start to heat when it reacts with the lye (caustic soda/sodium hydroxide); it will need to cool until it reaches the required temperature (100 to 120°F) so set this to one side for later.129 grams Distilled Water, 65 grams Soapmaking Lye
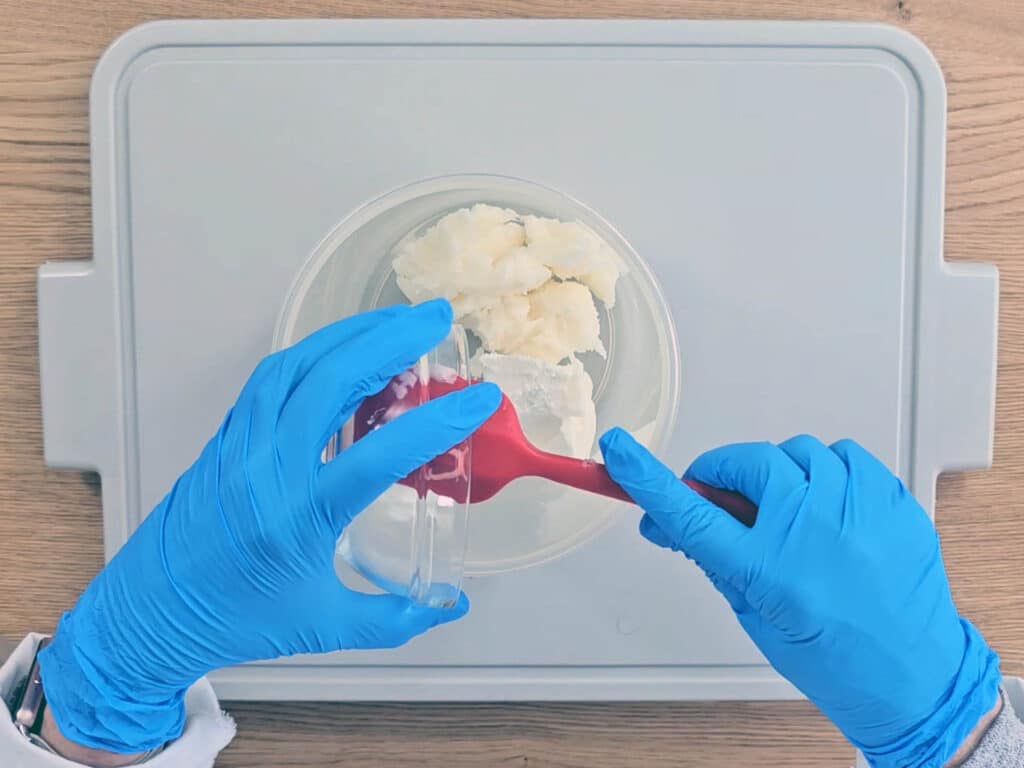
- In a large heat-safe bowl or jug, gently melt only the solid oils and butters (such as coconut oil and shea butter) using short bursts in the microwave. Or if you prefer over a low heat in a stainless steel saucepan. Once melted, add the remaining liquid oils (olive oil) and stir well to combine. Leave to cool to around (100 - 120°F)50 grams Shea Butter, 135 grams Coconut Oil, 265 grams Olive Oil
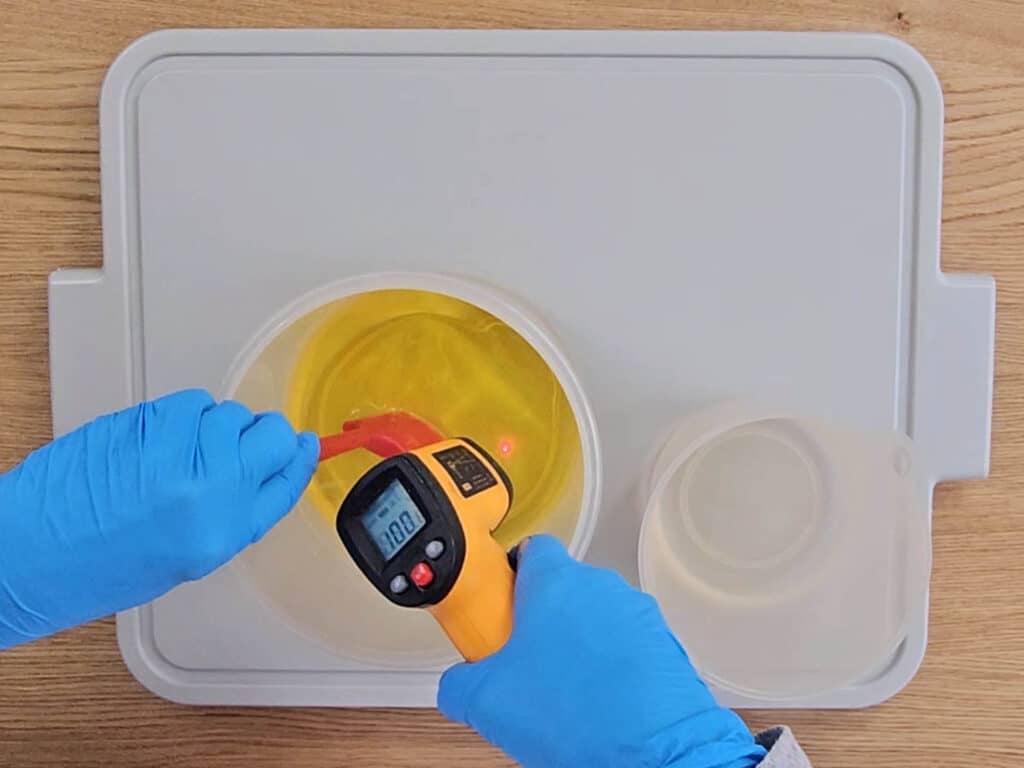
- Use a digital thermometer to check the temperature of both your melted oils and your lye solution. They should be roughly the same temperature before mixing, ideally between (100 °F–120 °F).
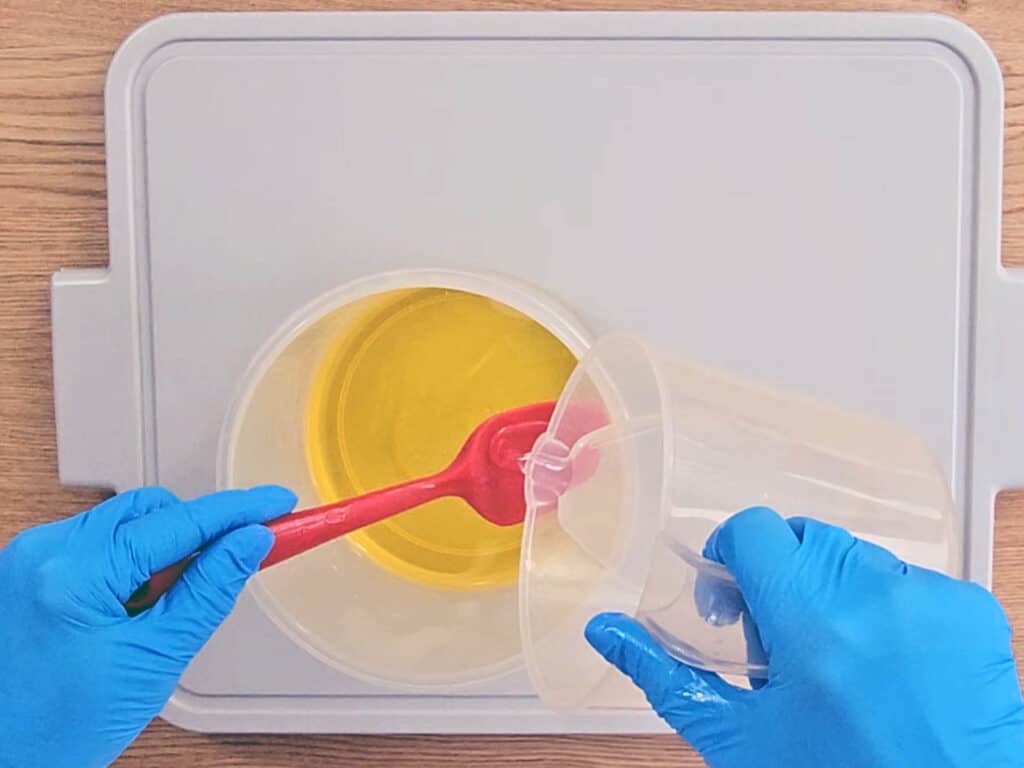
- When both mixtures reach an equal temperature, begin to pour and stir the lye solution into the oils. Do this slowly, and remember that you should always add lye to oils, not the other way around. Pouring liquid into dry lye crystals can cause splashing and burns.Be very careful handling and mixing the lye. It is extremely caustic and can burn if it gets and stays on the skin. If at any point you spill or splash lye or batter onto your skin, wash it off immediately with plenty of water.
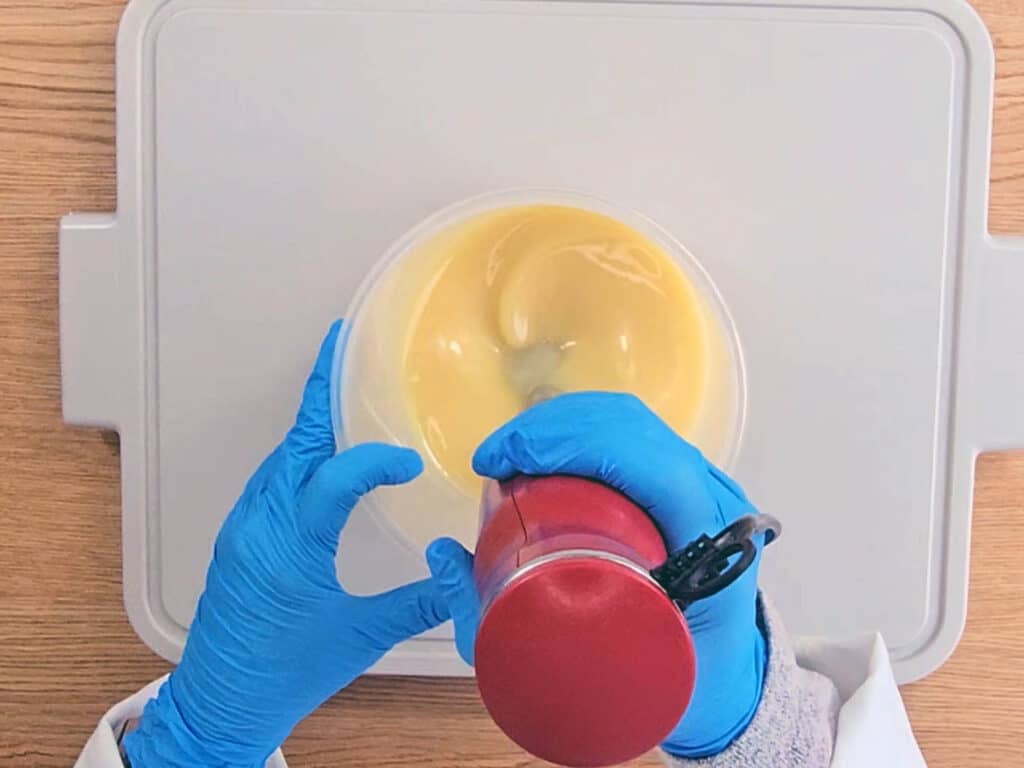
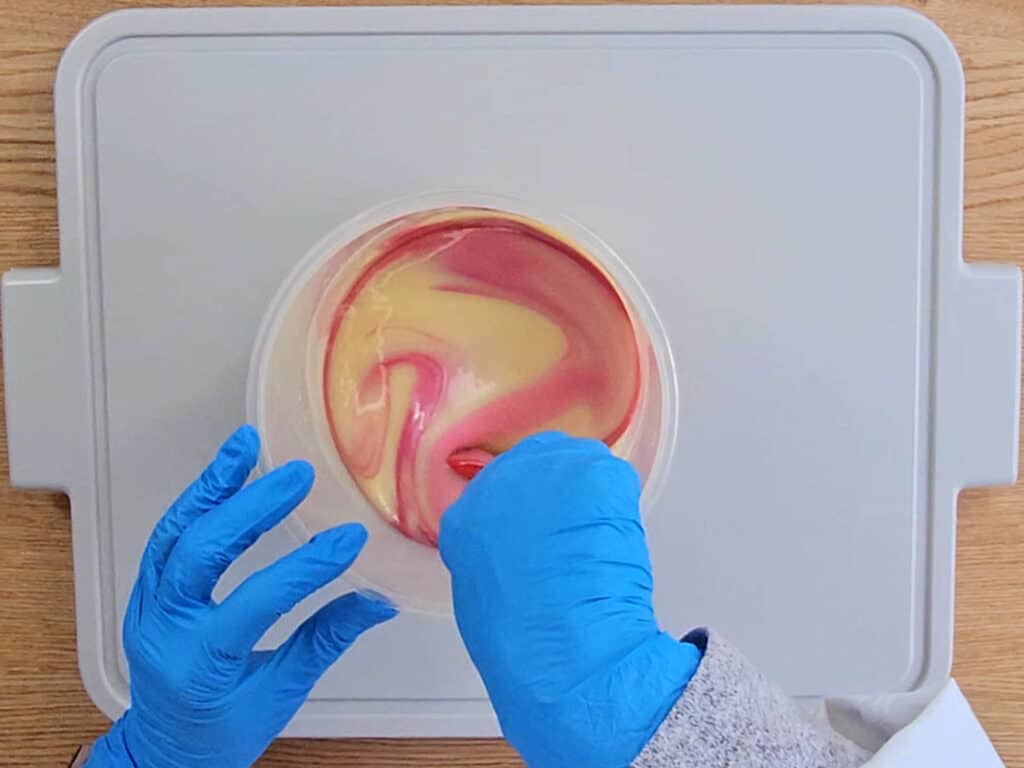
- Using a stick blender, begin carefully stirring your mixture for several minutes, slowly at first without switching the blender on.Then give your mixture a few short 3-second bursts, stirring between each burst until the mixture thickens slightly and looks like custard.This stage is called trace, and it’s a sign that your soap is forming properly. Dip your spatula into the mixture and drizzle some back into the bowl, it should leave a faint line or “trace” that slowly blends back in.If mixing by hand, it will take longer (up to an hour), but with slow, even stirring using a whisk, you’ll reach trace eventually.
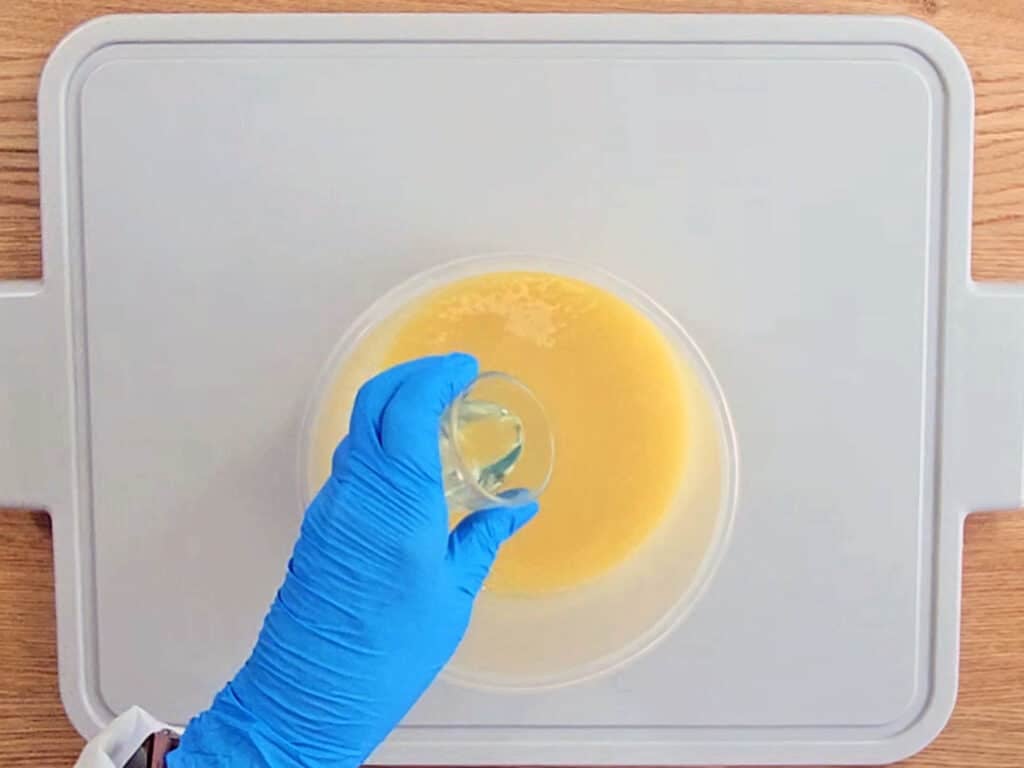
- Now is the time to add our essential oil. After adding it, give the batter another quick burst with the stick blender or if the batter is starting to look a little on the thick side, stirring with a spatula is recommended.7 grams Lavender Essential Oil, 7 grams Rose Geranium Essential Oil
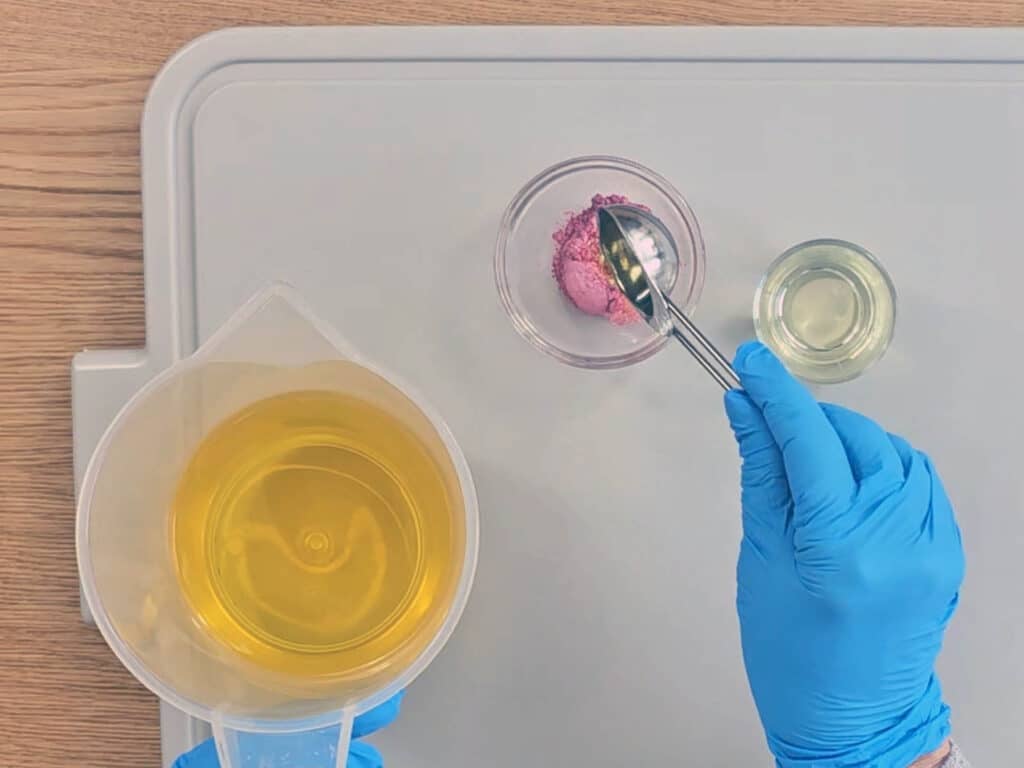
- Next we can add the color to the batter, As the batter begins to thicken, only use a spatula to stir the color in. Stir it in well, making sure that it has been fully dispersed within the soap batter.1 tsp Pink Mica
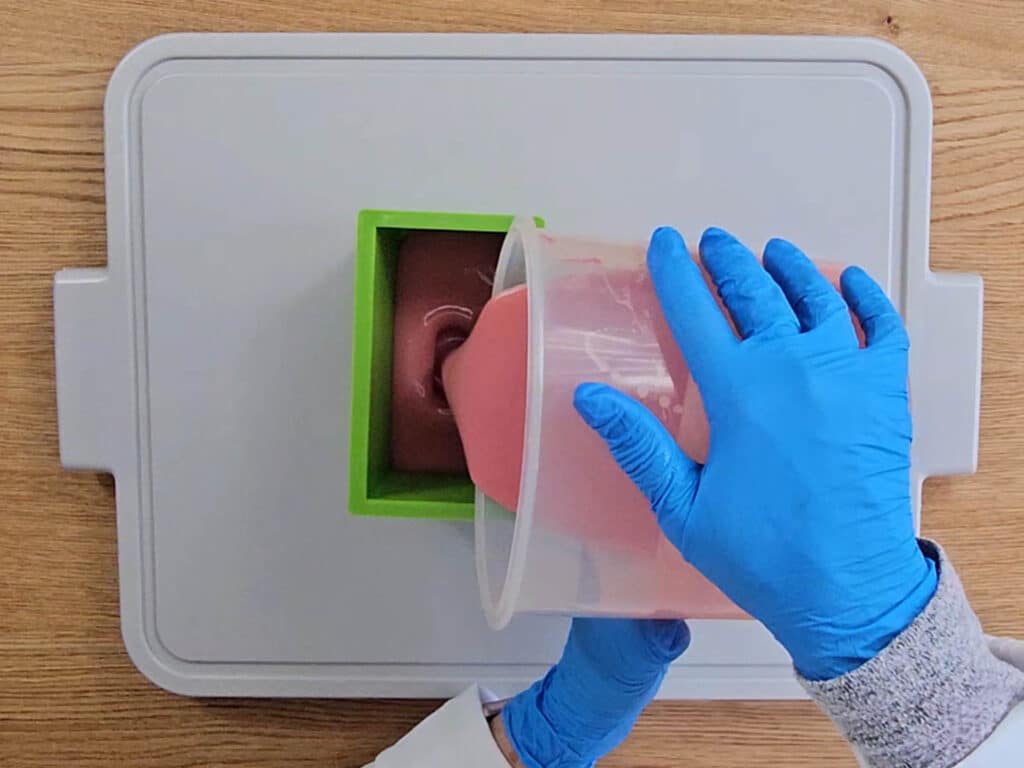
- Pour your soap batter into the mold. If the batter has become too thick to pour, just spoon it in, then give the mold a quick tap to help level the soap batter you could also use a spatula to level it.
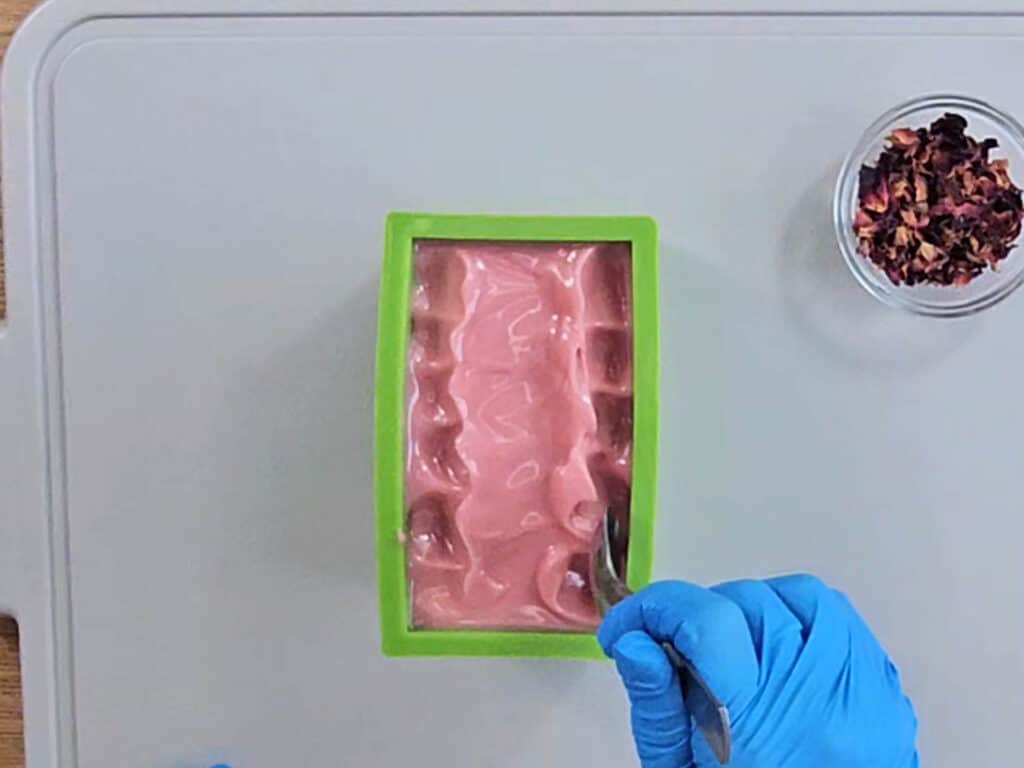
- You can leave the top of your soap smooth and flat, or use the back of a spoon or spatula to create texture or decorative patterns. Wait until the soap has thickened enough to hold its shape before doing this. If you’re not happy with the design, simply smooth it out and try again.
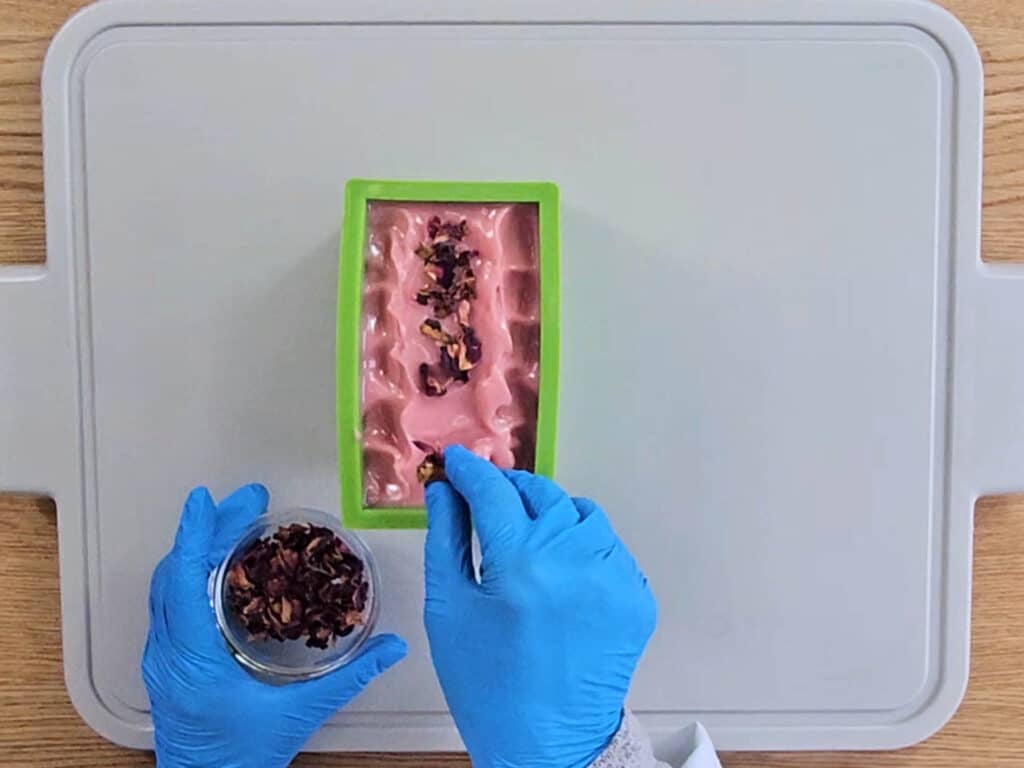
- For an attractive finish, you can add a few petals or botanicals to the top of the soap. Lightly sprinkle them across the surface or arrange them in a neat row. Some petals may fall away once the soap has set, but most will stay in place, giving your bars a beautiful touch.Dried Rose Petals
- Cover the soap with a piece of cardboard and wrap an old towel around the mold to help retain heat. Allow your soap to set for 24 hours in a warm, draft-free place until it has hardened. Don’t be alarmed if the soap looks slightly translucent during this stage, this is known as the gel phase and is completely normal.
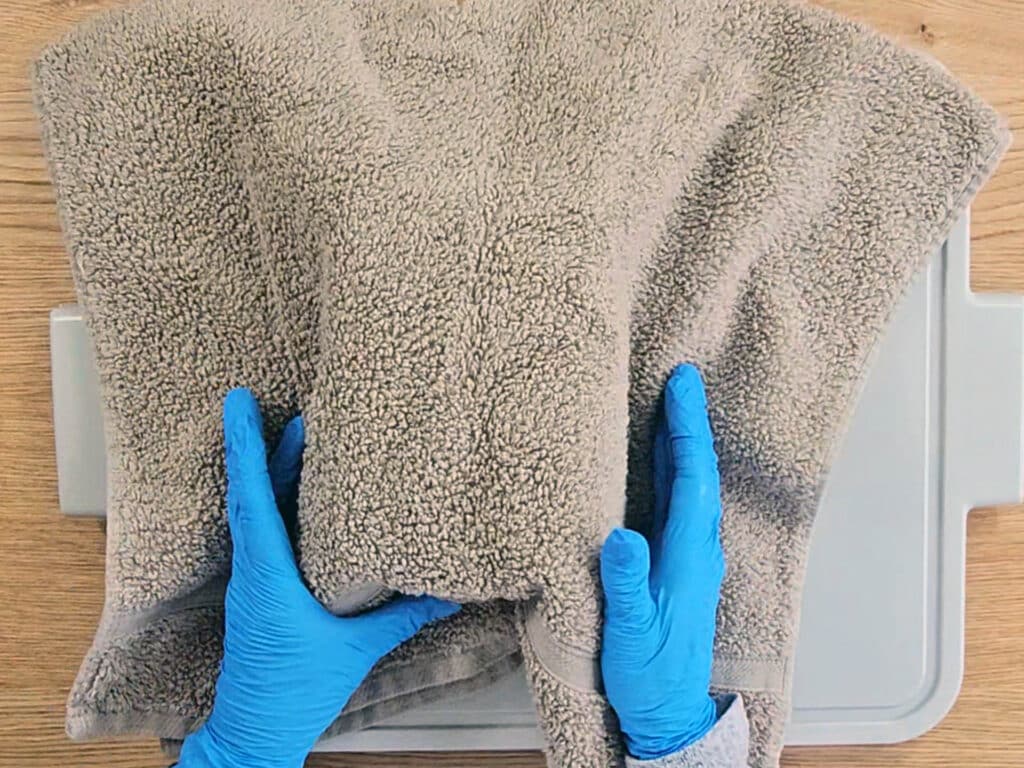
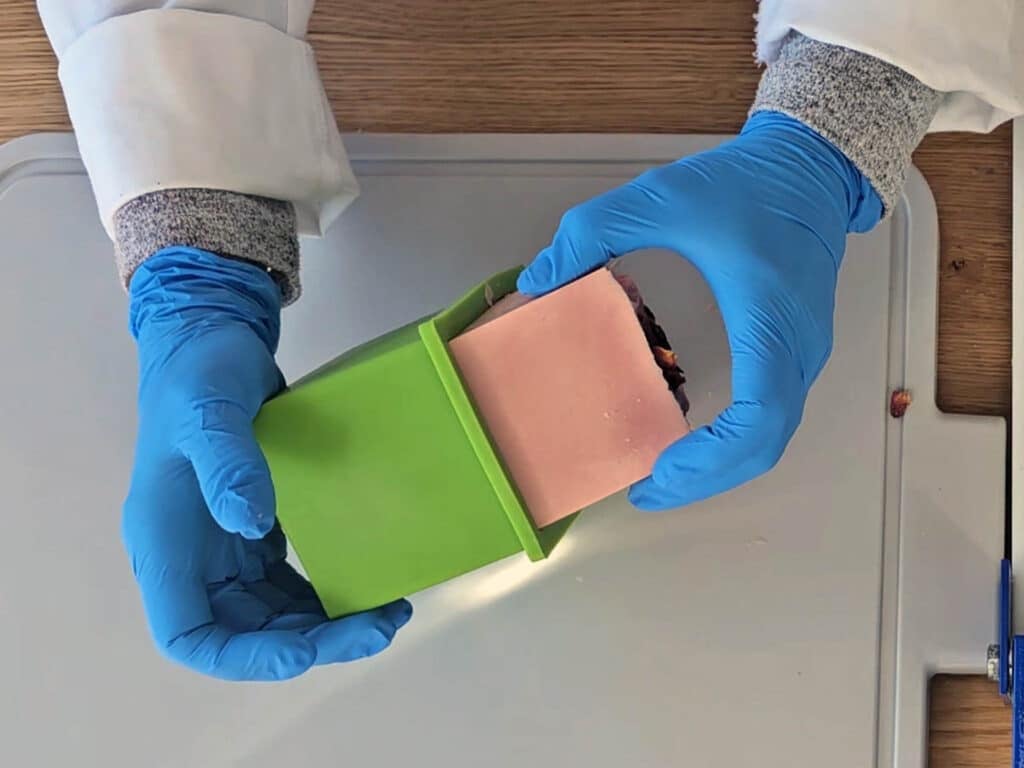
- Once your soap has hardened (usually after about 24 hours), carefully remove it from the mold. If the soap still feels soft, leave it for another 12–24 hours before unmolding to avoid dents or marks.
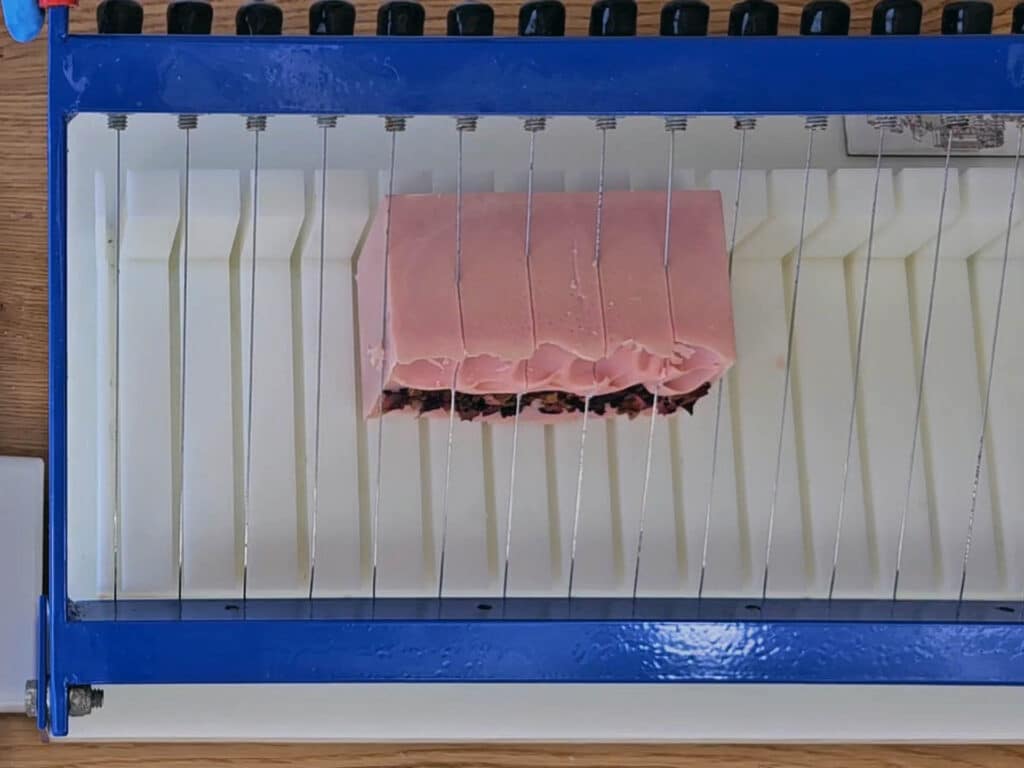
- After removing from the mold the soap will need to be cut into bars. You can use a kitchen knife for a rustic look, or a soap cutter if you prefer straight, even bars. The soap should be about the consistency of firm cheese when cutting. Handle with gloves, or you may get finger prints on the soap, plus it may still be slightly caustic at this stage.Finally, place the bars upright on a tray or rack lined with cloth or paper towel so air can circulate. Cure in a dry, ventilated space for 4–6 weeks, turning them regularly.During this time, the remaining lye is neutralized and excess water evaporates. If a fine white layer appears, it’s soda ash, perfectly harmless and can be scraped or rubbed off before use.
Tried this projectMention @Savvyhomemade or tag #savvyhomemade!