
Gorgeous Honeycomb Soap Recipe
I came across this gorgeous honeycomb effect soap recipe & thought you guys would just love it. It's scented with yummy smelling honey & oatmeal fragrance oil.
Print
Pin
Yield (adjustable): 10 Bars
Ingredients:
- 530 grams (1.17 lb) Olive Oil
- 200 grams (7.05 oz) Coconut Oil
- 70 grams (2.47 oz) Beeswax
- 100 grams (3.53 oz) Shea Butter
- Bubble Wrap
- 120 grams (4.23 oz) Soapmaking Lye
- 60 grams (2.12 oz) Honey
- 320 grams (11.29 oz) Distilled Water
- 40 grams (1.41 oz) Fragrance Oil For Soap Honey or Honey and Oatmeal
Equipment:
- Mixing Bowl (Glass, Aluminium or PET)
- Spoon or Spatula
Instructions:
- If you’ve not made soap before, take a look at my full cold process tutorial here.Make sure you are making the soap in a well-ventilated area. Put on your gloves and eye protection, your mask, apron, and long rubber gloves.

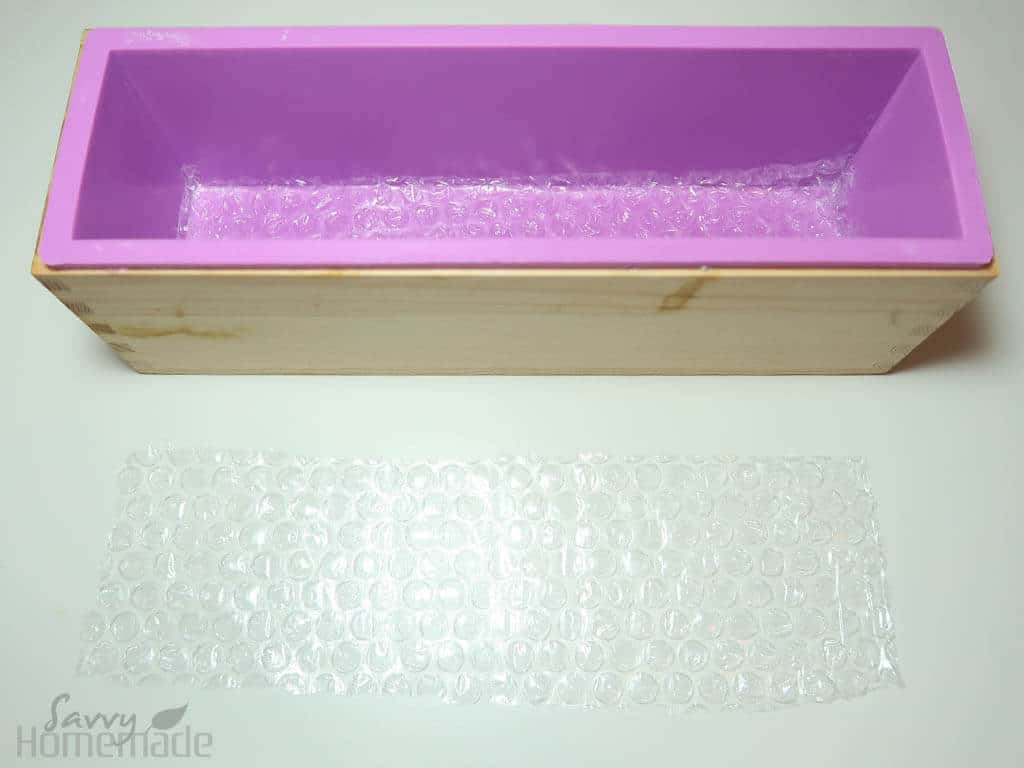
- Measure out your ingredients. We prefer to use grams, just because it’s so much more accurate and soap recipes can be notoriously unforgiving.As the beeswax will accelerate trace, you want everything to be ready for when you pour your soap batter. So, line your mold with some baking parchment if you’re not using a silicone one. Also, cut a piece of bubble wrap to fit your mold then place it in so that the bubbles face upward. This will get you that cool honeycomb look!
- Place all oils, butters and waxes (excluding the fragrance oil) into a large pan and place on a low heat to melt.530 grams Olive Oil, 200 grams Coconut Oil, 70 grams Beeswax, 100 grams Shea Butter

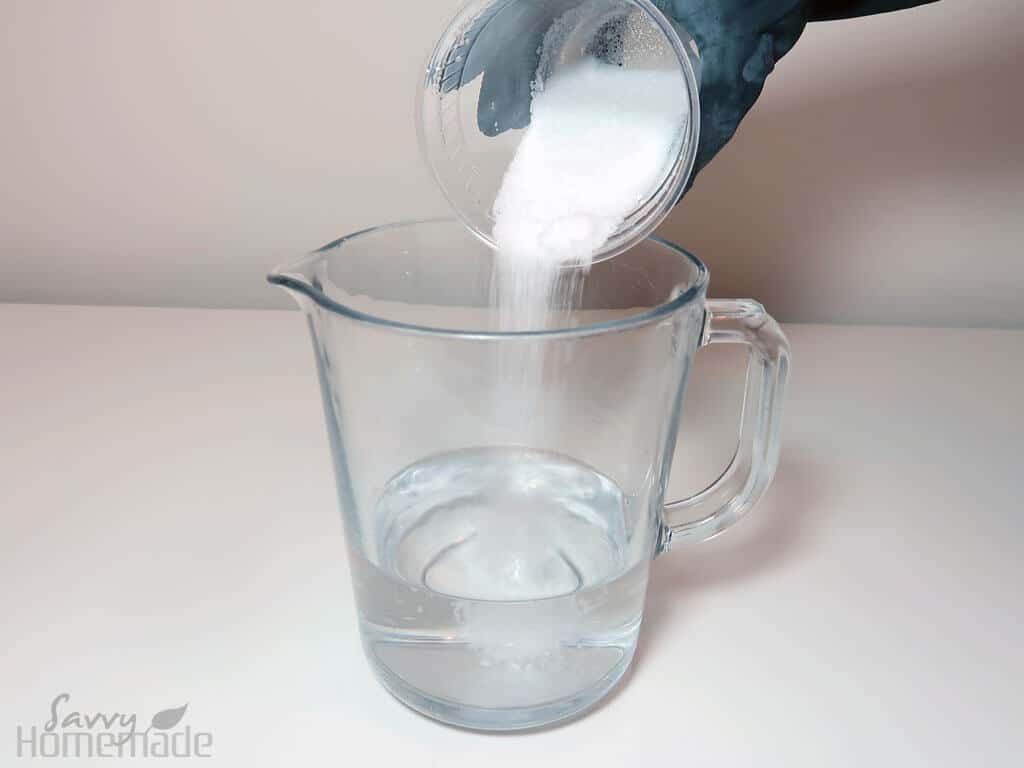
- For this step, wearing your safety equipment is essential! Working carefully, add your lye to the water and stir until dissolved.320 grams Distilled Water, 120 grams Soapmaking Lye
- Then, add your honey to the lye solution and stir once more.60 grams Honey
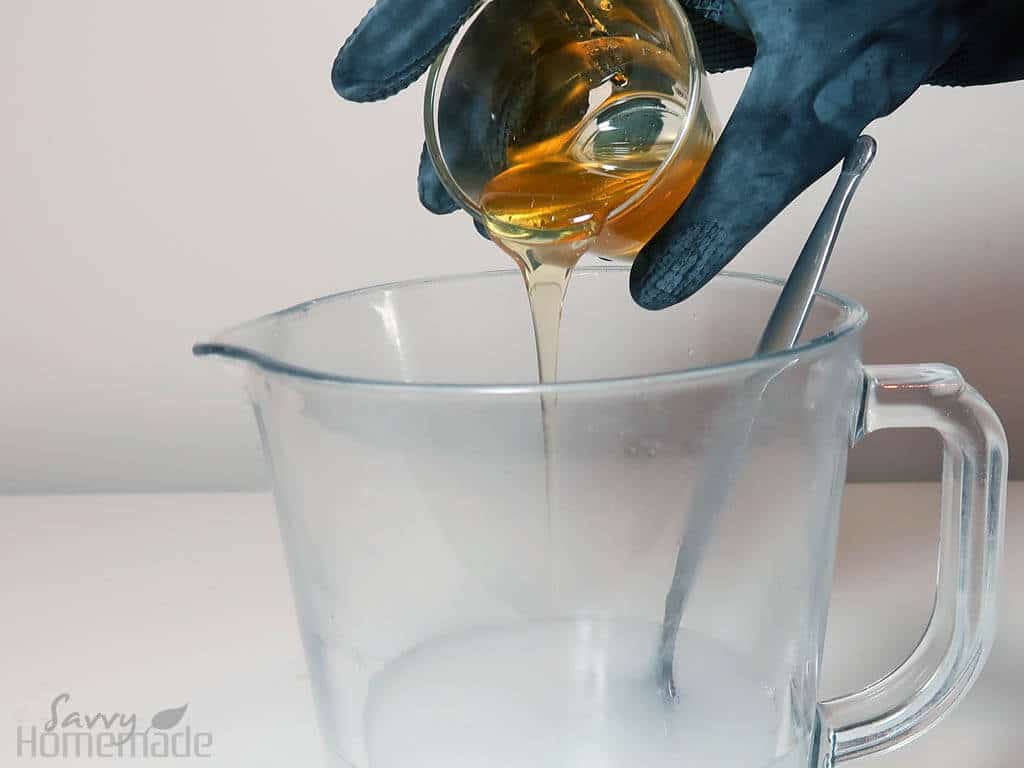
- At this point, your lye solution may change color a few times – anywhere from orange, brown to black. It all depends on the type of honey you’re using. Set your lye solution to one side to cool. Ensure the room is well ventilated, as the fumes are toxic! Then we can move our attention to balancing the oils with your lye.We want to wait for your oil mix and lye solution to reduce in temperature to around 120-140F. This is called balancing. They don’t need to be the exact same, just both fall between these temperature boundaries.

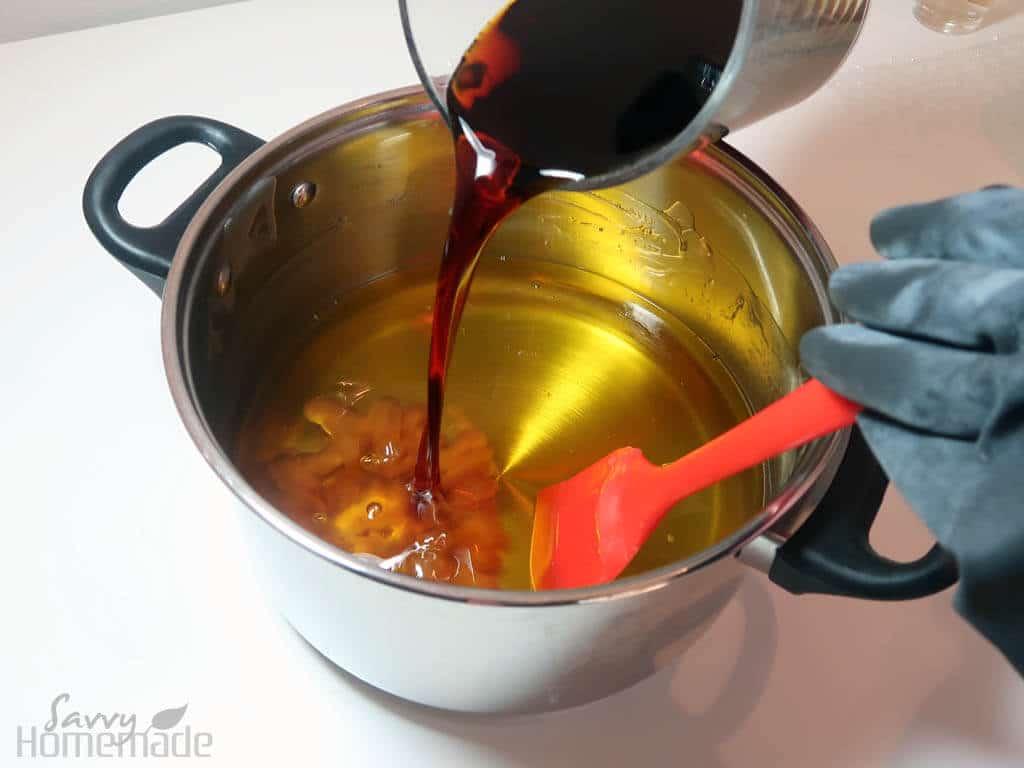
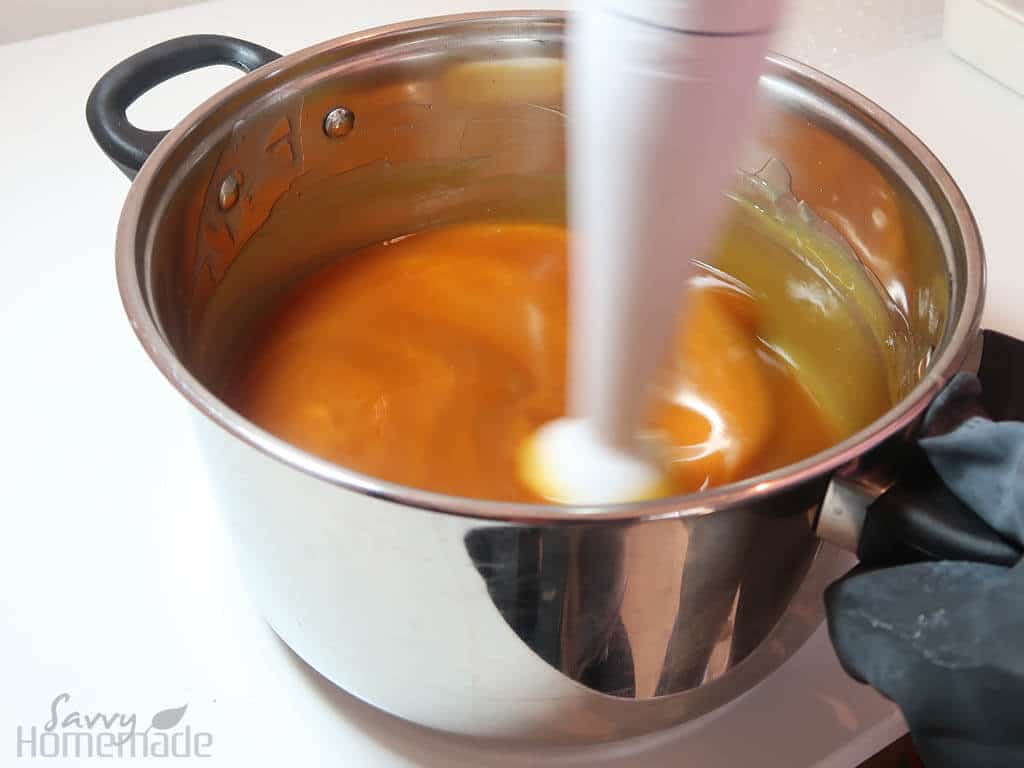
- Once you’ve balanced your temperatures, pour your lye solution into your melted oils. Your oils should change from a rich, translucent solution to a thin, cloudy batter.
- Give your batter a brief stir and then blitz then stir with your stick blender in short bursts. You’ll want to continue until trace.You’ll know when you’ve reached trace once your batter has thickened enough to leave a light trace across the top with your spoon. At this point, stop blitzing with your stick blender.
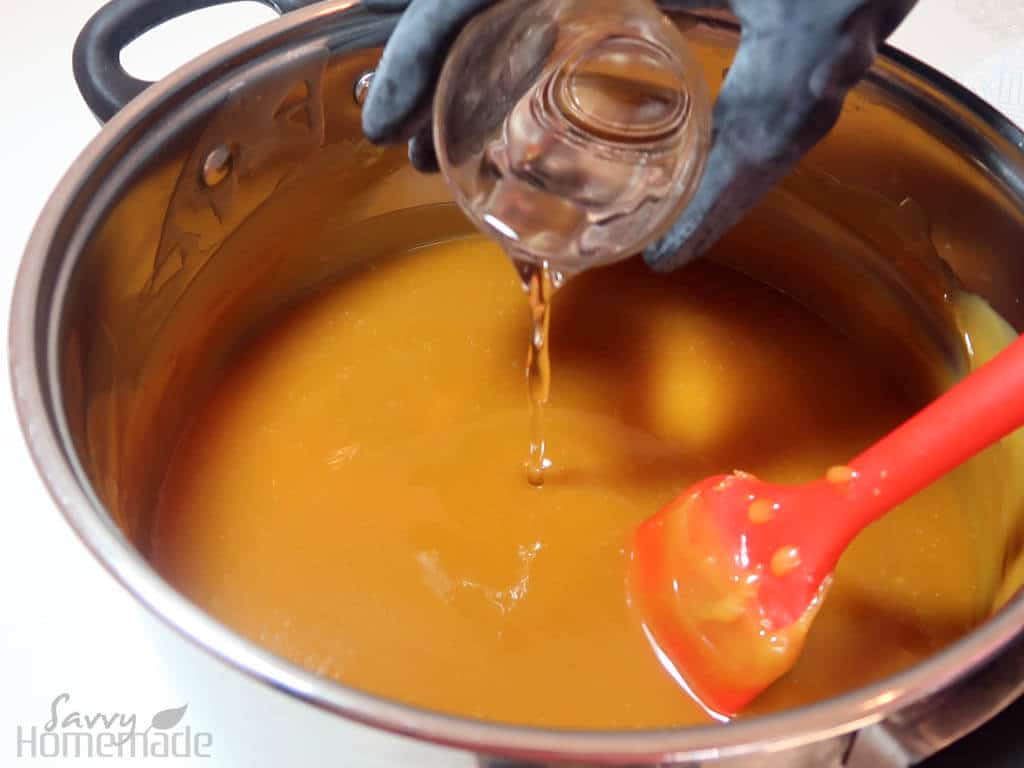
- Add your fragrance oil stirring as you go, making sure it’s fully combined with your batter.Beware that fragrance oil can make soap ‘seize’, which means thicken extremely quickly. If this happens, don’t panic! Just start pouring or spoon your batter into your mold without delay. Keeping a clear head and not panicking is key, because that’s when mistakes happen.40 grams Fragrance Oil For Soap
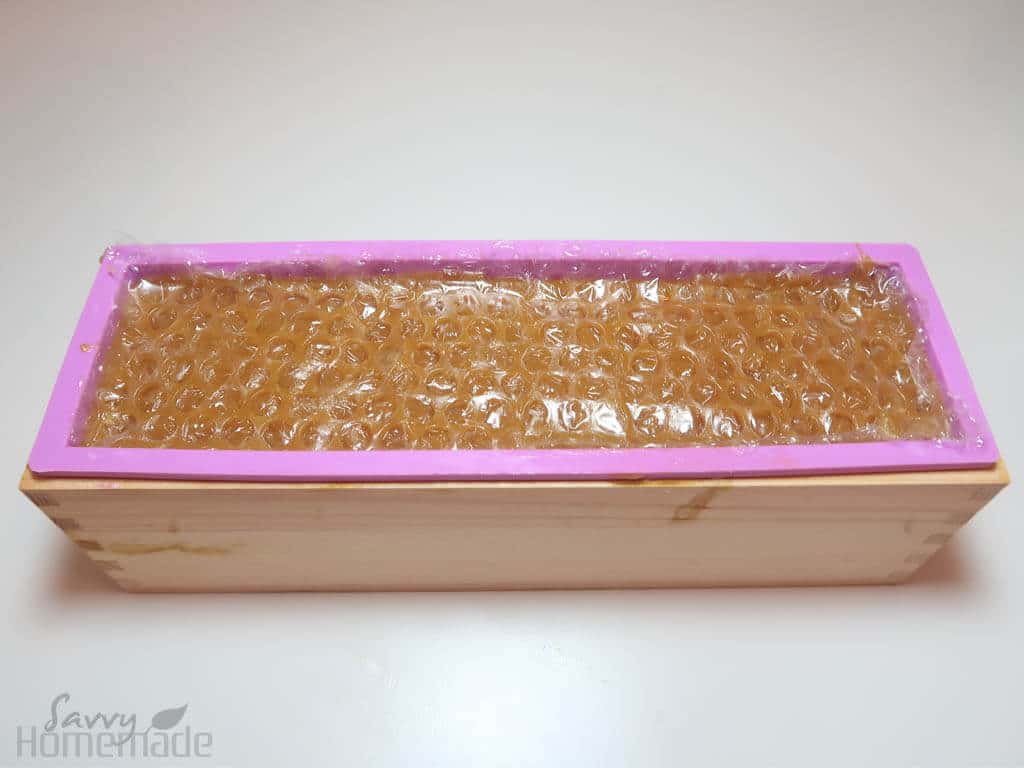
- Pour the batter into your mold. You may need to give your mold a bit of a bash to level out the top. Be careful though, as the batter is still caustic at the moment.

- Next, pop another piece of bubble wrap on top so that you get the honeycomb finish both on the bottom and on the top of your soap. Make sure the bubbles are facing down, and you may need to press them gently into the batter.Cover your soap with a piece of cardboard and insulate with an old towel. Place somewhere safe and out of reach so your kiddies can’t touch it.Bubble Wrap
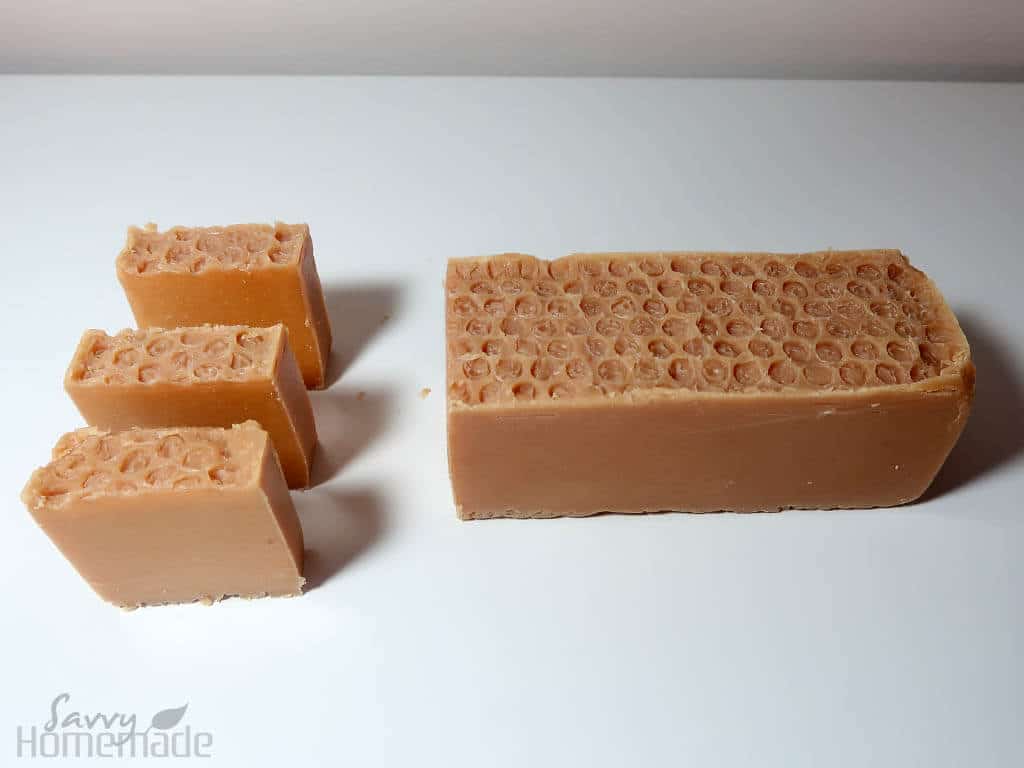
- You’ll want to wait at least 24 hours before you remove from your mold and cut your soap. Wear a pair of gloves to do this, just to be safe. Remember that although your soap may look lovely at this point, it is still caustic for a further 4 weeks. Test with a PH strip before using in order to make sure it’s safe for your skin.
Tried this projectMention @Savvyhomemade or tag #savvyhomemade!