How To Make Gel Candles With Embeds
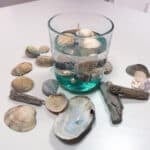
A DIY gel candle with a cute underwater scene, complete with shells and pearls.
Print
Pin
Yield (adjustable): 1 Candle
Ingredients:
- Gel Candle Wax amount dependent on size of container
- Candle Dye
- Candle Wick
- Fragrance Oil For Soap
- Sea Shells
- Sea Pearl Beads
- Candle Jar
Equipment:
Instructions:
- To begin making a gel candle you will need to find out how much wax you'll be using. To do this, measure the content of whatever jar you'll be using. Fill it with water, leaving an inch or two from the top, and then weigh whatever amount of water you have. This should give you some idea of how much to use. Once you've done this, take 1/5th of this weight. This will be the amount of gel wax we'll be using for the first layer.
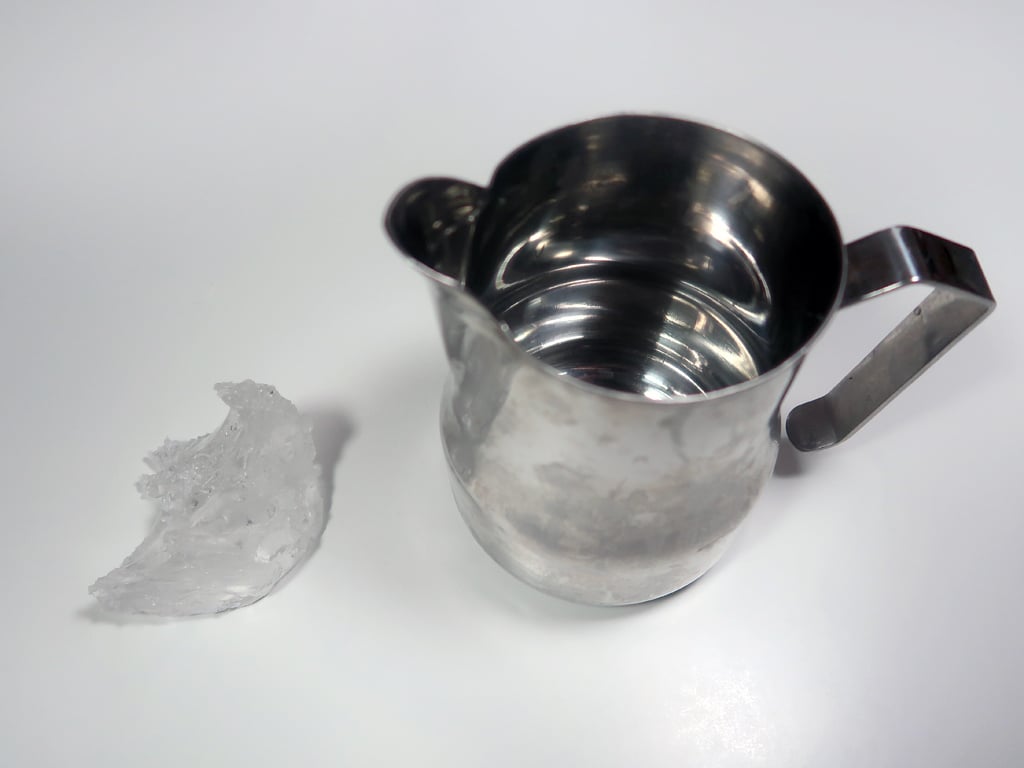
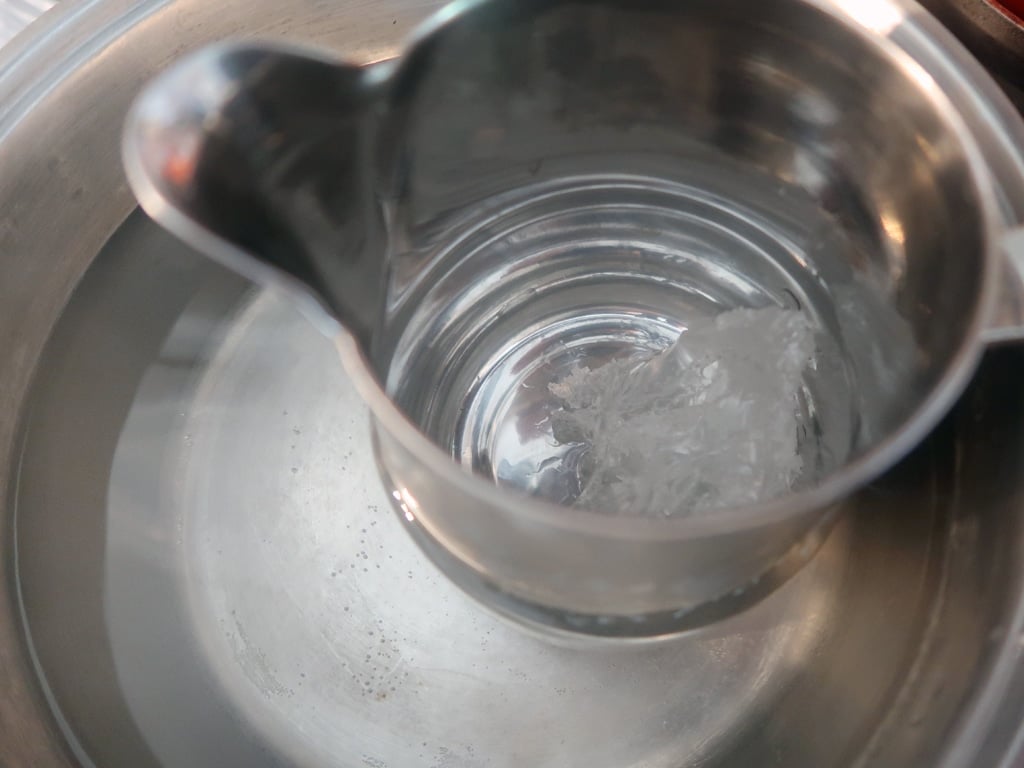
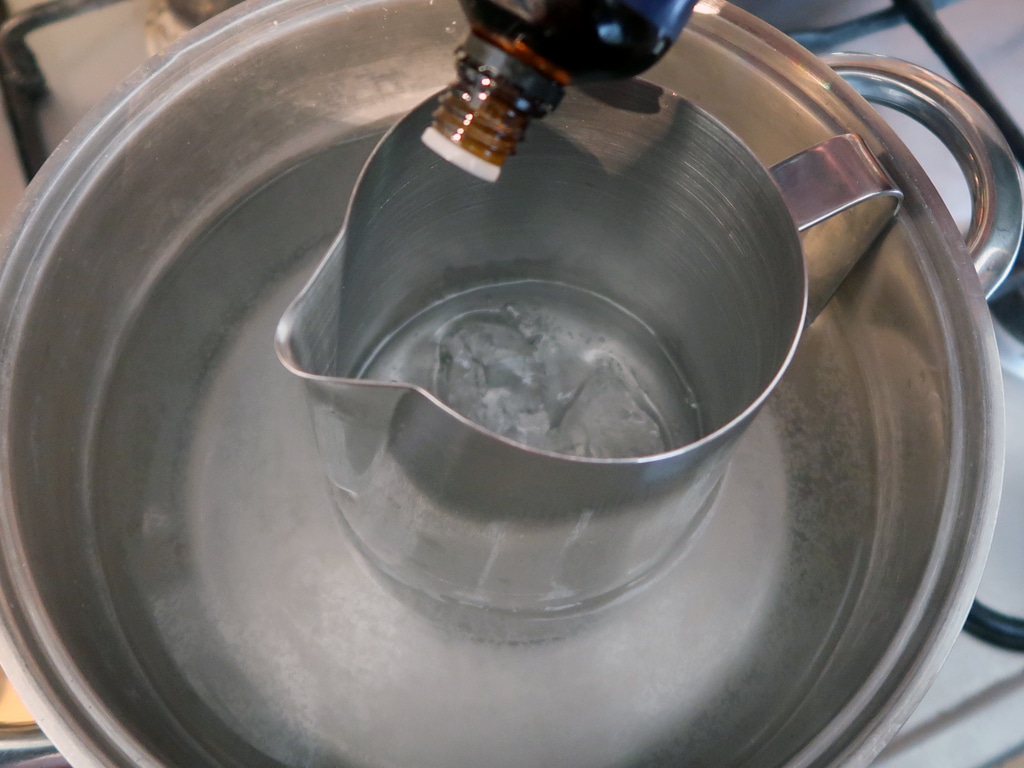
- Now we melt the gel candle wax. Set up a waterbath with a stainless steel saucepan, a couple of inches of hot water and a medium heat. Place the gel wax into a metal or heatproof pyrex jug and place it into the water. Allow the wax to melt. As your wax melts, resist all temptation to stir it. This will introduce bubbles into the wax, which will leave you with an end product that is not properly transparent. Just let it do its thing. It won't burn, thats what the waterbath is for.
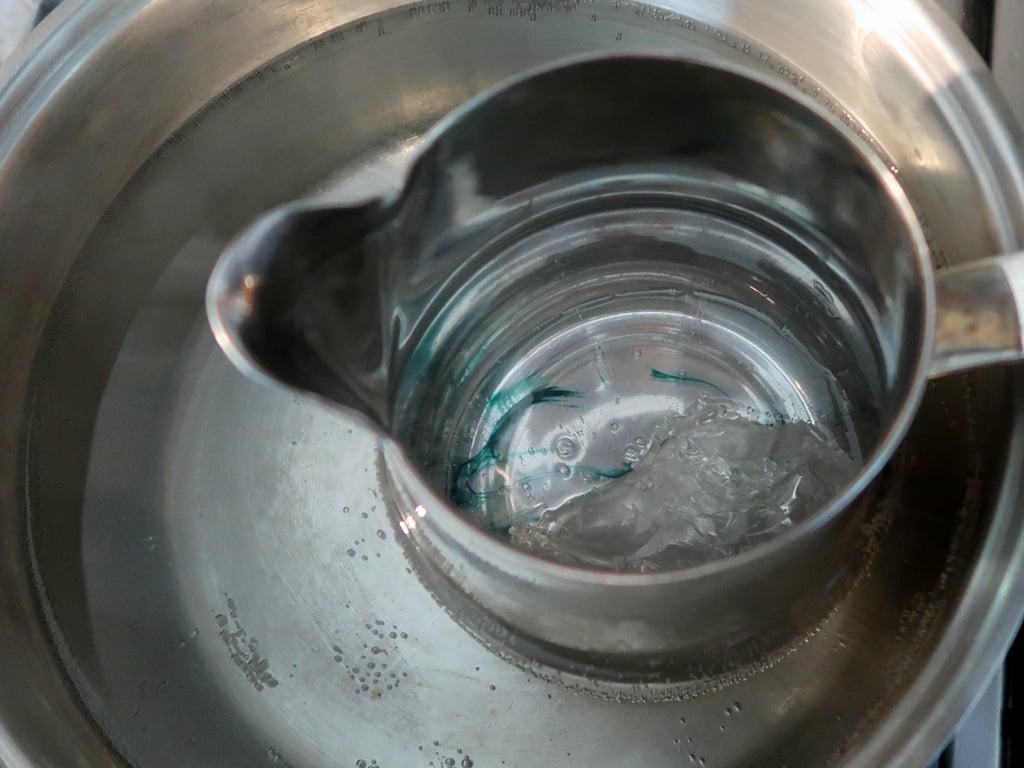
- Now that our first batch of wax is melting, we can add the color to it. Now, only add a very, very small amount. Gel wax takes to color like crazy, so a little is usually a lot. You can always add more if you want. Mixing it is a little difficult. To do this, use a stick (like a wooden kebab skewer) to slowly stir your wax. Do this as slowly and gently as possible. You can also swirl the wax in the jug to help it mix, but again do so very slowly and gently.
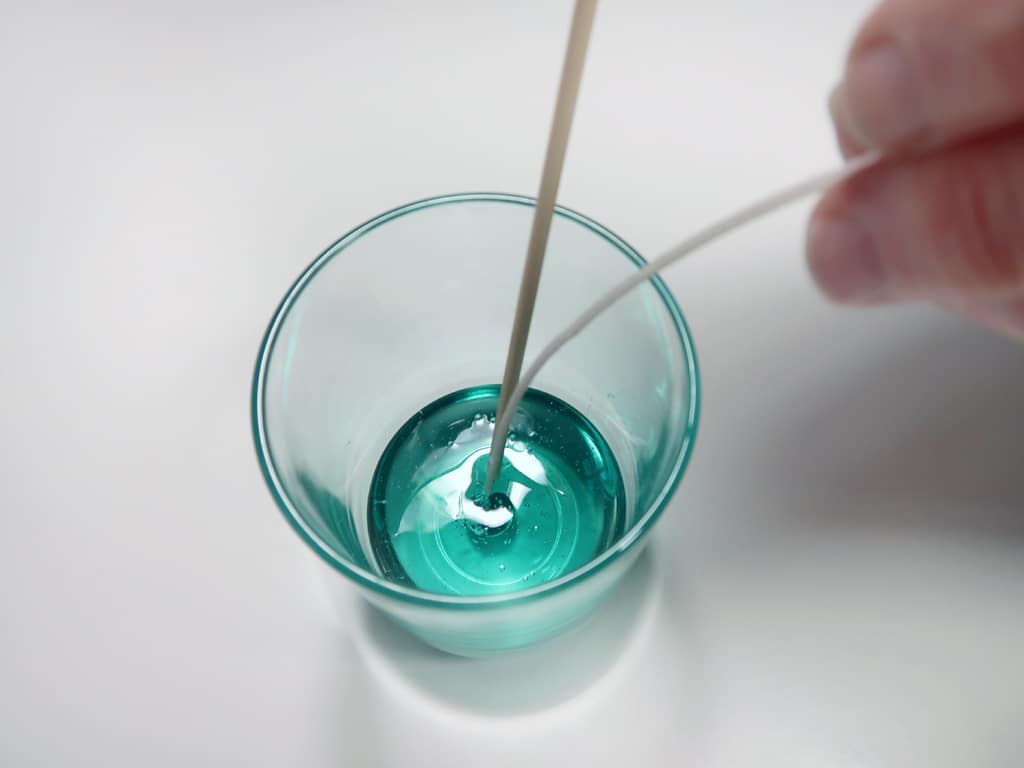
- Now that our wax has melted, we can pour it into our jar.

- Normally when you make a candle, you would stick the wick in first, but I found it easier do it this the other way round with gel wax. So, pour the wax, and then immediately stick your wick in. Hold it in place for about a miniute and then let loose. You can use a pencil or bamboo stick to stabilize it.
- Now we can put our next batch of wax on to melt. We'll need the last 4/5th of the wax we didn't use earlier. Follow the same process as before, although in this layer I am chosing not to use a color. I am, however, using a candle fragrance oil.
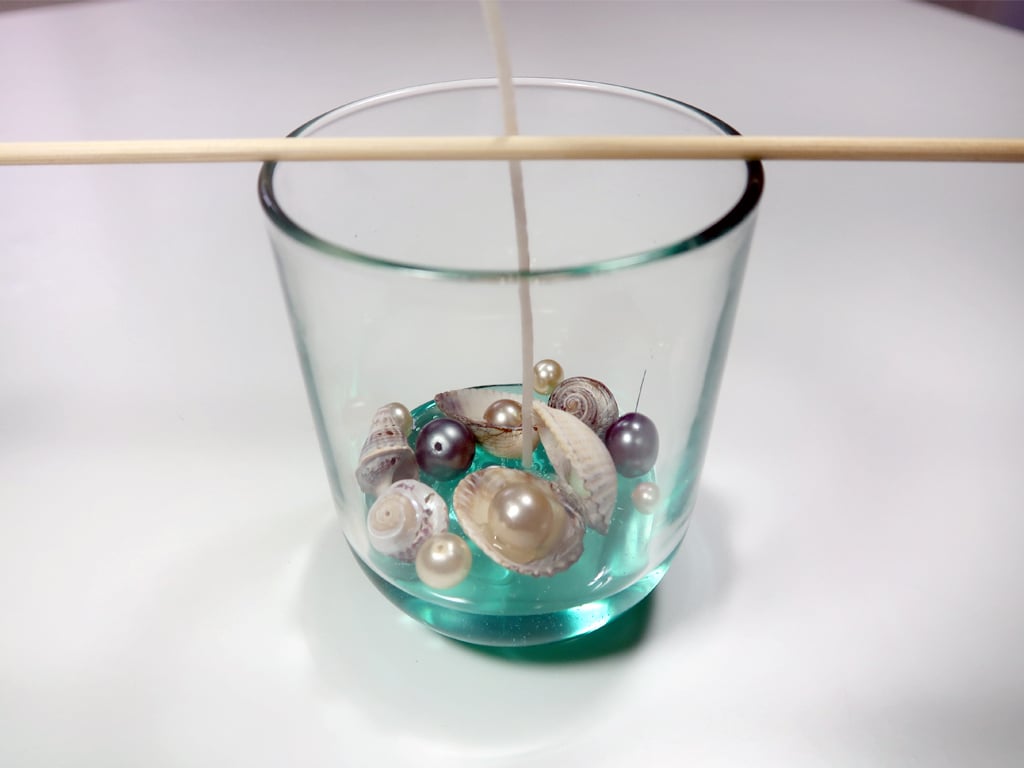
- While your wax is melting, take this time to assemble your embeds. I'm creating a under water type theme for my candle, but you can use anything you like. I'm using little shells and fake pearls. Some of the shells I have stuck together using hot glue, and then glued a little pearl in its mouth. It's so cute, and very little mermaid.
- Now that our wax has melted, we can go ahead and pour it. Again, do this carefully and slowly. Be sure to cover all of your embeds, so you have nothing half poking out the top.
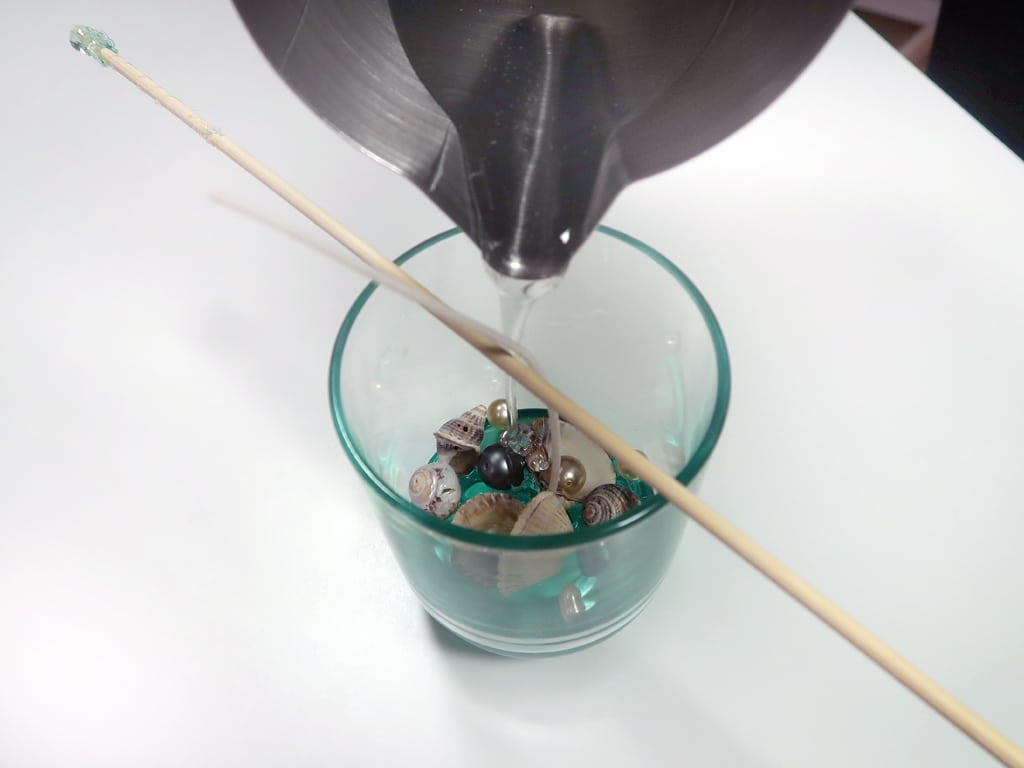
- If you notice bubbles on the surface of your gel candle, you can pop them right away. If you notice them a little later, don't try to pop them. When the gel wax solidifies, it's never a good idea to try this anymore. You end up with potholes in your candle. Instead, I used some of the embeds on top to cover them. Other times, I would just go with it as a little imperfection is often beautiful in its own way.

Tried this projectMention @Savvyhomemade or tag #savvyhomemade!