
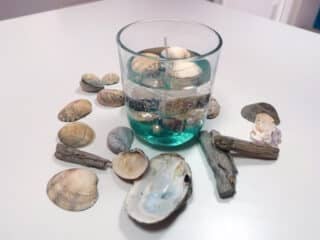
Ever wondered how to make gel candles with embeds? I used shells and pearls to create this cute underwater scene. Today I’m sharing all the steps I took to achieve this look. Including how to get that interesting contrast look between the blue layer and the clear wax above.
So I was doing some candle making this week. I’ve done lots in the past, but wanted to revisit something I had never really spent enough time on. Gel candle making!

Introduction
Gel wax is probably the most difficult of all of the candle waxes to work with, probably because it’s not technically a wax. It’s more of a… well, gel! Although it does melt and vaporize just like regular wax.
The best thing about DIY gel candles is that it’s absolutely the best candle wax if you want to work with embeds. Besides a few air bubbles, gel candle wax is actually super clear! It’s almost like looking through water or solid glass.
The transparent quality to it is why it is so interesting to DIY crafters like you and I. I’ve seen so many amazing candles that contain so many cool things. I wanted to try and replicate this, so I racked my brain as to what I wanted.
Start With Making A Simple Gel Candle
I didn’t want to start with anything too difficult, because you really should start small and work your way up. So I went for something that might seem a little obvious, but I knew I could do it and execute it well.
A few weeks ago I was walking along the beach with my grandson, and I collected some cute shells and pieces of small driftwood. When searching for candle embeds last week, I knew the moment I saw them I was going to attempt a cute underwater scene.
Because of the size of my jar, I couldn’t really use the driftwood. But the shells would be perfect, and I had some imitation pearls that I could combine with them and make it look extra special.
So, if you like the look of my underwater gel candle, take a look at the tutorial below. I’ll go through the different steps I took to achieve this look, including how to get that interesting contrast look between the blue layer and the clear wax above!
Working With Gel Candle Wax

So, I’ve already talked about how gel candle wax is more difficult to work with, and it really is. But I think I wanted to go into a little more detail before we went any further. Let me start by saying that if this is your first attempt at making a candle, please don’t make this one. Gel wax can be quite frustrating to work with the first few times, and you risk being put off candlemaking for life.
There are a few essential techniques that you should already know how to do at this stage, such as how to use a wick properly. These need to be things that won’t require too much conscious thought. That way, you can focus more on the intricacies of making a homemade gel candle for the first time.
Without Lots Of Bubbles

Because gel candle wax is completely translucent, its very important not to introduce too much air into the wax. If this happens, you can get a lot of bubbles in there. While it’s almost impossible to avoid bubbles completely (you’ll notice there are plenty in mine), you can minimize them by stirring and pouring very slowly.
When you introduce a significant amount of air into your gel wax, it can actually turn a milky white color, because there are so many bubbles trapped within the gel that it becomes almost opaque. This is something we definitely want to avoid.
Although, it might be interesting to play around with this in layers. I considered using it to make a little seafoam on top, because it really does look like foam. Decided against it in the end, as I wanted to keep things simple.
Less Candle Dye Is More

Another thing to mention is that gel candle wax only needs a very small amount of candle dye. It’s like the opposite of soy wax, which you can add color to all day and still see no difference. While a deep color is not necessarily a bad thing for gel wax, it does become problematic as the more dye you add the less translucent the wax is.
Unless you’re working in different layers (such as an ombre gel candle), I recommend using only a very small amount of dye. Save your deep colors for your paraffin wax candles, which are great for that.
An Age To Melt, A Second To Harden
The last thing I wanted to mention is that gel wax takes an annoyingly long time to melt. I think this is worsened by how you can’t do too much stirring. Just be patient with it and avoid the temptation to stir. It’s also worth noting that gel wax cools and hardens surprisingly quickly.
While this is great for layering a diy gel candle, it can get annoying when you’re trying to assemble your embeds. Make sure things are prepared in advance. You don’t want to be hot-gluing things to your candle jar while your gel wax is going cold in the jug.
How To Make Gel Candles With Embeds
Rate This Project
Print Comment Pin ShareAs an Amazon Associate, I earn from qualifying purchases. If you buy via the links here I may earn a small affiliate commission at no cost to you.
Ingredients
- Gel Candle Wax (amount dependent on size of container)
- Candle Dye
- Candle Wick
- Fragrance Oil For Soap
- Sea Shells
- Sea Pearl Beads
- Candle Jar
Equipment
Instructions
- To begin making a gel candle you will need to find out how much wax you'll be using. To do this, measure the content of whatever jar you'll be using. Fill it with water, leaving an inch or two from the top, and then weigh whatever amount of water you have. This should give you some idea of how much to use. Once you've done this, take 1/5th of this weight. This will be the amount of gel wax we'll be using for the first layer.

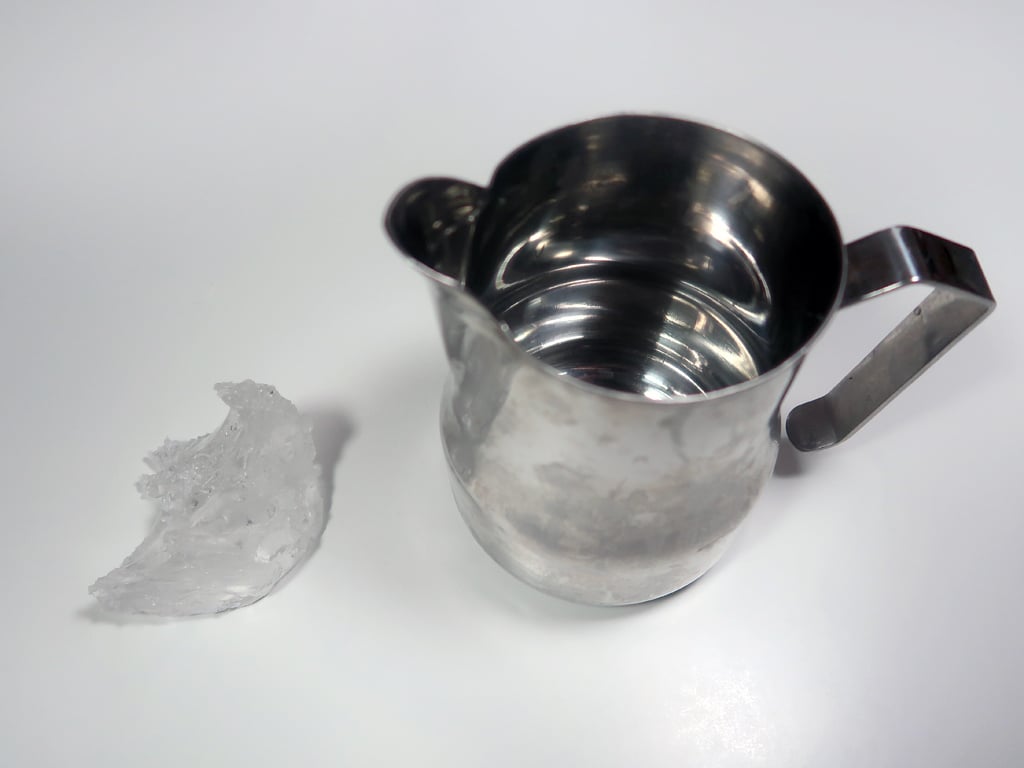
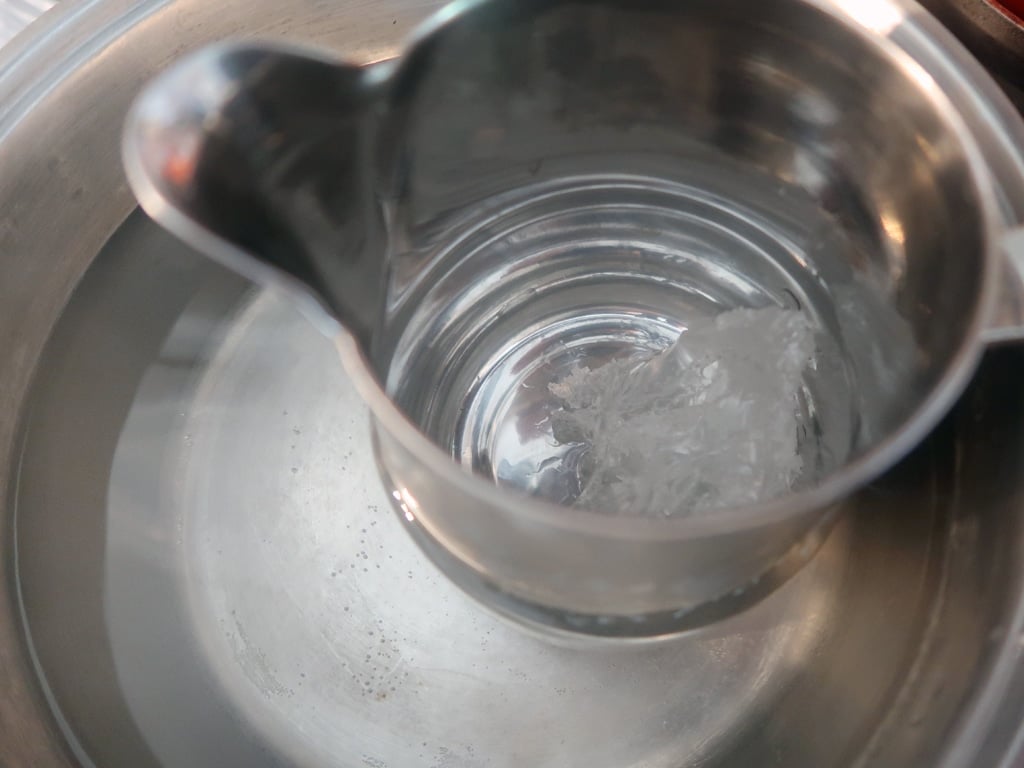
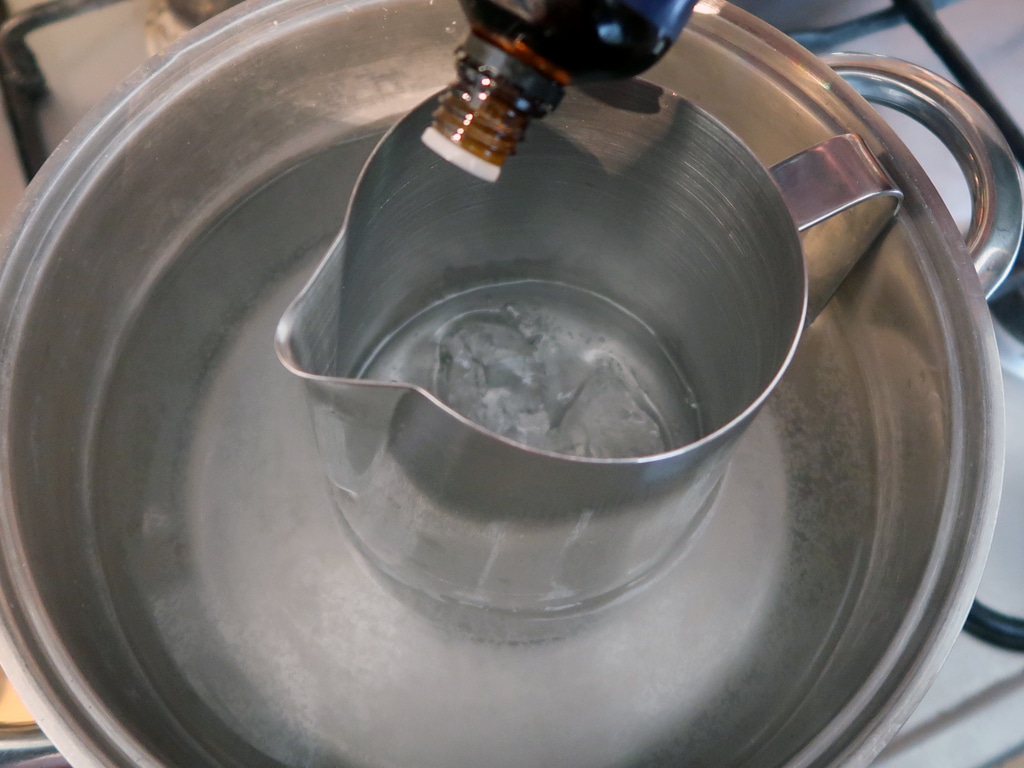
- Now we melt the gel candle wax. Set up a waterbath with a stainless steel saucepan, a couple of inches of hot water and a medium heat. Place the gel wax into a metal or heatproof pyrex jug and place it into the water. Allow the wax to melt. As your wax melts, resist all temptation to stir it. This will introduce bubbles into the wax, which will leave you with an end product that is not properly transparent. Just let it do its thing. It won't burn, thats what the waterbath is for.
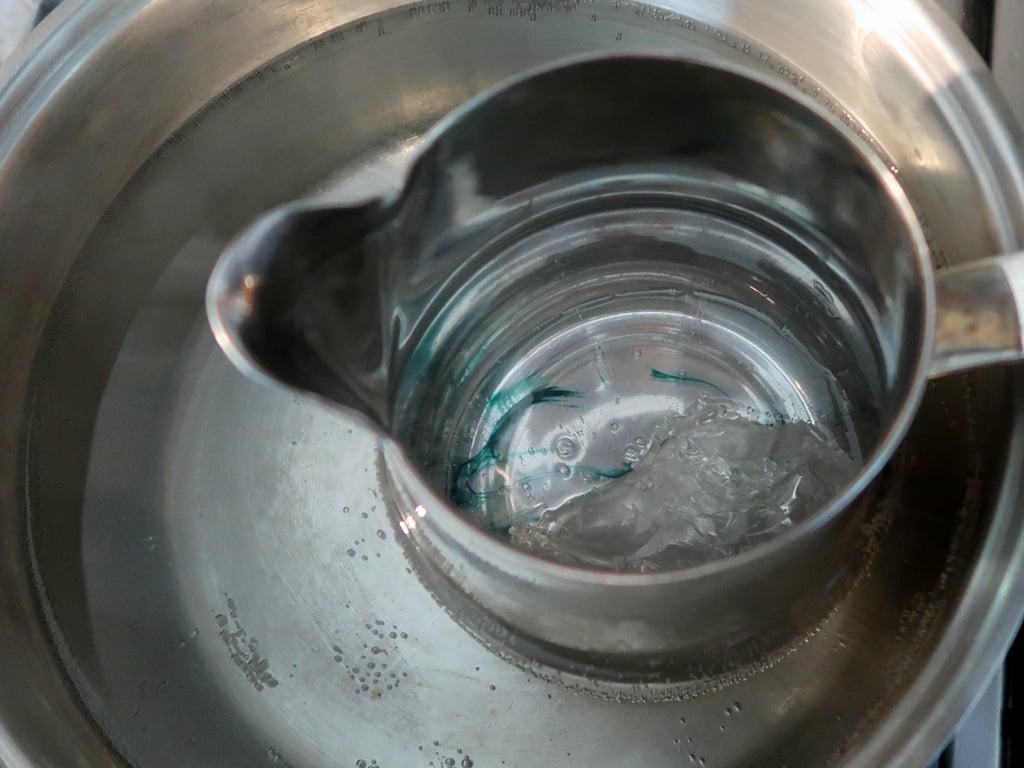
- Now that our first batch of wax is melting, we can add the color to it. Now, only add a very, very small amount. Gel wax takes to color like crazy, so a little is usually a lot. You can always add more if you want. Mixing it is a little difficult. To do this, use a stick (like a wooden kebab skewer) to slowly stir your wax. Do this as slowly and gently as possible. You can also swirl the wax in the jug to help it mix, but again do so very slowly and gently.
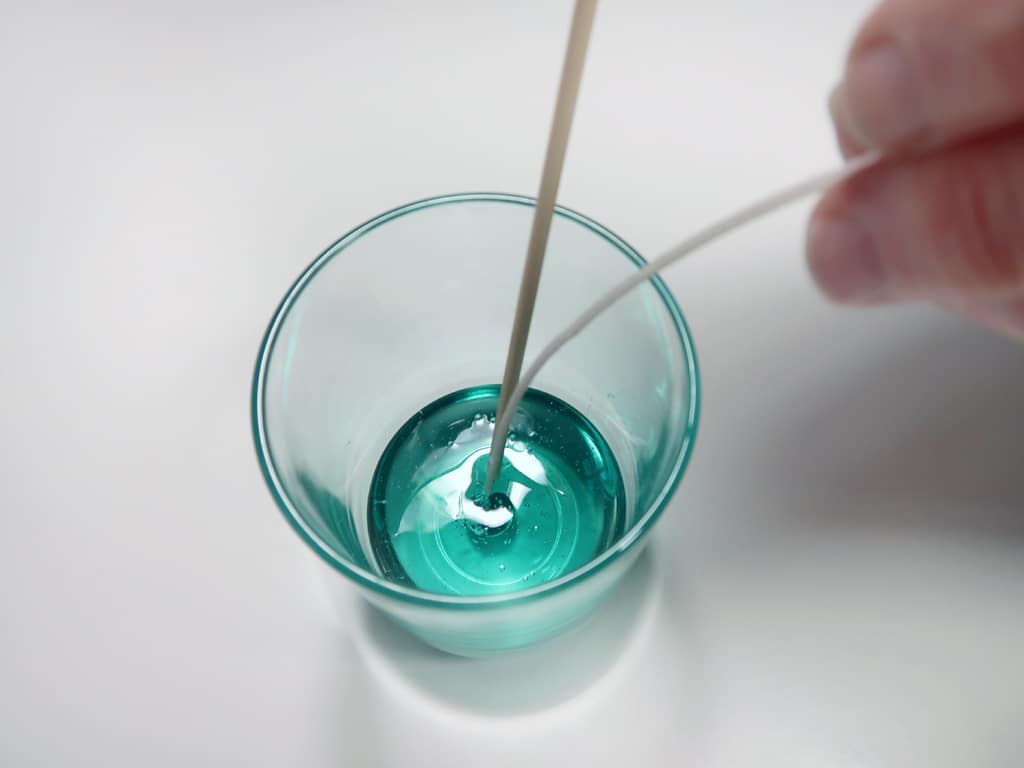
- Now that our wax has melted, we can pour it into our jar.
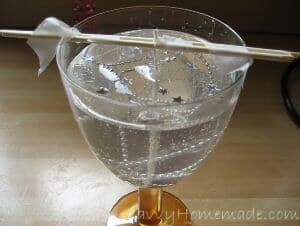
- Normally when you make a candle, you would stick the wick in first, but I found it easier do it this the other way round with gel wax. So, pour the wax, and then immediately stick your wick in. Hold it in place for about a miniute and then let loose. You can use a pencil or bamboo stick to stabilize it.
- Now we can put our next batch of wax on to melt. We'll need the last 4/5th of the wax we didn't use earlier. Follow the same process as before, although in this layer I am chosing not to use a color. I am, however, using a candle fragrance oil.
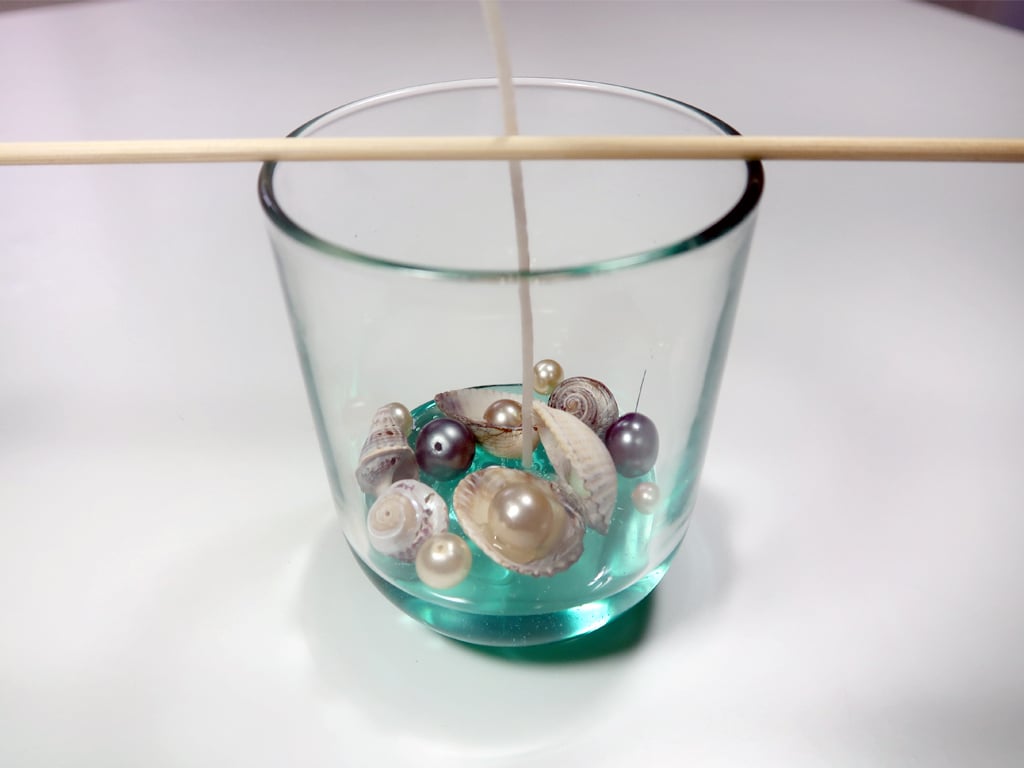
- While your wax is melting, take this time to assemble your embeds. I'm creating a under water type theme for my candle, but you can use anything you like. I'm using little shells and fake pearls. Some of the shells I have stuck together using hot glue, and then glued a little pearl in its mouth. It's so cute, and very little mermaid.
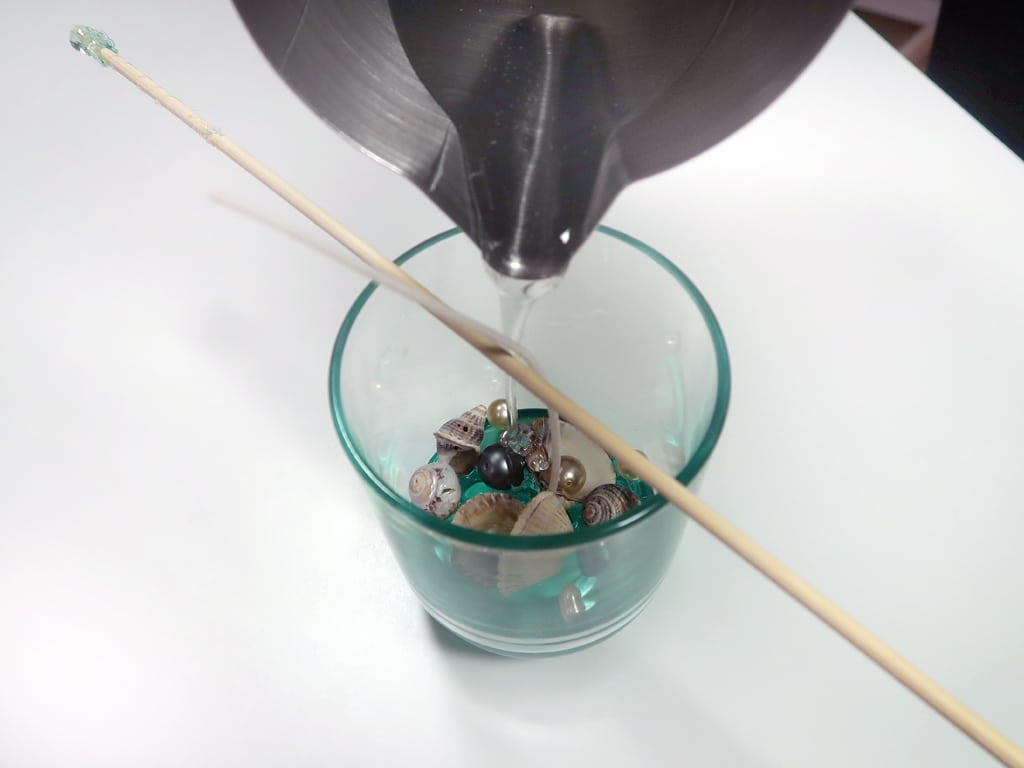
- Now that our wax has melted, we can go ahead and pour it. Again, do this carefully and slowly. Be sure to cover all of your embeds, so you have nothing half poking out the top.
- If you notice bubbles on the surface of your gel candle, you can pop them right away. If you notice them a little later, don't try to pop them. When the gel wax solidifies, it's never a good idea to try this anymore. You end up with potholes in your candle. Instead, I used some of the embeds on top to cover them. Other times, I would just go with it as a little imperfection is often beautiful in its own way.


Embeds are what make many gel candles really stand out
Glitter, marbles, figurines, or just about anything else that won’t burn can be used.

Suspending things in the gel is an art in itself self so if you’re having trouble with this part try using a light beaded necklace or a chain that you can drape over the cocktail stick or skewer (whichever you are using to support the wick).
You can place them at the bottom of the candle, or suspend them in it. This is where you can really exercise your candle-making creativity.
Once the gel begins to set cut the necklace and let it slowly skin into the gel, it won’t sinking completely to the bottom.
If you can’t master the knack to pouring gel wax without lots of air bubbles, using a champagne glass for your candle mold and encouraging more bubbles to form is perfect.
Your candle will look like it’s supposed to have bubbles through it, so no one will notice!
Final Thoughts
So there we have it. I love this homemade gel candle, it’s so cute and looks amazing when you peer into the wax and spot all the lovely shells and pearls. But you can chuck pretty much anything you like into one of these candles!
I’ve seen people use dried fruit, flowers, whole spices (like cinamon), leaves and branches in their larger candles. I’ve even seen someone contruct and entire santa’s groto. I’m not kidding, it was amazing.
But this is the beauty of one of a DIY gel candle, you can make it as easy or as difficult you like. While there are some limitations, generally the only thing that will hold you back is your own imagination. Most things you can think of will be possible!
I hope that you enjoy learning how to make gel candles. When you light them and the whole candle begins to glow, you will be proud of your creation. You’ll have a great, personalized, homemade gift for someone you care about.
Let me know what you think, and what you’re planning to use as embeds in the comments section below!

I am having a problem with one of my candles. I put artificial flowers in a jar and cover it with water. I then melt my gel wax and pour it on top of the water with a wick. The candle is very pretty when lit. The problem is that over time the gel seal will break and it will smell like rotten eggs. Is there something I can put in the water that will prevent this problem?
Hi Cheryl,
I would suggest using a water based preservative, however I have not made a candle like this before myself so I am not 100% sure.